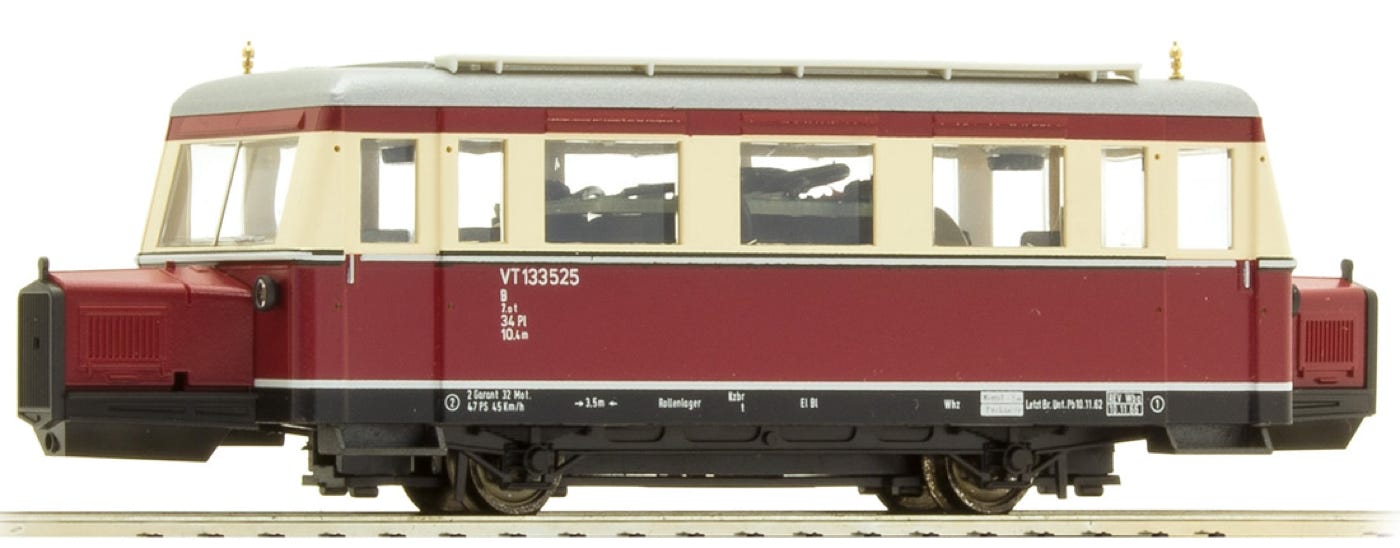
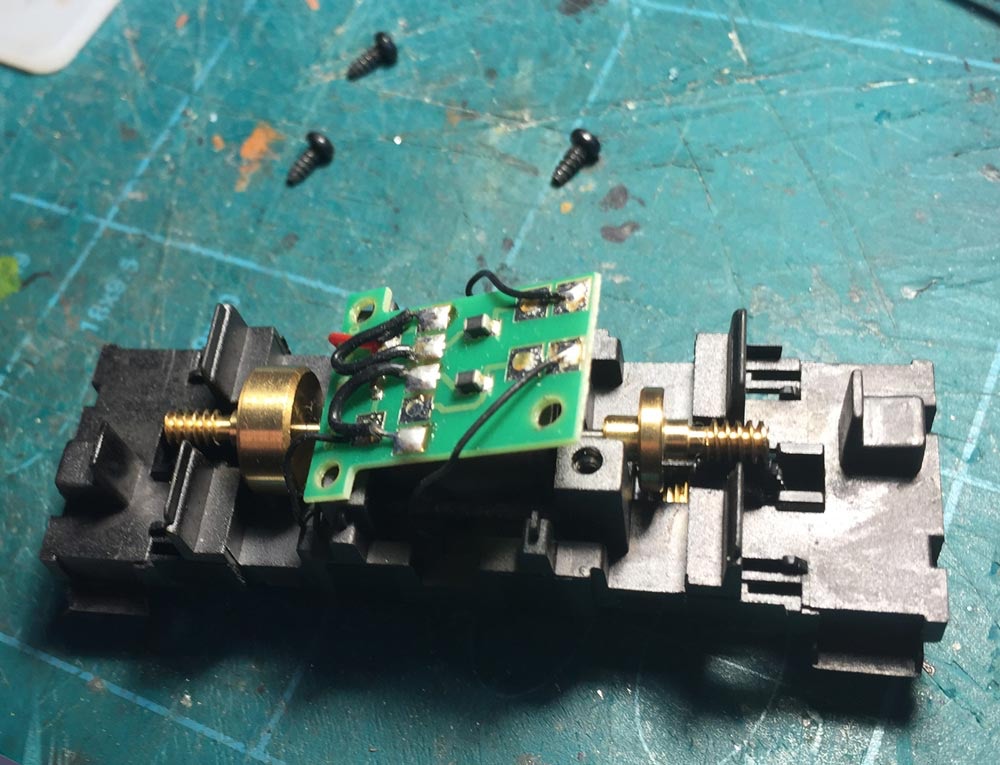
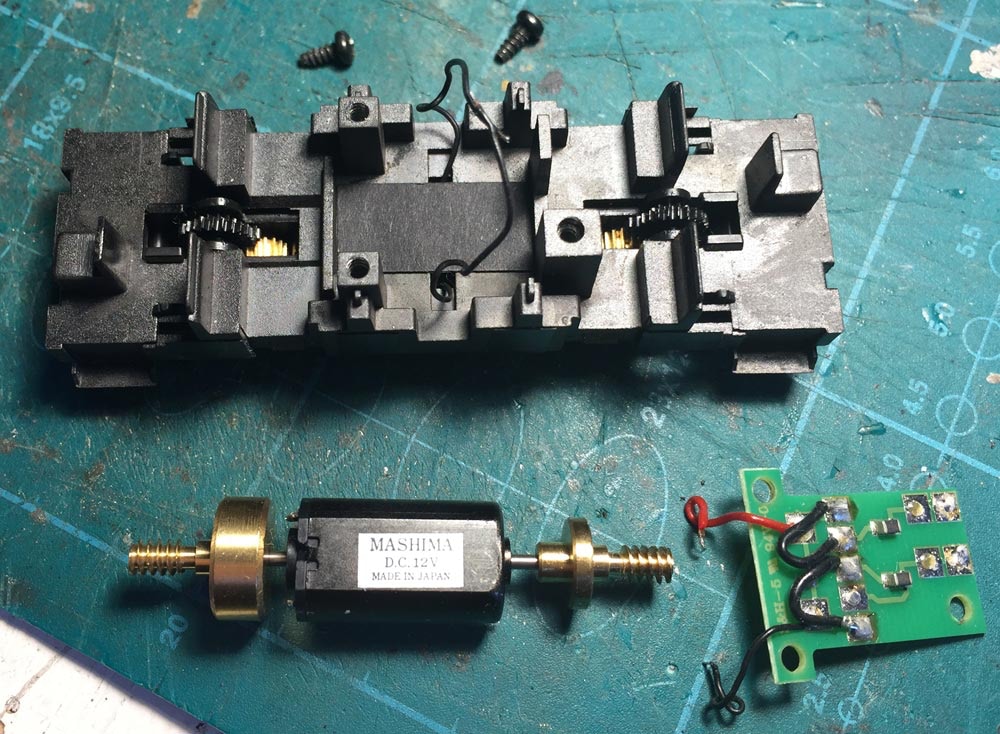
Fits Bemo with flywheel with wheelbase 40.2 or 51.2 mm, Art 1009, 1209, 1609. For H0e/H0m and H0 models. This is the latest, revised version. 

To select and purchase the right upgrade kit for the right Bemo railbus, go to this page.
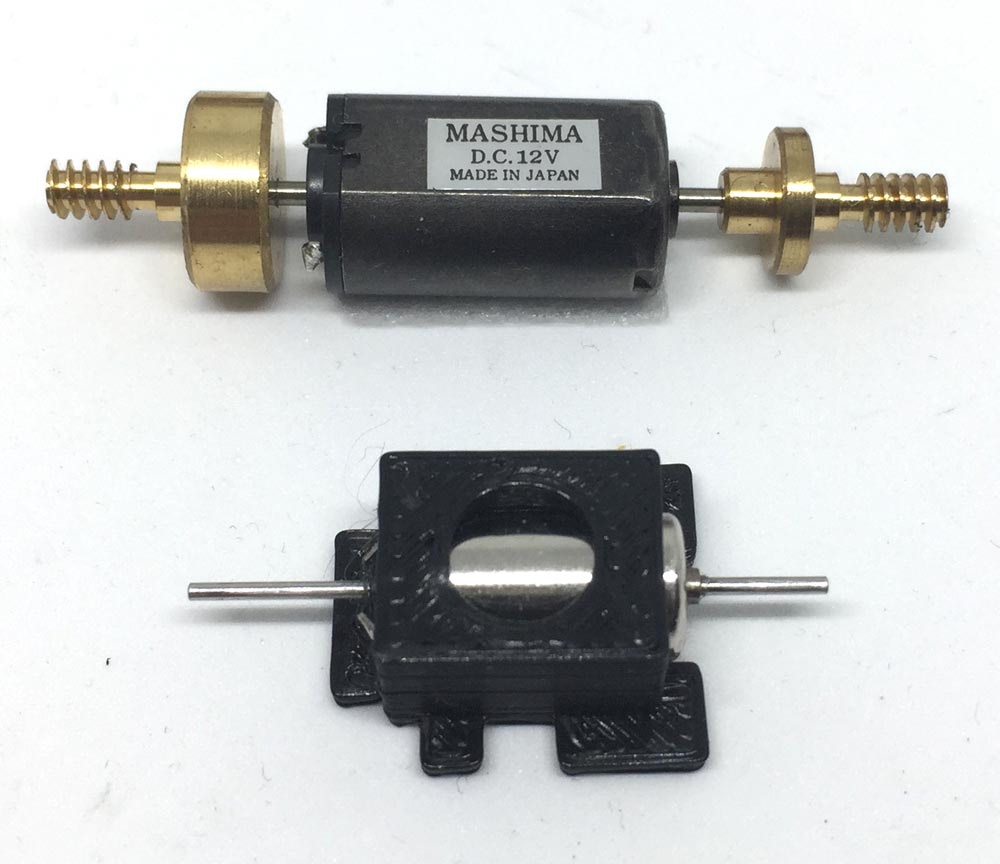
Art. BEWISM-C

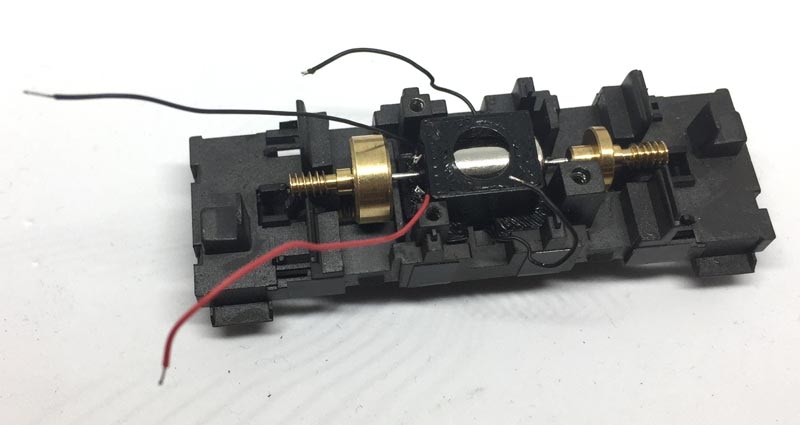
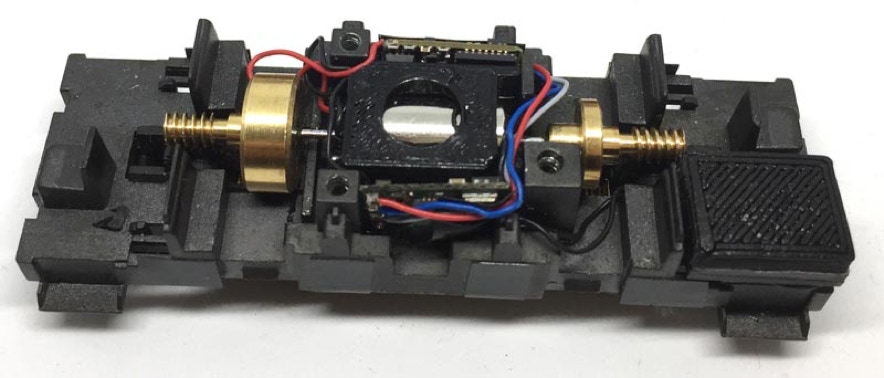
Contents of the kit:

1x 8x16 mm motor with two shafts

1x motor casing

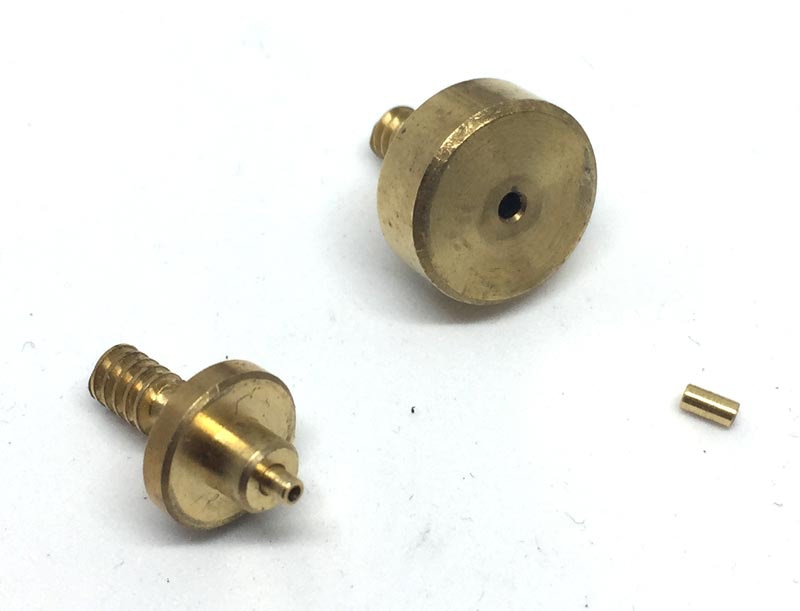
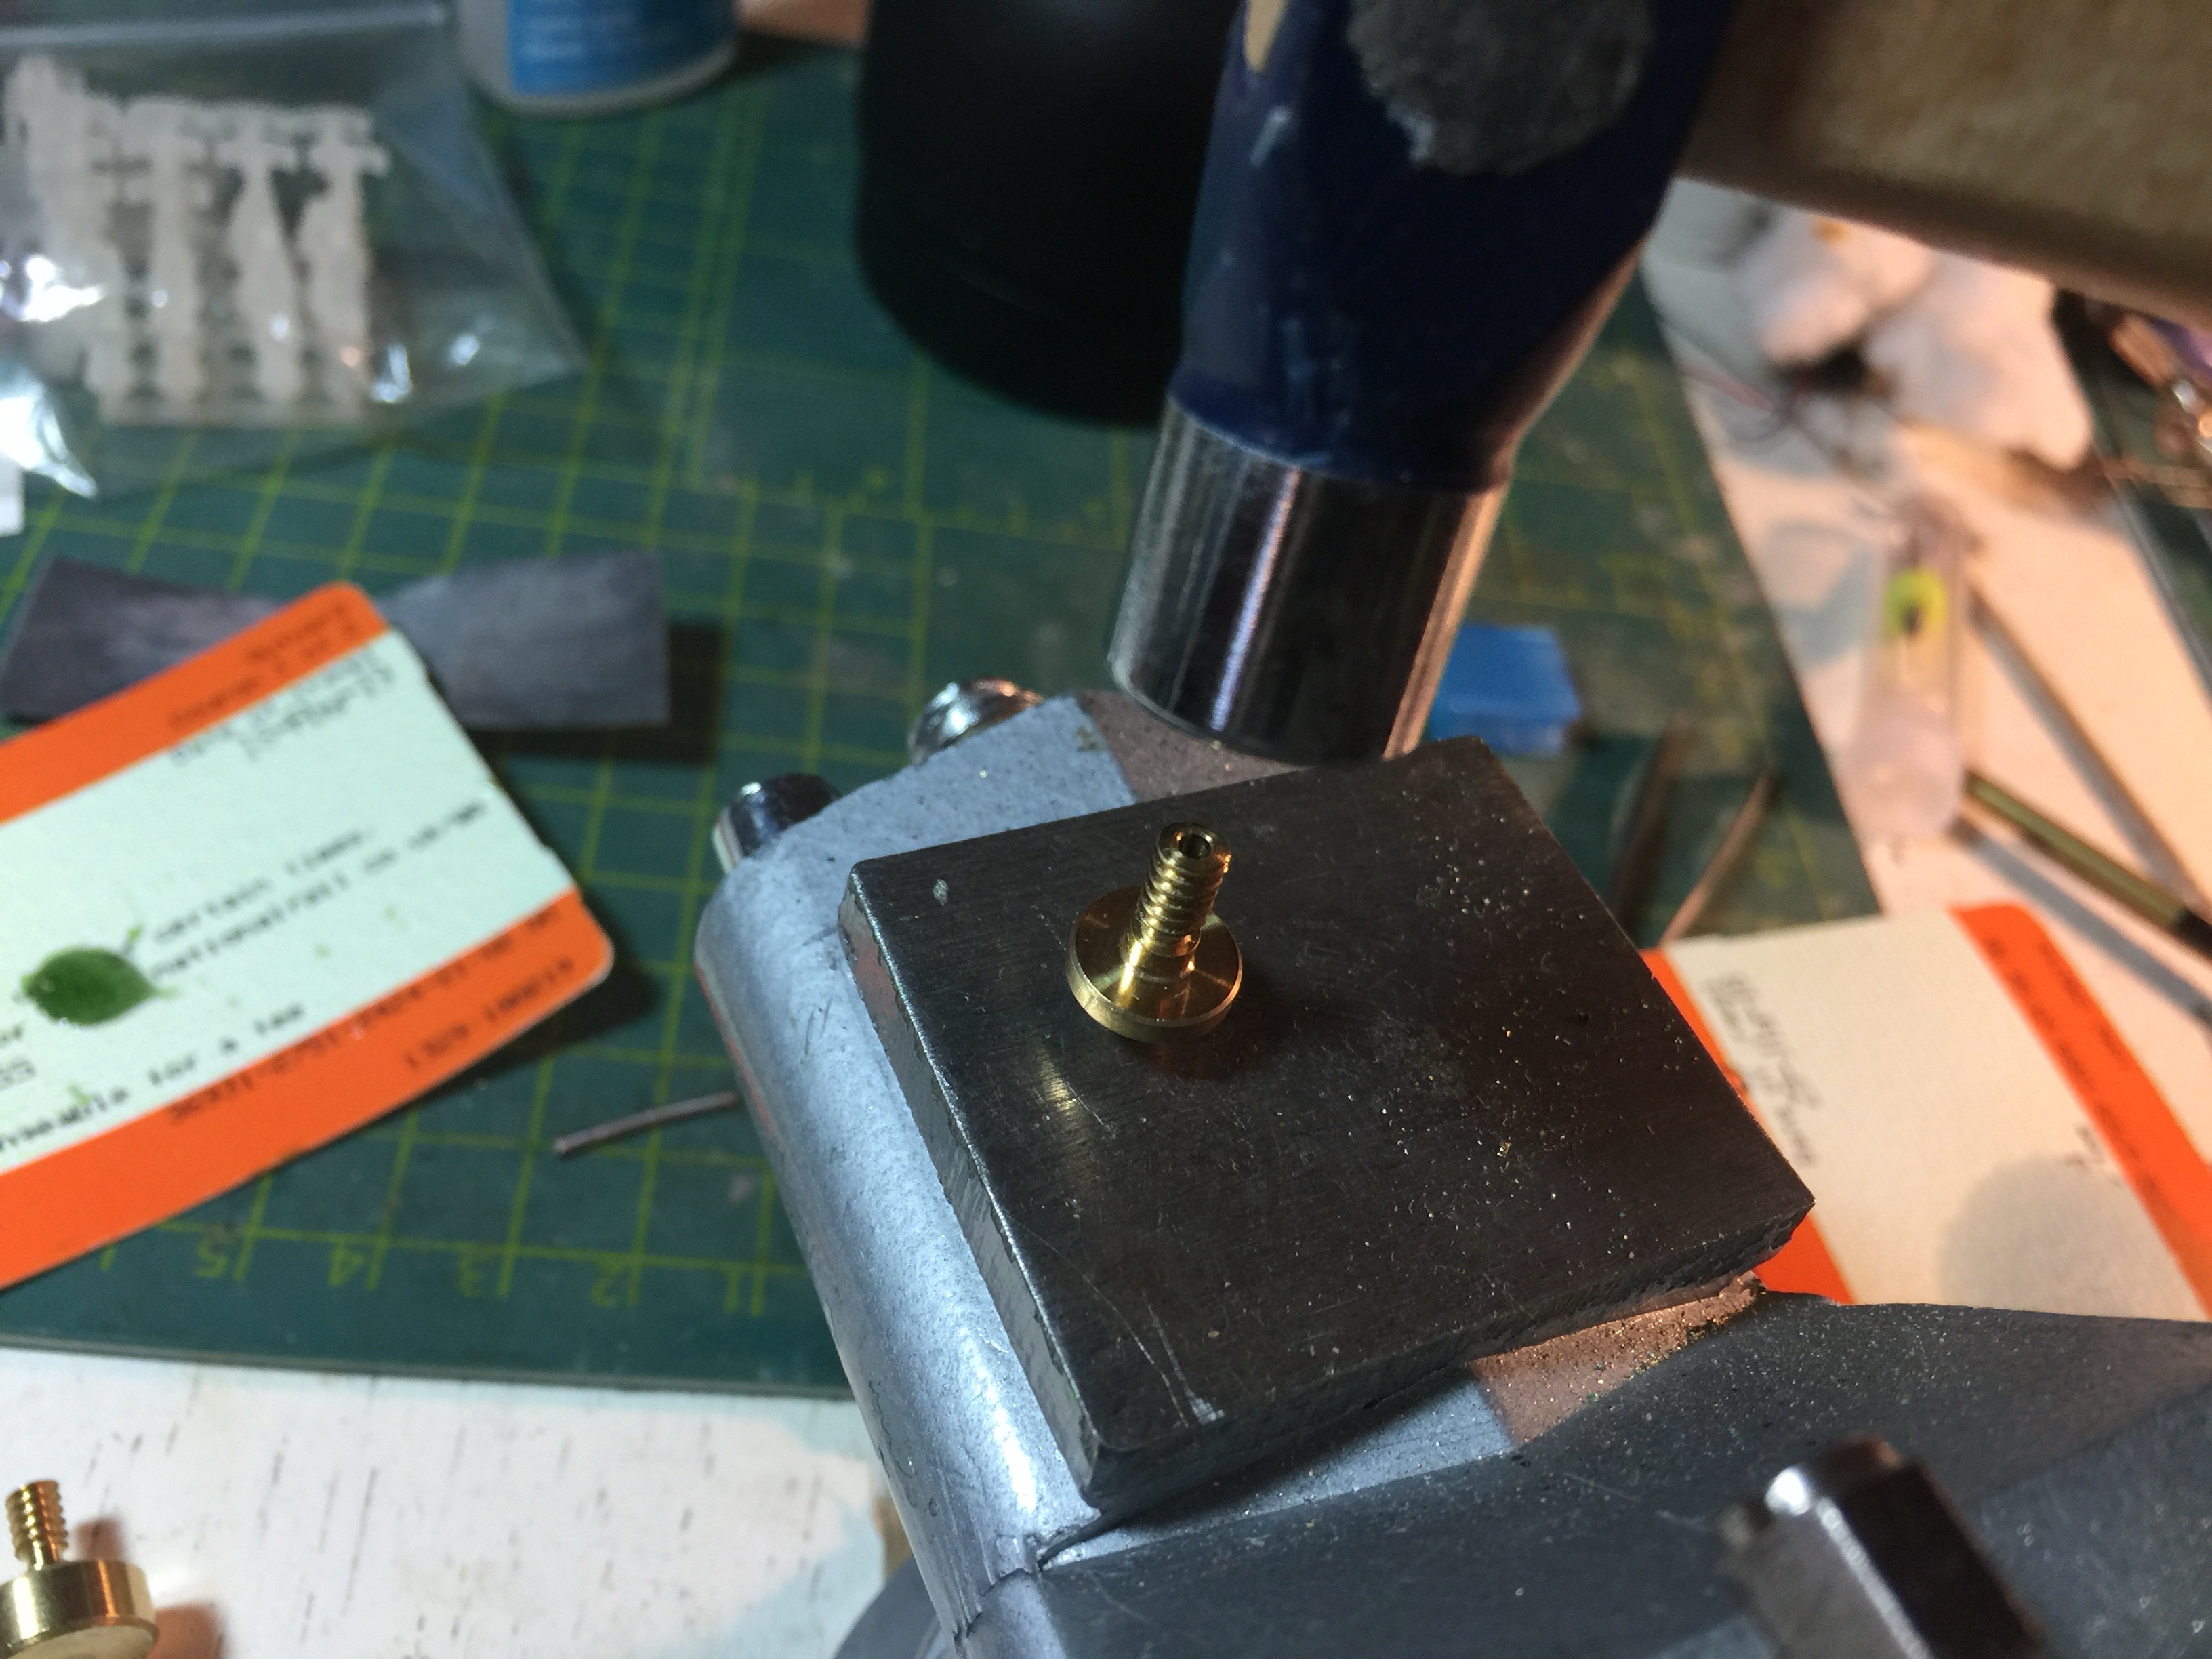
2x brass adapters for worm/flywheel

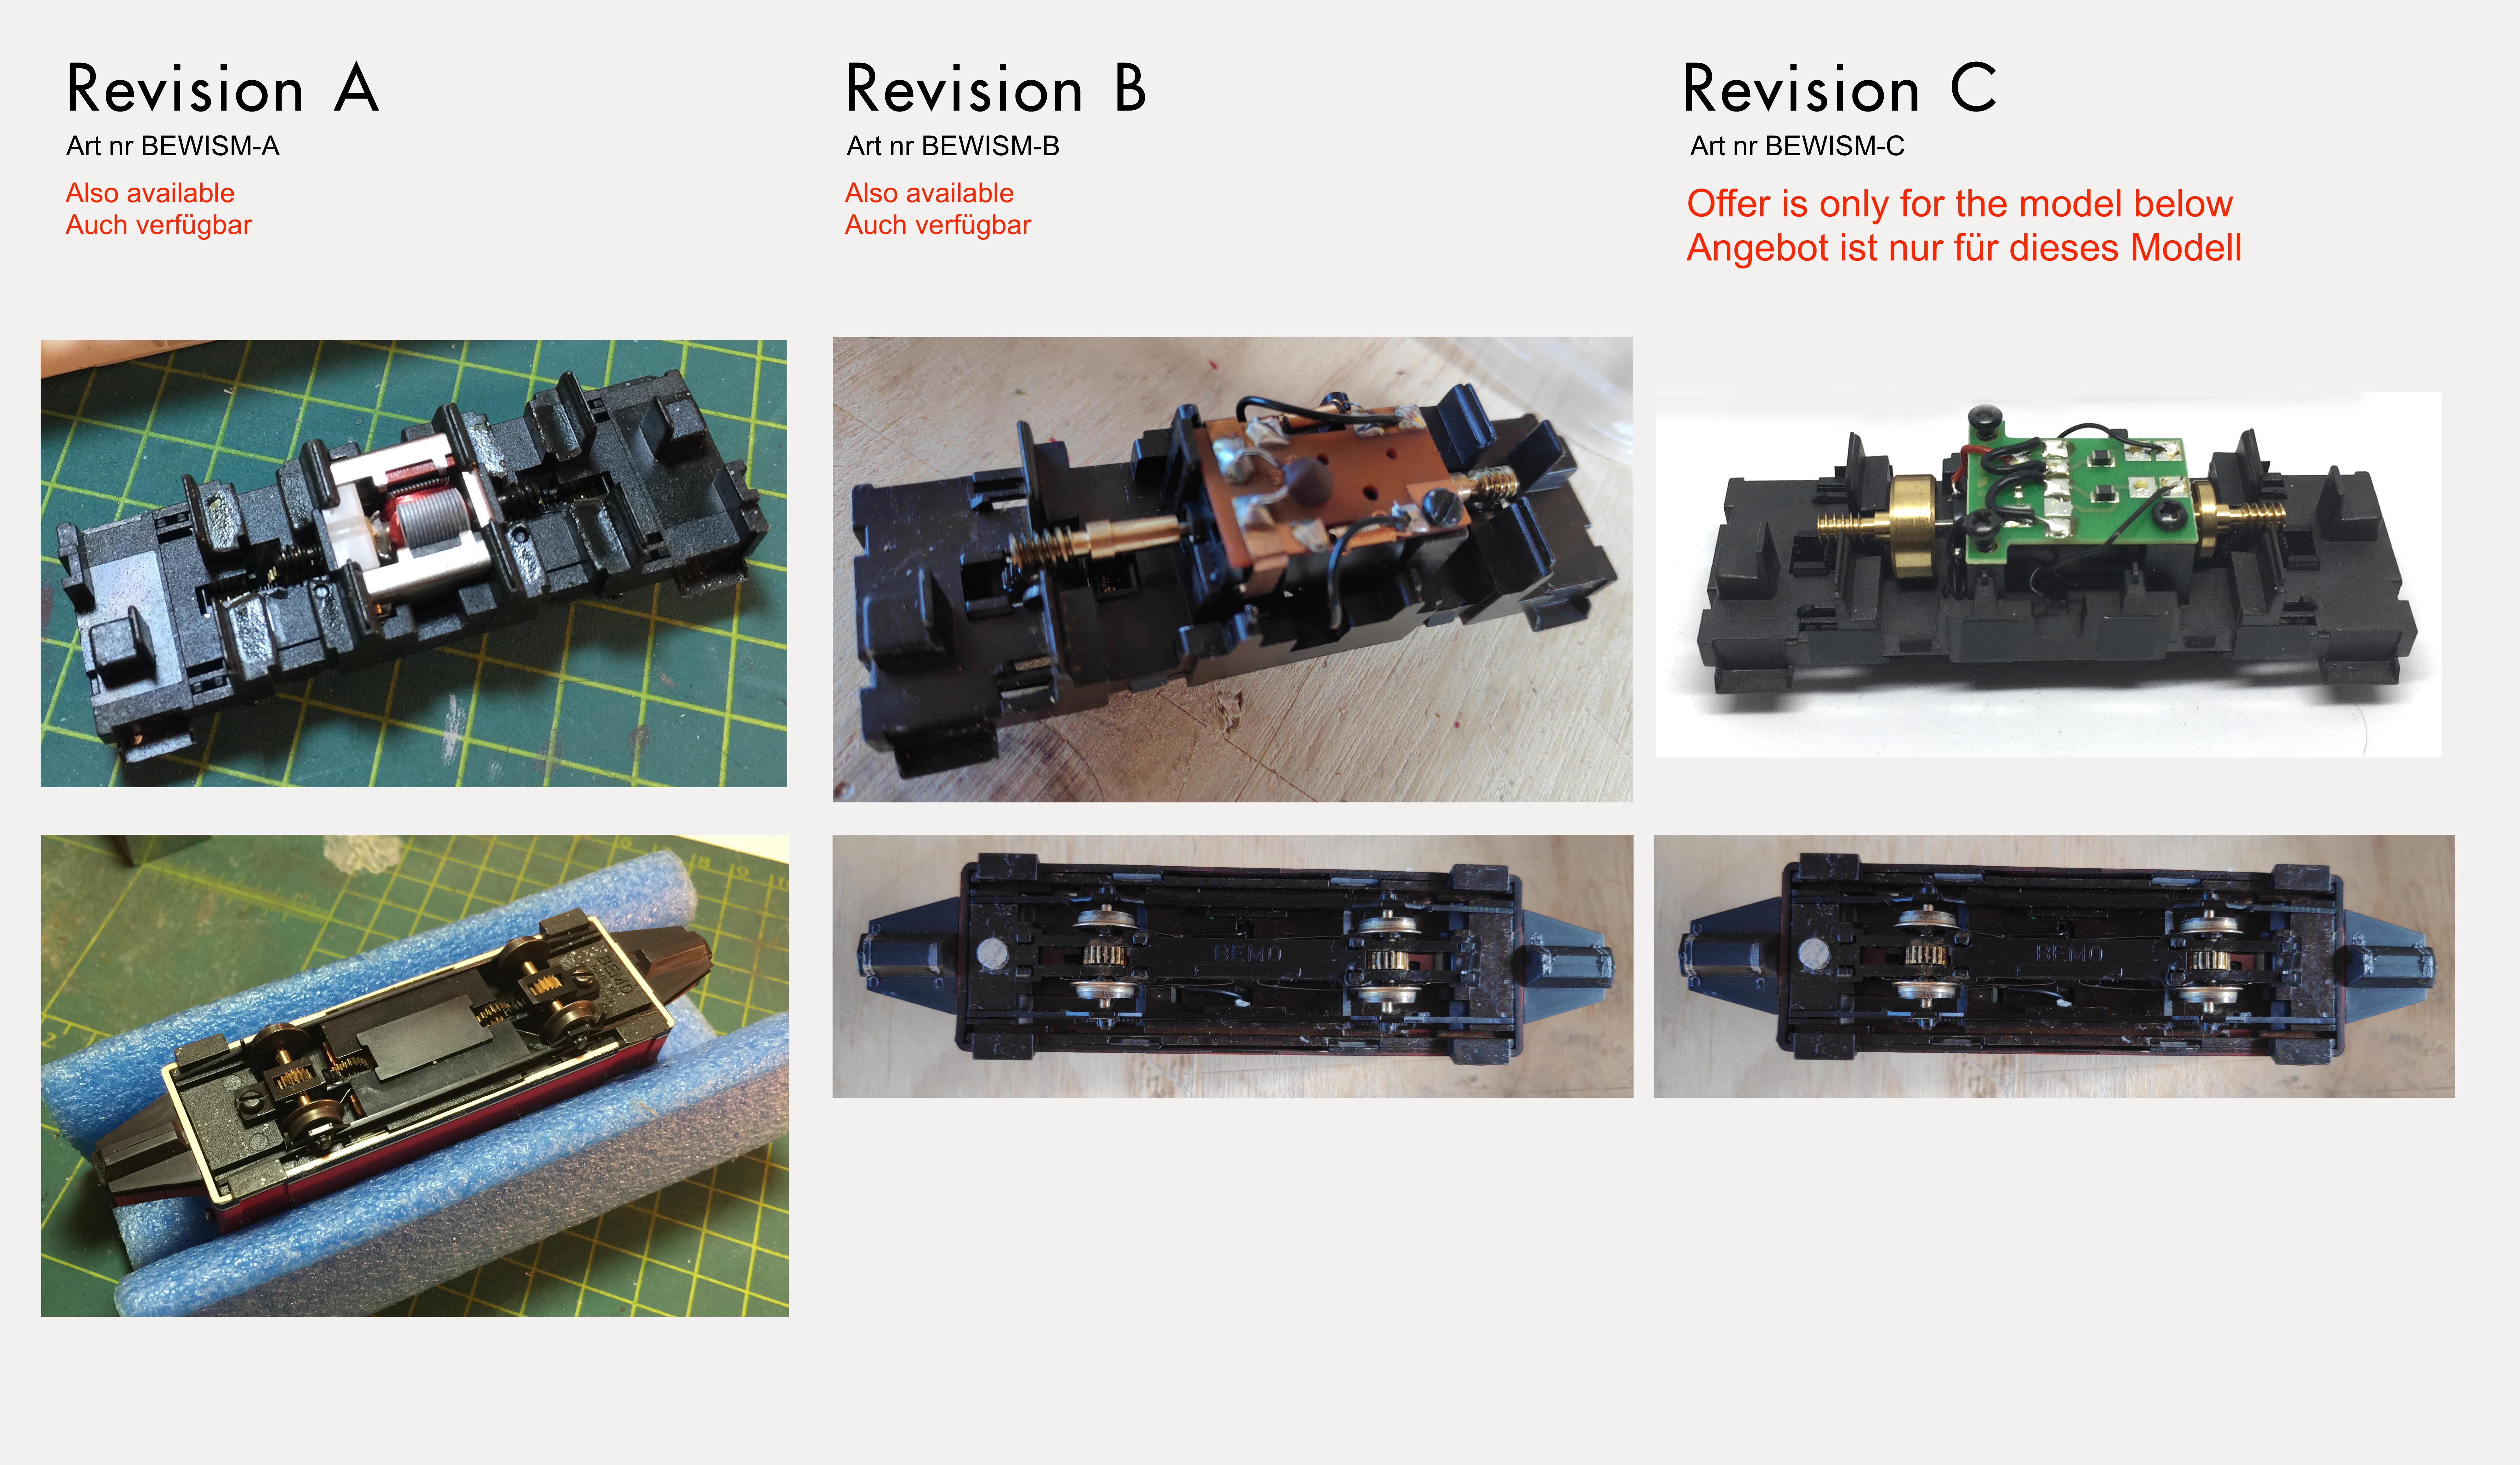
Conversion Bemo Wismar Railbus V3 (latest version with flywheel) to 12V coreless motor

KASTENLOK INDEX

Question? Just reach out!

What you need for conversion set

- The model and upgrade kit

- Small flat screwdriver

- Soldering iron 15W/25W

- Thin wire (get the thinnest wire here)

Good to have:

- Gear puller

- General modelling tools


Installation time: Around 60-90 minutes

1

Take note of the fragile parts

You might want to be very careful with the two brass whistles on the roof, so lay the model on/in something soft.

2

Take the housing off

To remove the housing, follow the instructions on the page of the first Bemo Wismar railbus, then return here.

3

5

Remove the 3 screws that hold the PCB board in place. Don’t loose them.

The original Bemo all-in-one flywheels/worms need to be removed from the original motor. To get more tips on how to remove the worm, check out this article on this website. You can used the V plate from the gear puller to hammer out the motor shaft.

Swap the flywheels/worms

4

Disconnect the motor wires and the wires leading to the wheel contacts. I decided to replace these clumsy wires for Ultra thin wire.


Take the PCB and the motor out

De-solder wires

6

Fit adapters in flywheels/worms

The brass adapters will then be pushed/carefully hammered inside them

When you use a hammer, use a small hammer and hammer carefully and straight.

7

Fit adapters in flywheels/worms

The flywheel/worms will then be fitted on the new motor. Use a tiny bit of Loctite or superglue, if it is not a friction fit. Check for correct alignment, each worm centred above the gears.

8

Solder wires

Solder wires to the motor and fit motor assembly. In the picture below, I have separate wires to the wheel contacts and separate wires to the motor, as this model will be digital. For analogue, connect the wires from the pick ups directly to the motor. The motor stays in place with a push fit. The electronics board does not need to be fitted again, but you can to secure the motor in place. With my model, the motor housing had a tight enough fit, that I didn’t need to use the electronics board. This has the benefit that it doesn’t block the view through the windows.

9

Reassemble model

Test if it runs well, then close the model.

If you have any problem during the installation, don’t hesitate to contact me.


Sven

Digital conversion

This motor upgrade kit can very well be converted to DCC. Check the digital setting page, for many decoders, to get the best driving experience. Below you see a DCC Zimo decoder on one side of the motor, an Uhlenbrock SUSI Sound decoder (art. 32410/4) on the other side, connected to a 11x15 Tramfabriek speaker.