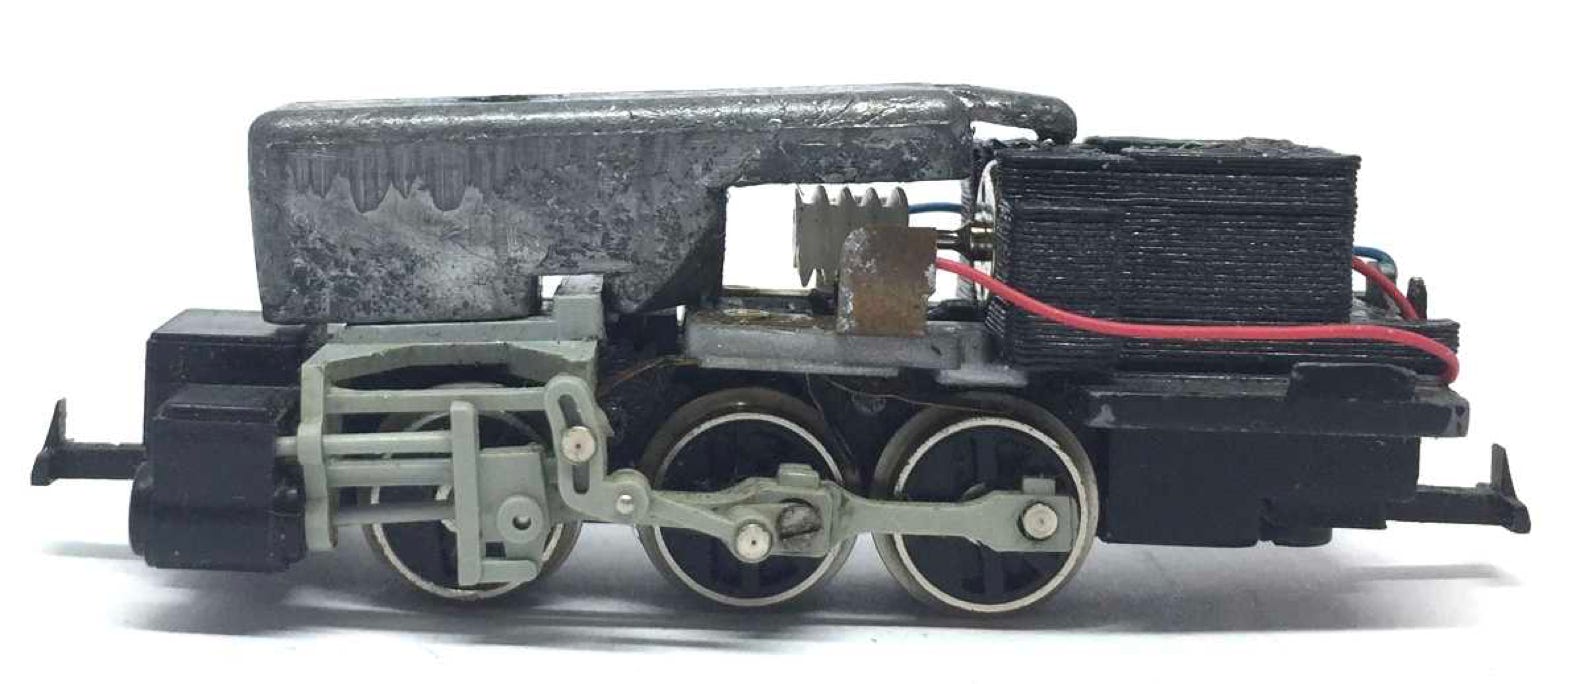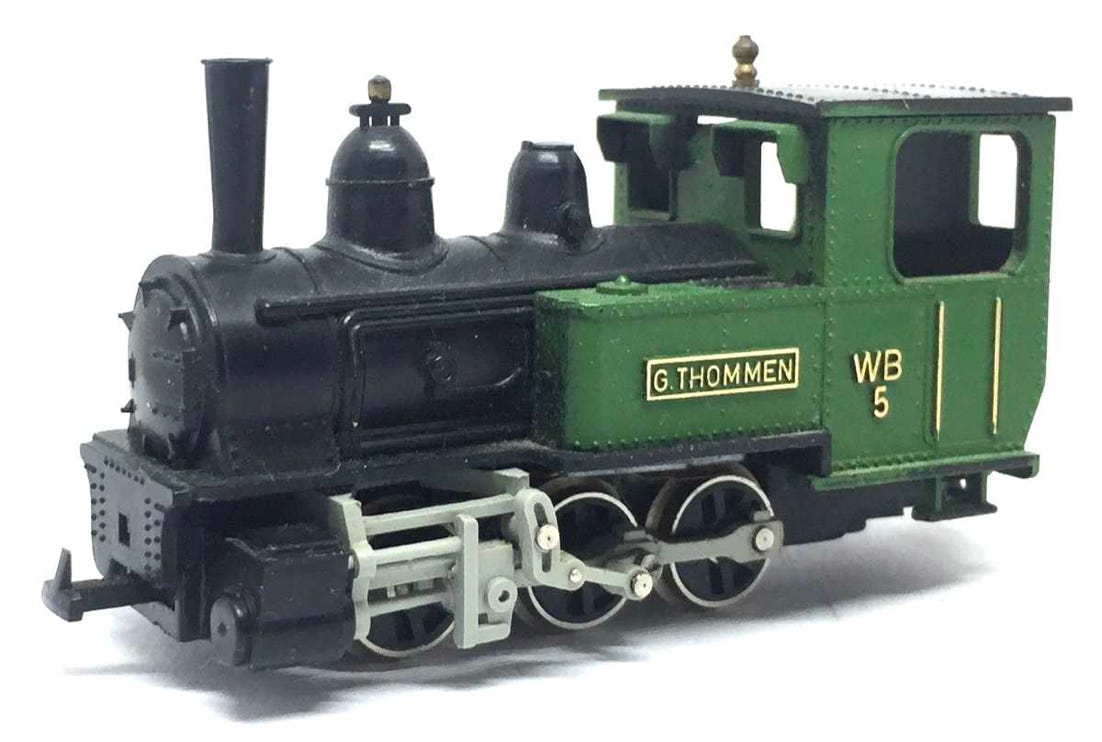
Conversion Liliput G. Thommen WB5 (art 760)

to 12V coreless motor

What you need for conversion set

- The model and upgrade kit

- Small flat screwdriver

- Soldering iron 15W/25W


Good to have:

- General modelling tools


Installation time: Around 30 minutes

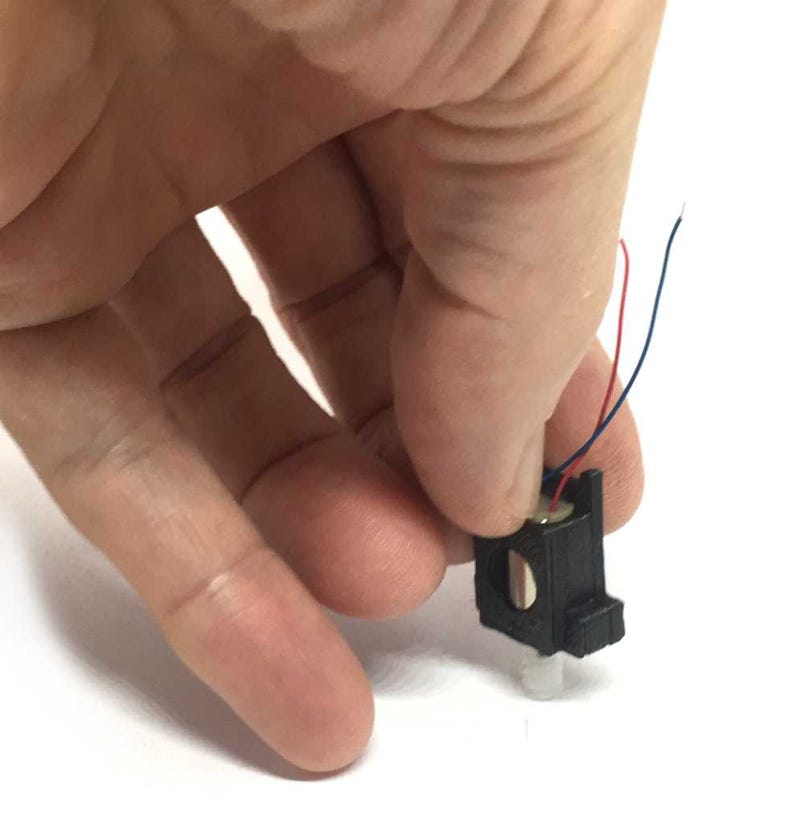
LITHOM   Coreless motor conversion kit

For Liliput H0e models


Contents of the kit:

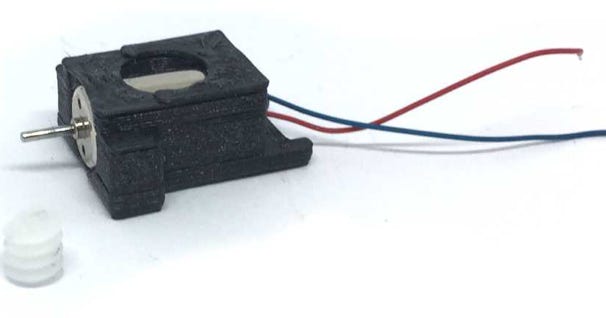
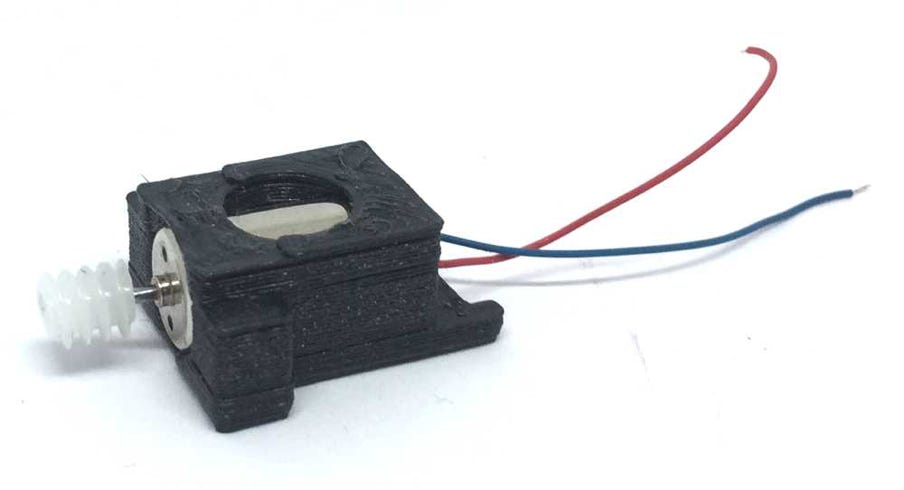
1x  8x16 mm 12V motor with one shaft

1x Motor casing

1x worm (POM material)

Contents of the kit >

1

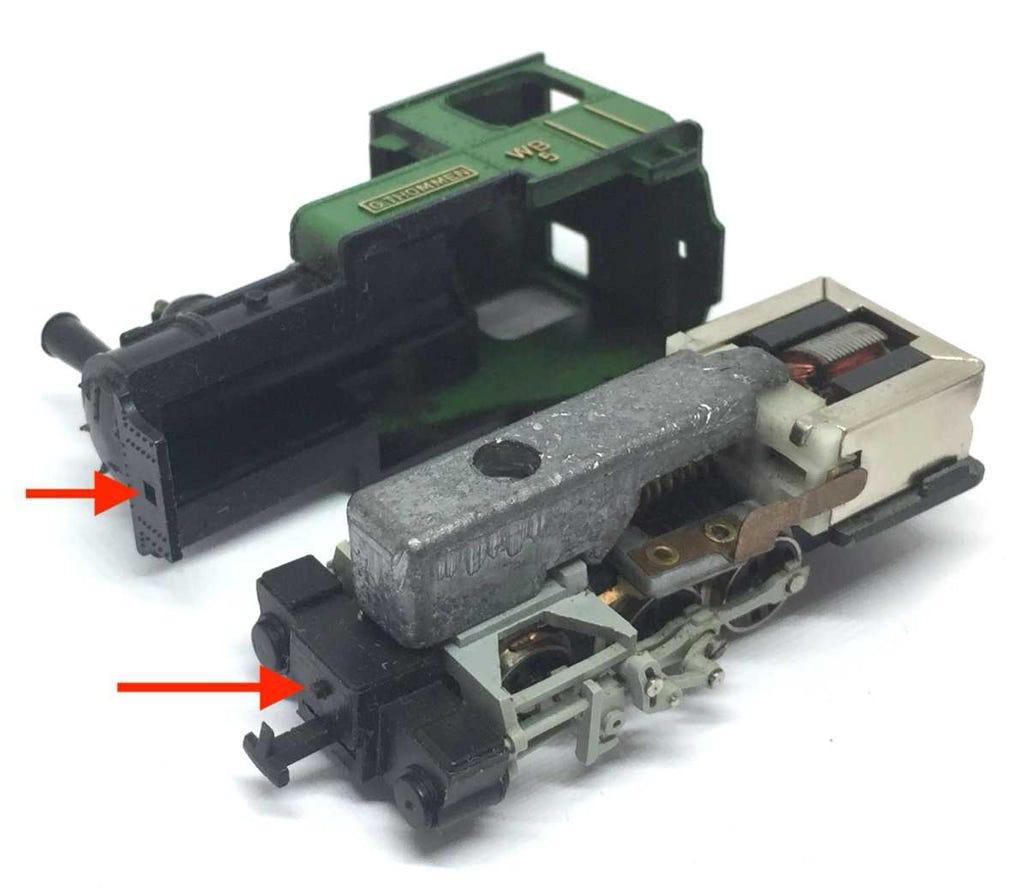
Remove housing

Take the housing off by lifting the front skirt away from the obviously visible tab.

KASTENLOK INDEX

Question? Just reach out!

2

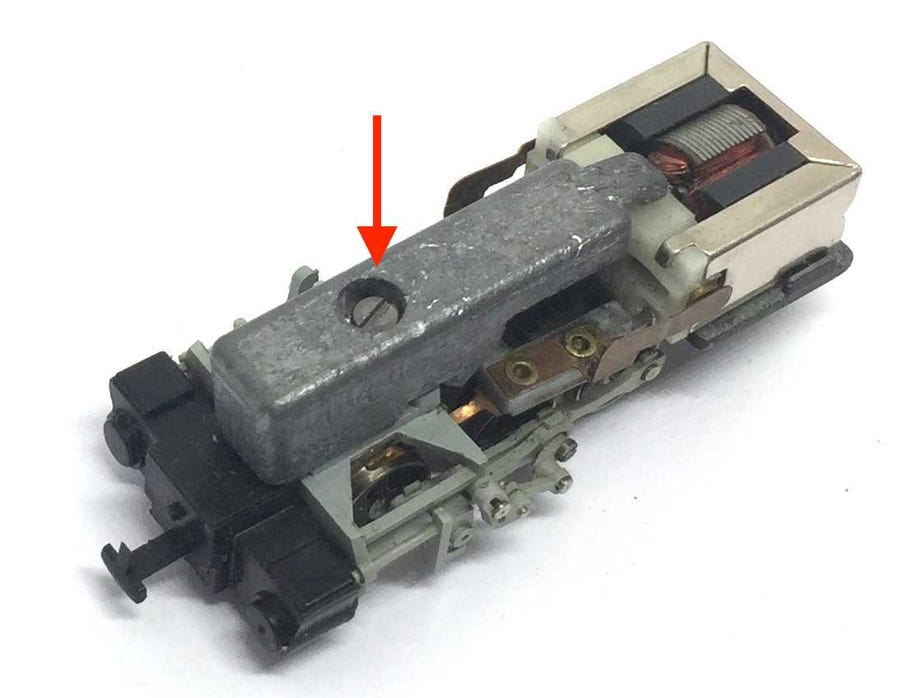
Remove the screw indicated and put the metal weight aside.

3

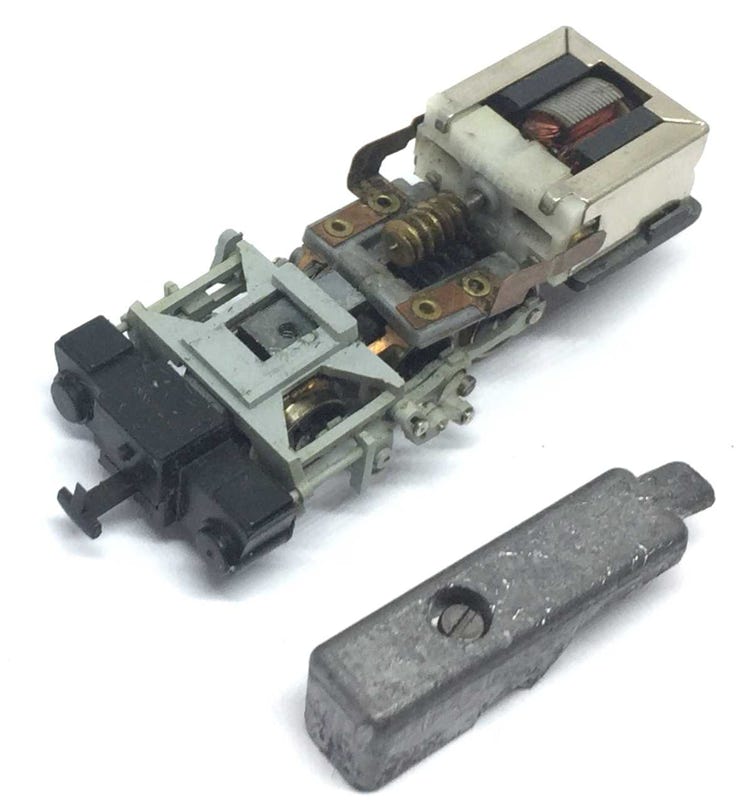
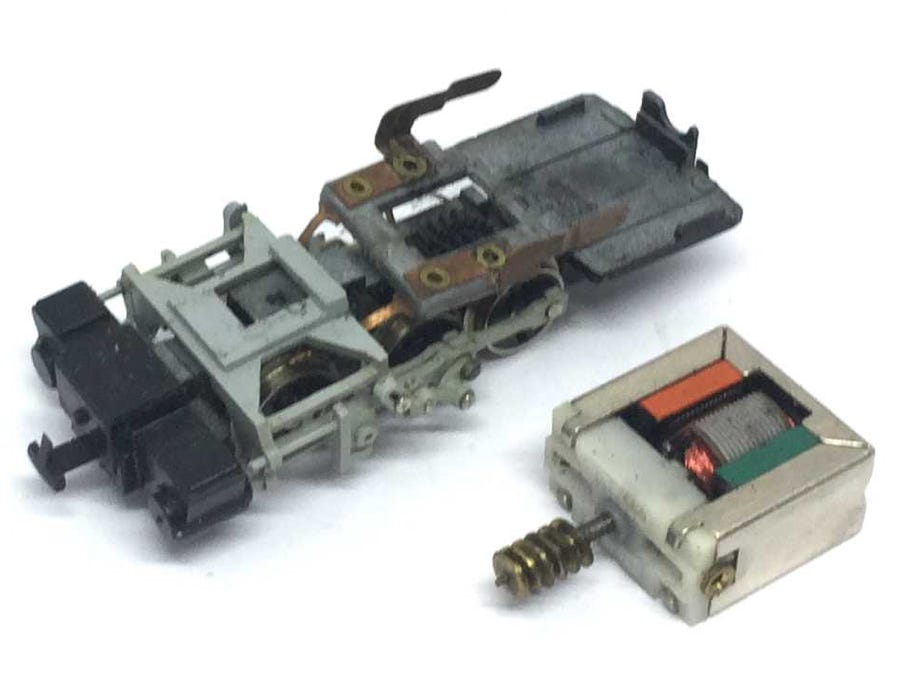
Now you can take the motor out.

5

4

6

7

Digital conversion

Put the worm on the shaft, if it hasn’t already been done so. Protect the back of the motor of being pushed out, as it is only press fitted.

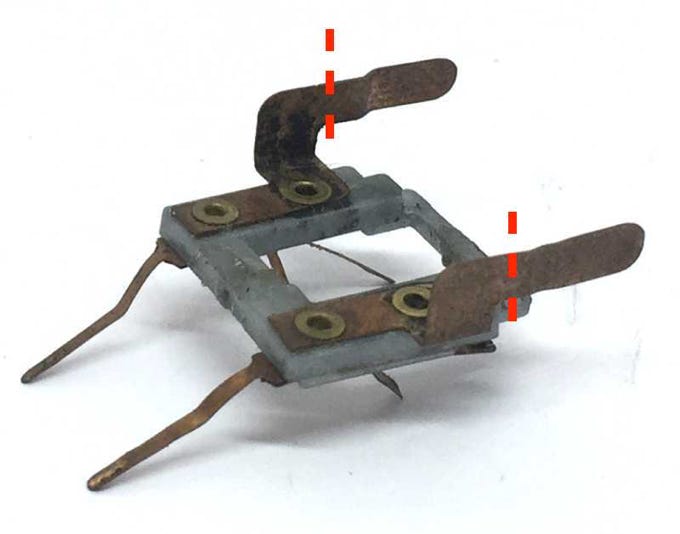
You might want to cut the contacts, as you don’t need them to be so long. Cut them along the dotted line.

Now place the whole thing back and test before putting the housing back on.

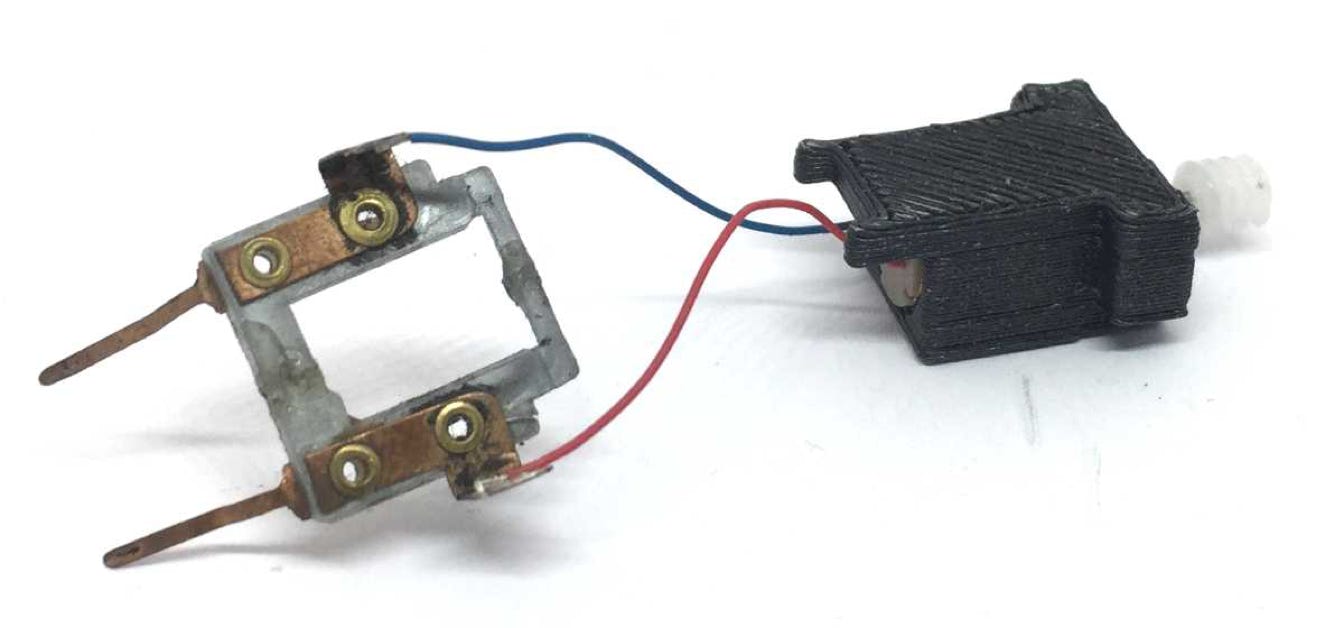
Solder the wires of the motor to the contacts. The blue wire needs to connect to the contact that connects to the right wheels (in the direction of driving).

This motor upgrade kit can very well be converted to DCC. Check the digital setting page, for many decoders, to get the best driving experience.


I would advise using the Train-O-Matic Micro decoder with wires (art. 02010223) with the SPP Powerpack from the same brand.