
Prices for UK customers are shown inc 20% VAT
Other countries, inc EU, prices shown are ex VAT.
UK based


Prices for UK customers are shown inc 20% VAT
Other countries, inc EU, prices shown are ex VAT.
UK based
What you need for conversion set
- The model and upgrade kit
- Small Phillips screwdriver
- Soldering iron 15W/25W
- General model making tools
Installation time: Around 40 minutes
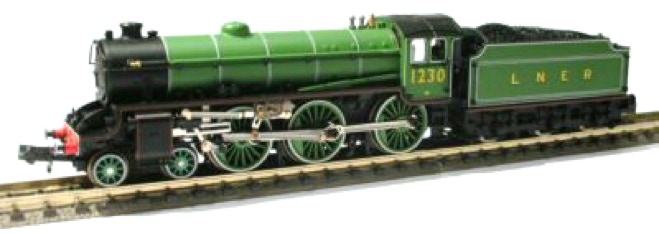
Dapol B1
Conversion to 12V coreless motor


Contents of the kit:
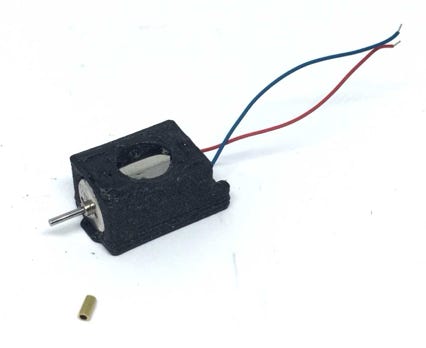
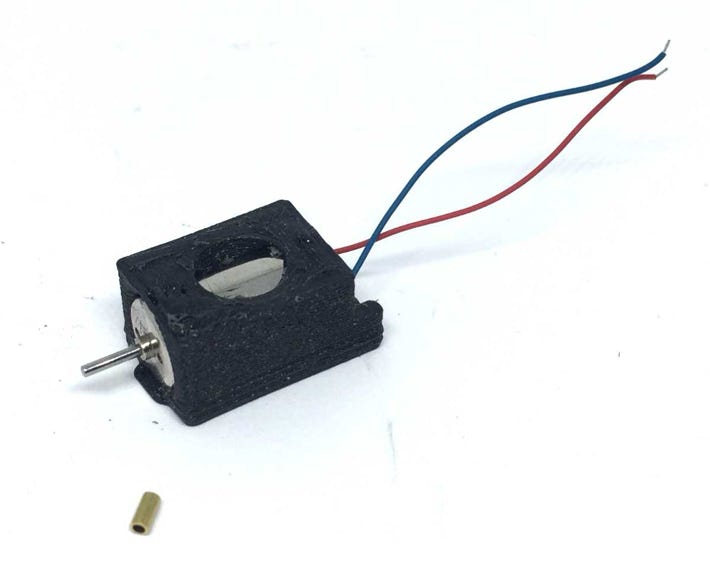
1x 12V coreless motor
1x motor casing
1x adapter
1x strip of double sided tape
Question? Just reach out!
Smoother running at low speeds*, lower maximum speed and quieter.
Take apart
1
Remove the tender from the locomotive with the three small screws for the connecting bar and wires.
2
With the wires removed, you can lift the motor out. Remove the yoke from the motor shaft. You will need this again.
4
5

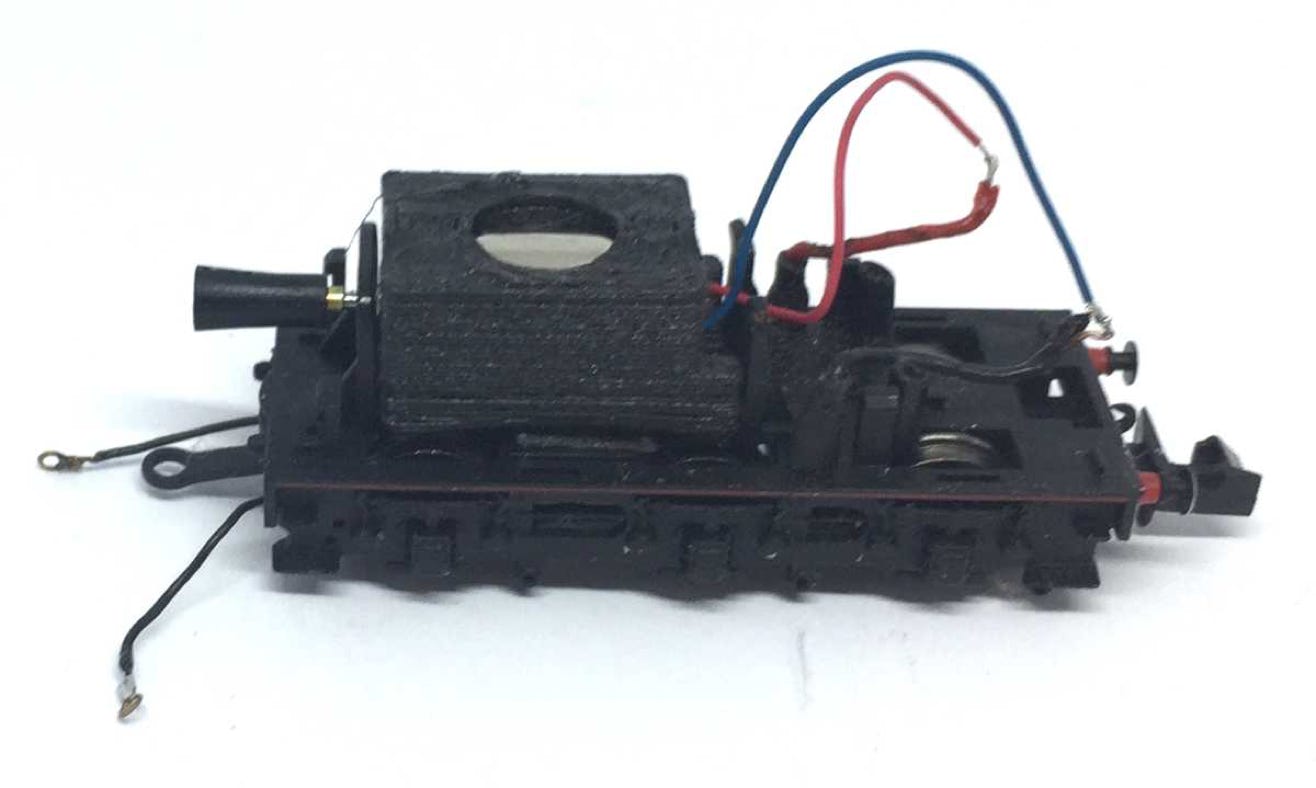
Red wire on this side, to the right track.
If the brass adapter is not glued on yet, glue it on with Loctite metal glue (not superglue, as you don’t have enough time to position it in place), or similar from other brands. Align the edge of the brass adapter with the front of the motor shaft.
After drying, fit the black yoke (as I’ve been told the black thingie is called.
Blue wire on this side, to the left track.

As my model didn’t have the DCC socket, I just connected the wires to the wheel contact wires. With the DCC socket available, solder the red motor wire to the orange decoder wire (motor +), the blue to the grey decoder wire (motor -).
6
Put the tender on the track and test if the motor starts spinning when power is applied to the track. If you run DCC, test it with DCC.
7
If all works well, fit the tender housing back on and connect the tender to the locomotive. It should all run much better now.
Digital
You can use decoders with the coreless motor. Train-O-Matic does an excellent micro decoder, available here from the Tramfabriek.
For optimal performance, you need to change some CV settings on a decoder. For several decoder brands, the ideal CV settings can be found by clicking here.
