
UK based
Prices for UK customers are shown inc 20% VAT
Other countries, inc EU, prices shown are ex VAT.

KASTENLOK INDEX


UK based
Prices for UK customers are shown inc 20% VAT
Other countries, inc EU, prices shown are ex VAT.

KASTENLOK INDEX
Fits Fleischmann Art 7968, 7969

What you need for conversion set
- The model and upgrade kit
- Thin wire
- Small flat screwdriver
- Soldering iron 15W/25W
Installation time: Around 20 minutes
1
The Fleischmann instructions say to remove the housing by lifting it upwards. But you might need to mind the tabs. There are two tabs on each side of the fronts on the model, that stick through the housing, so keep that in mind when removing the housing.
Fleischmann Track cleaner
See the replacement motor in action on a similar model.
3
5
2
4
Remove the motor
You might be able to pull the gear off with your fingers, but on my model it had a tight fit and I used my gear puller, available here. That made it an easy job (also very useful for other projects).
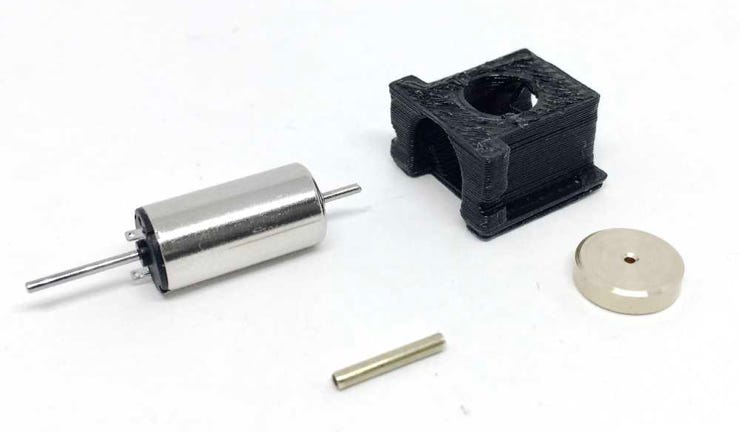
Press the sprocket on the brass tube.
Put solder on the contacts. You’ve got to use a solder iron, of course. Just holding soldering wire against a contact without using a hot solder iron, as seen on the picture, doesn’t get you anywhere.
6
8
9
Press housing back in place, fit screw and enjoy!
If you want to convert this model to DCC, check out the CV settings for this motor.
In this example, the Doehler & Haass super tiny PD05A has been installed.