UK based
Prices for UK customers are shown inc 20% VAT
Other countries, inc EU, prices shown are ex VAT.
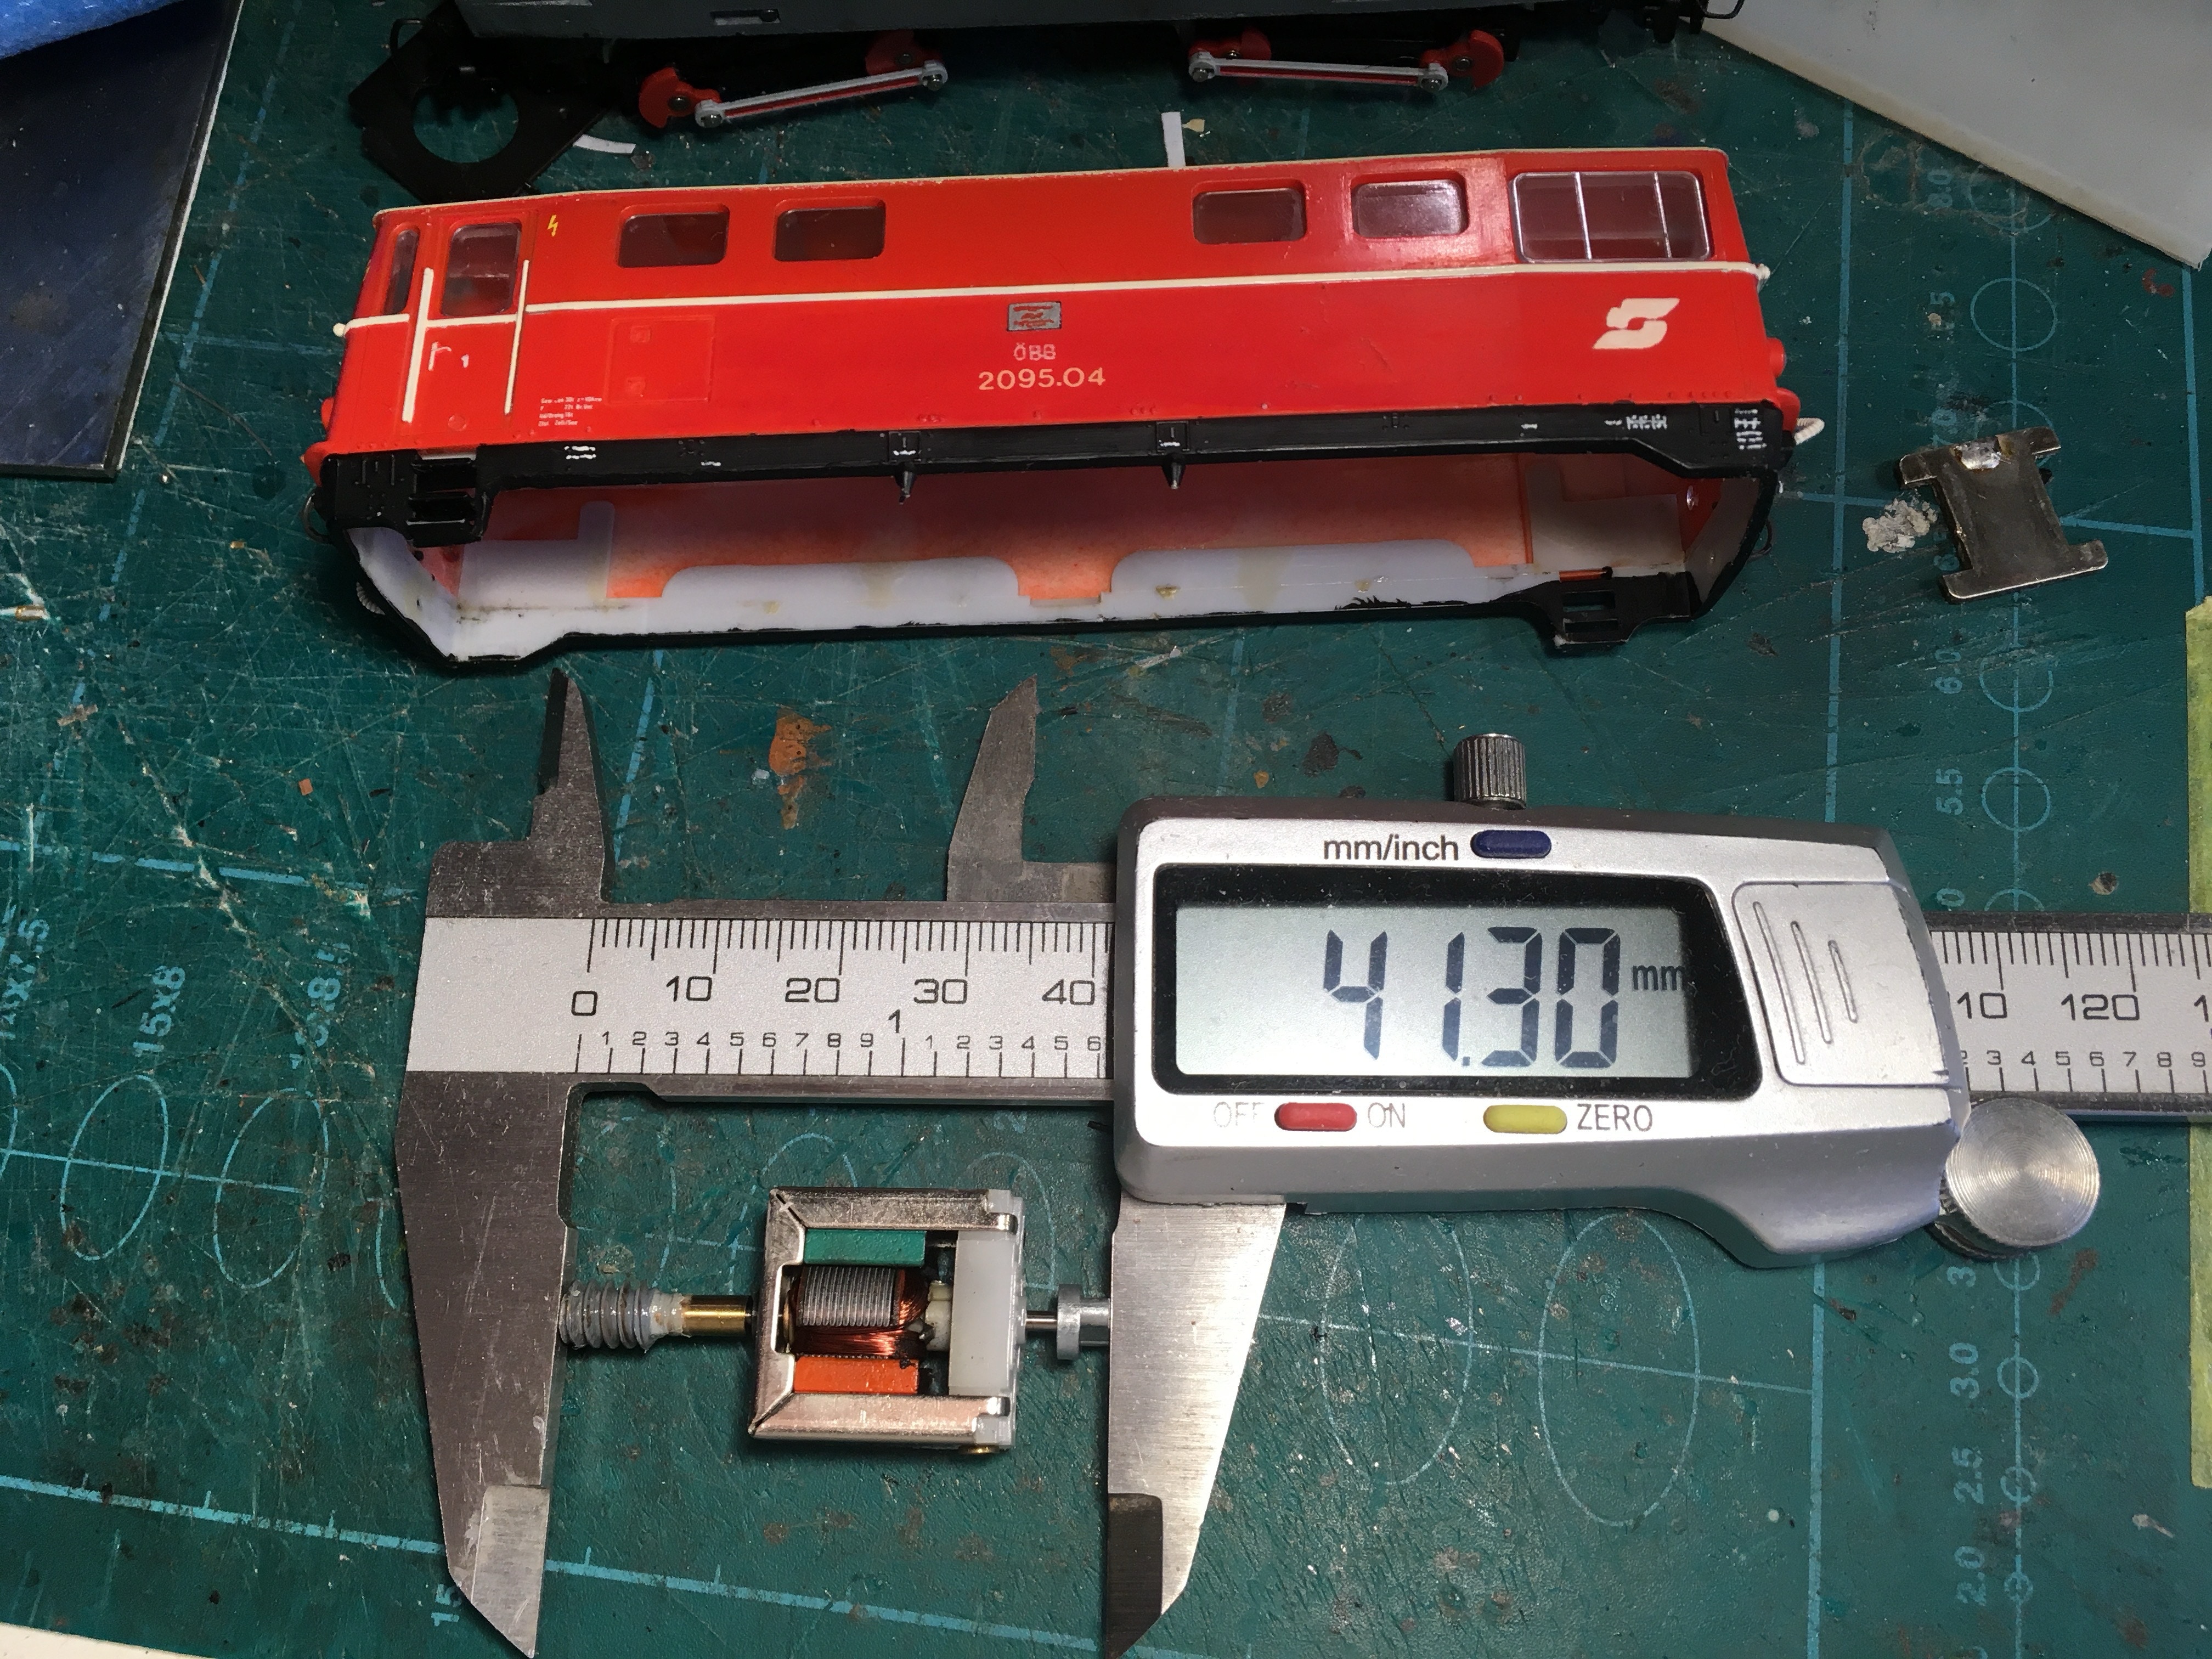
Upgrades Liliput ÖBB 2095 (1:87)
UK based
Prices for UK customers are shown inc 20% VAT
Other countries, inc EU, prices shown are ex VAT.
Upgrades Liliput ÖBB 2095 (1:87)
What you need for motor conversion set
- Diesel locomotive by Liliput 2095 for H0e
- Small flat screwdriver
- Soldering iron
- Loctite or superglue
Installation time: <1 hour
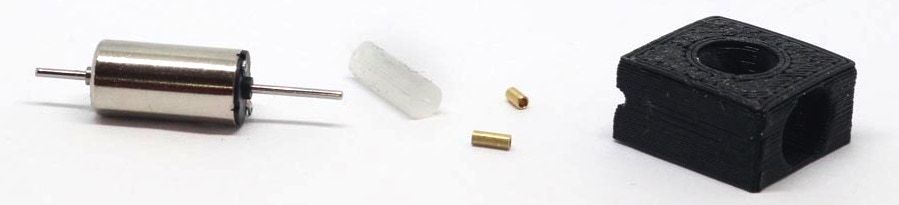
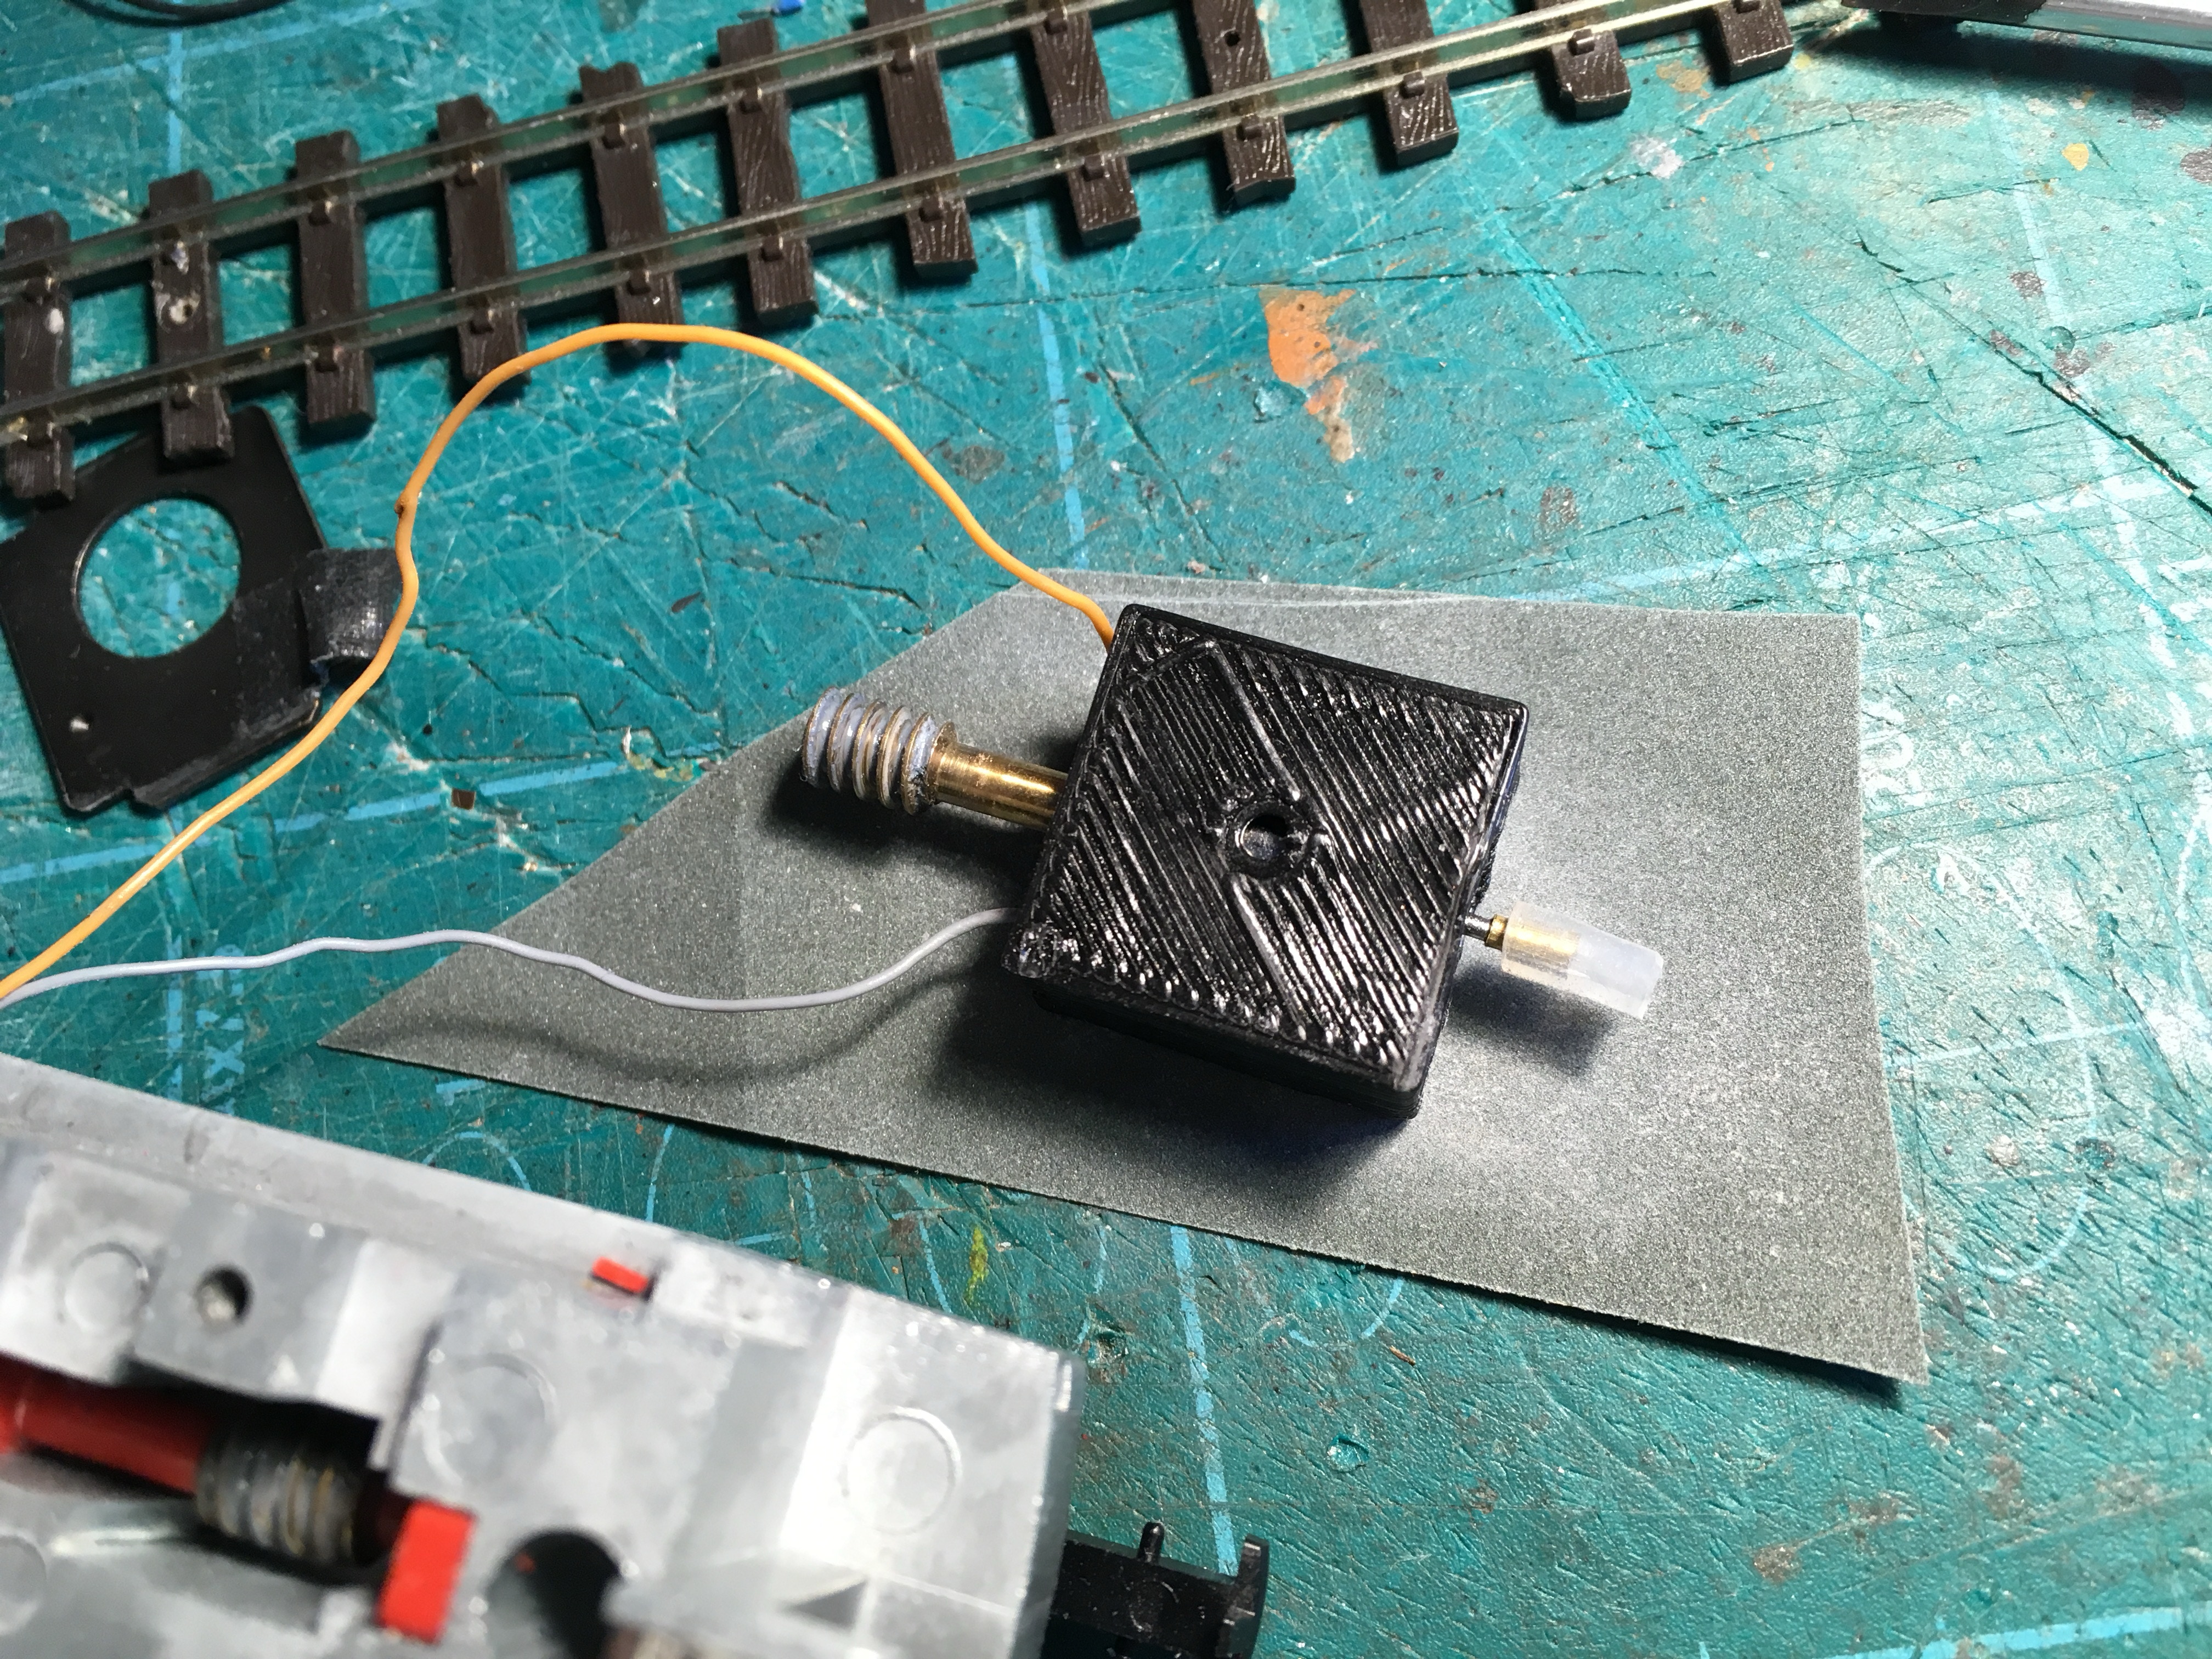
Contents of Coreless motor upgrade kit
Motor installation
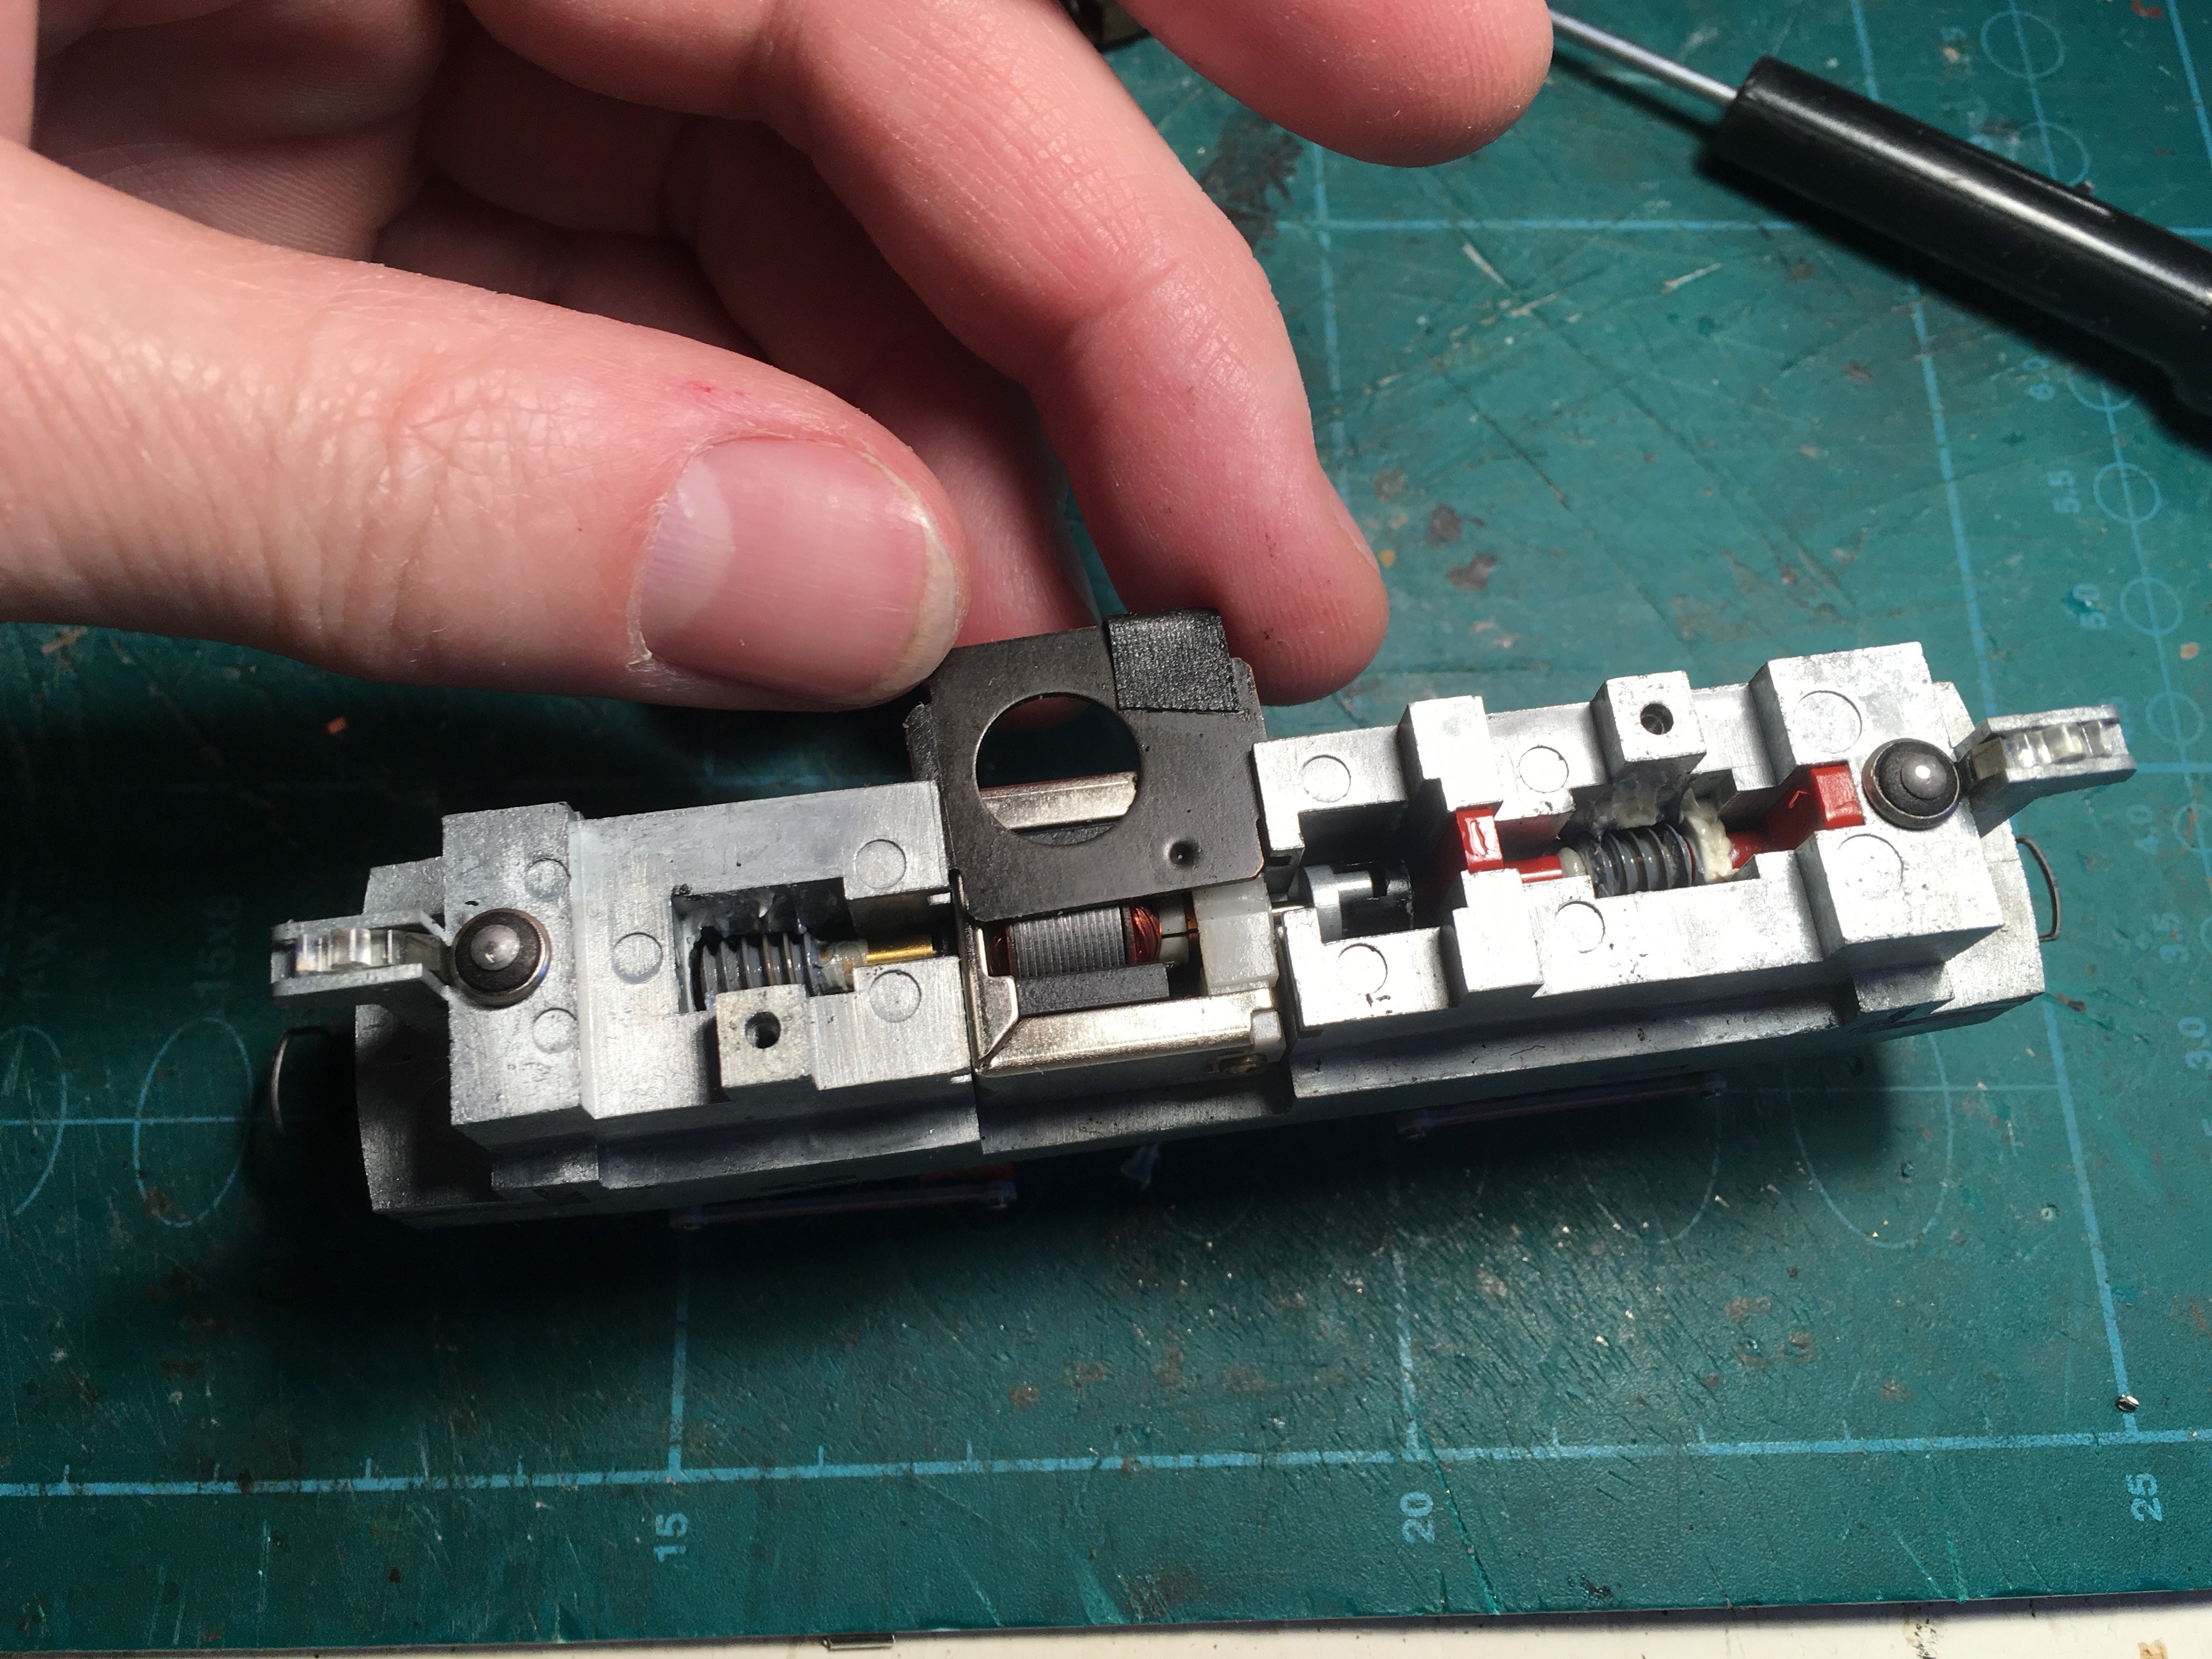
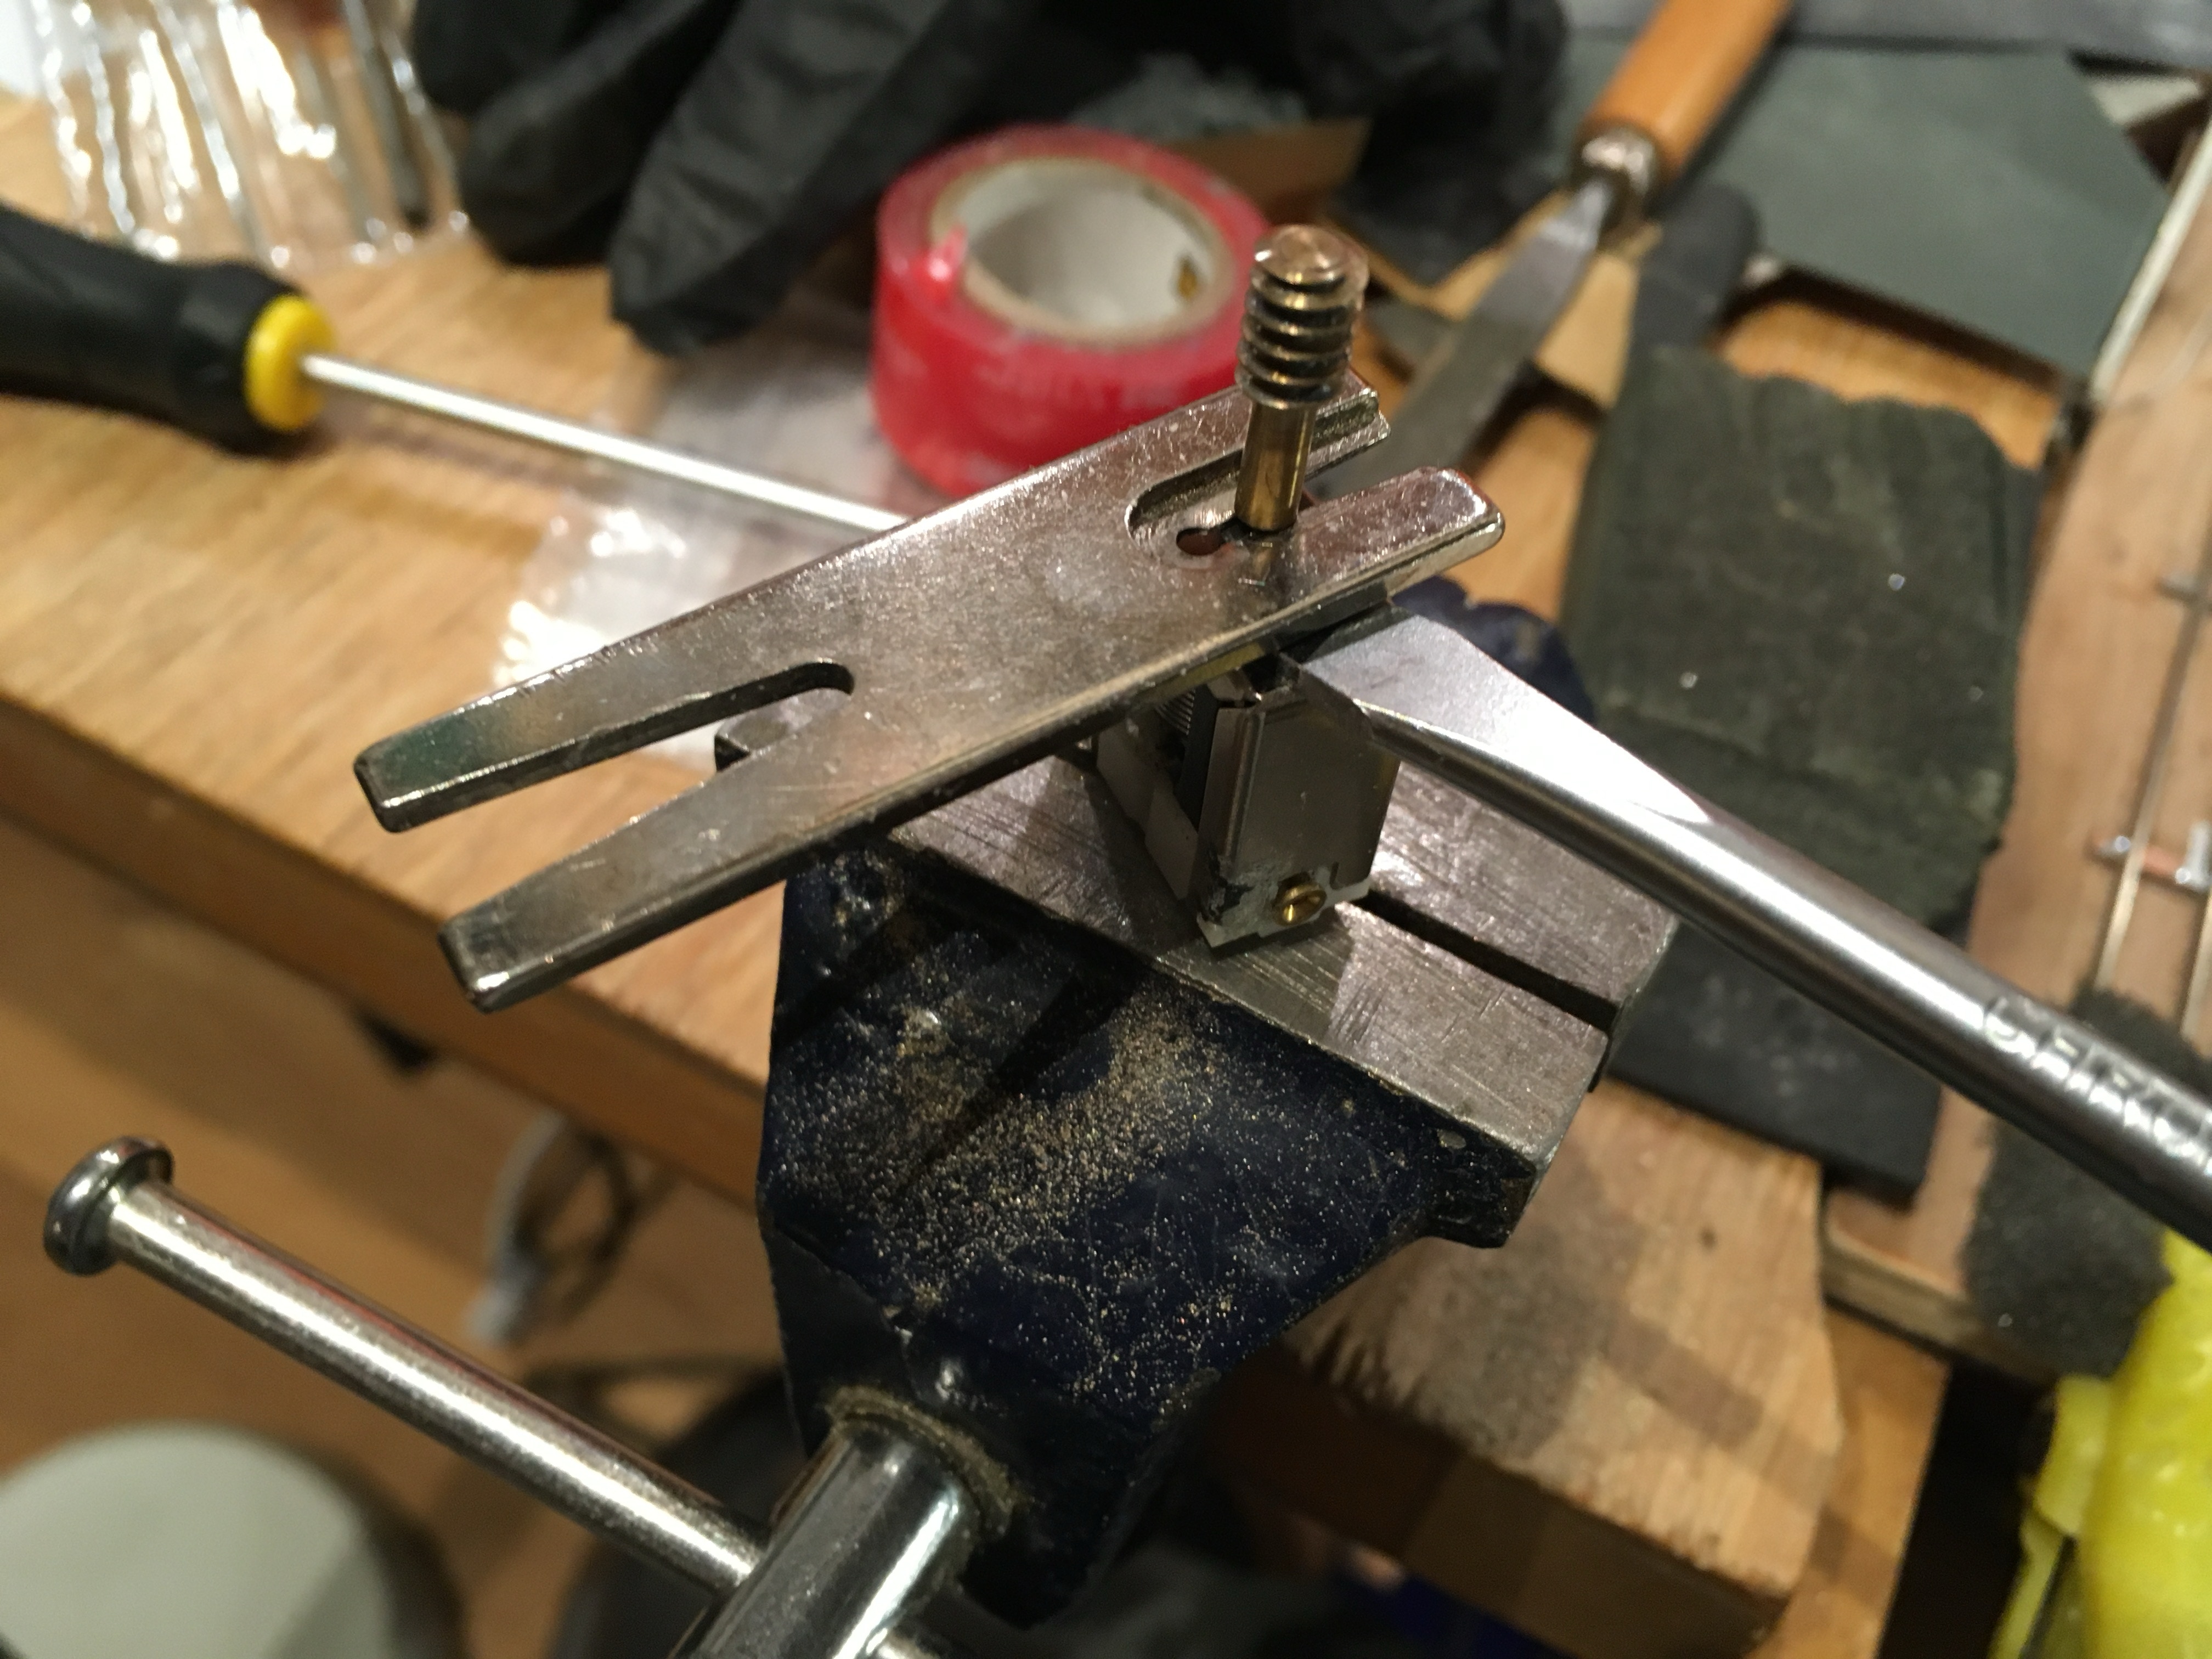
To open the model, just pull the sides of the housing outward with your fingers. The chassis can then be taken out.
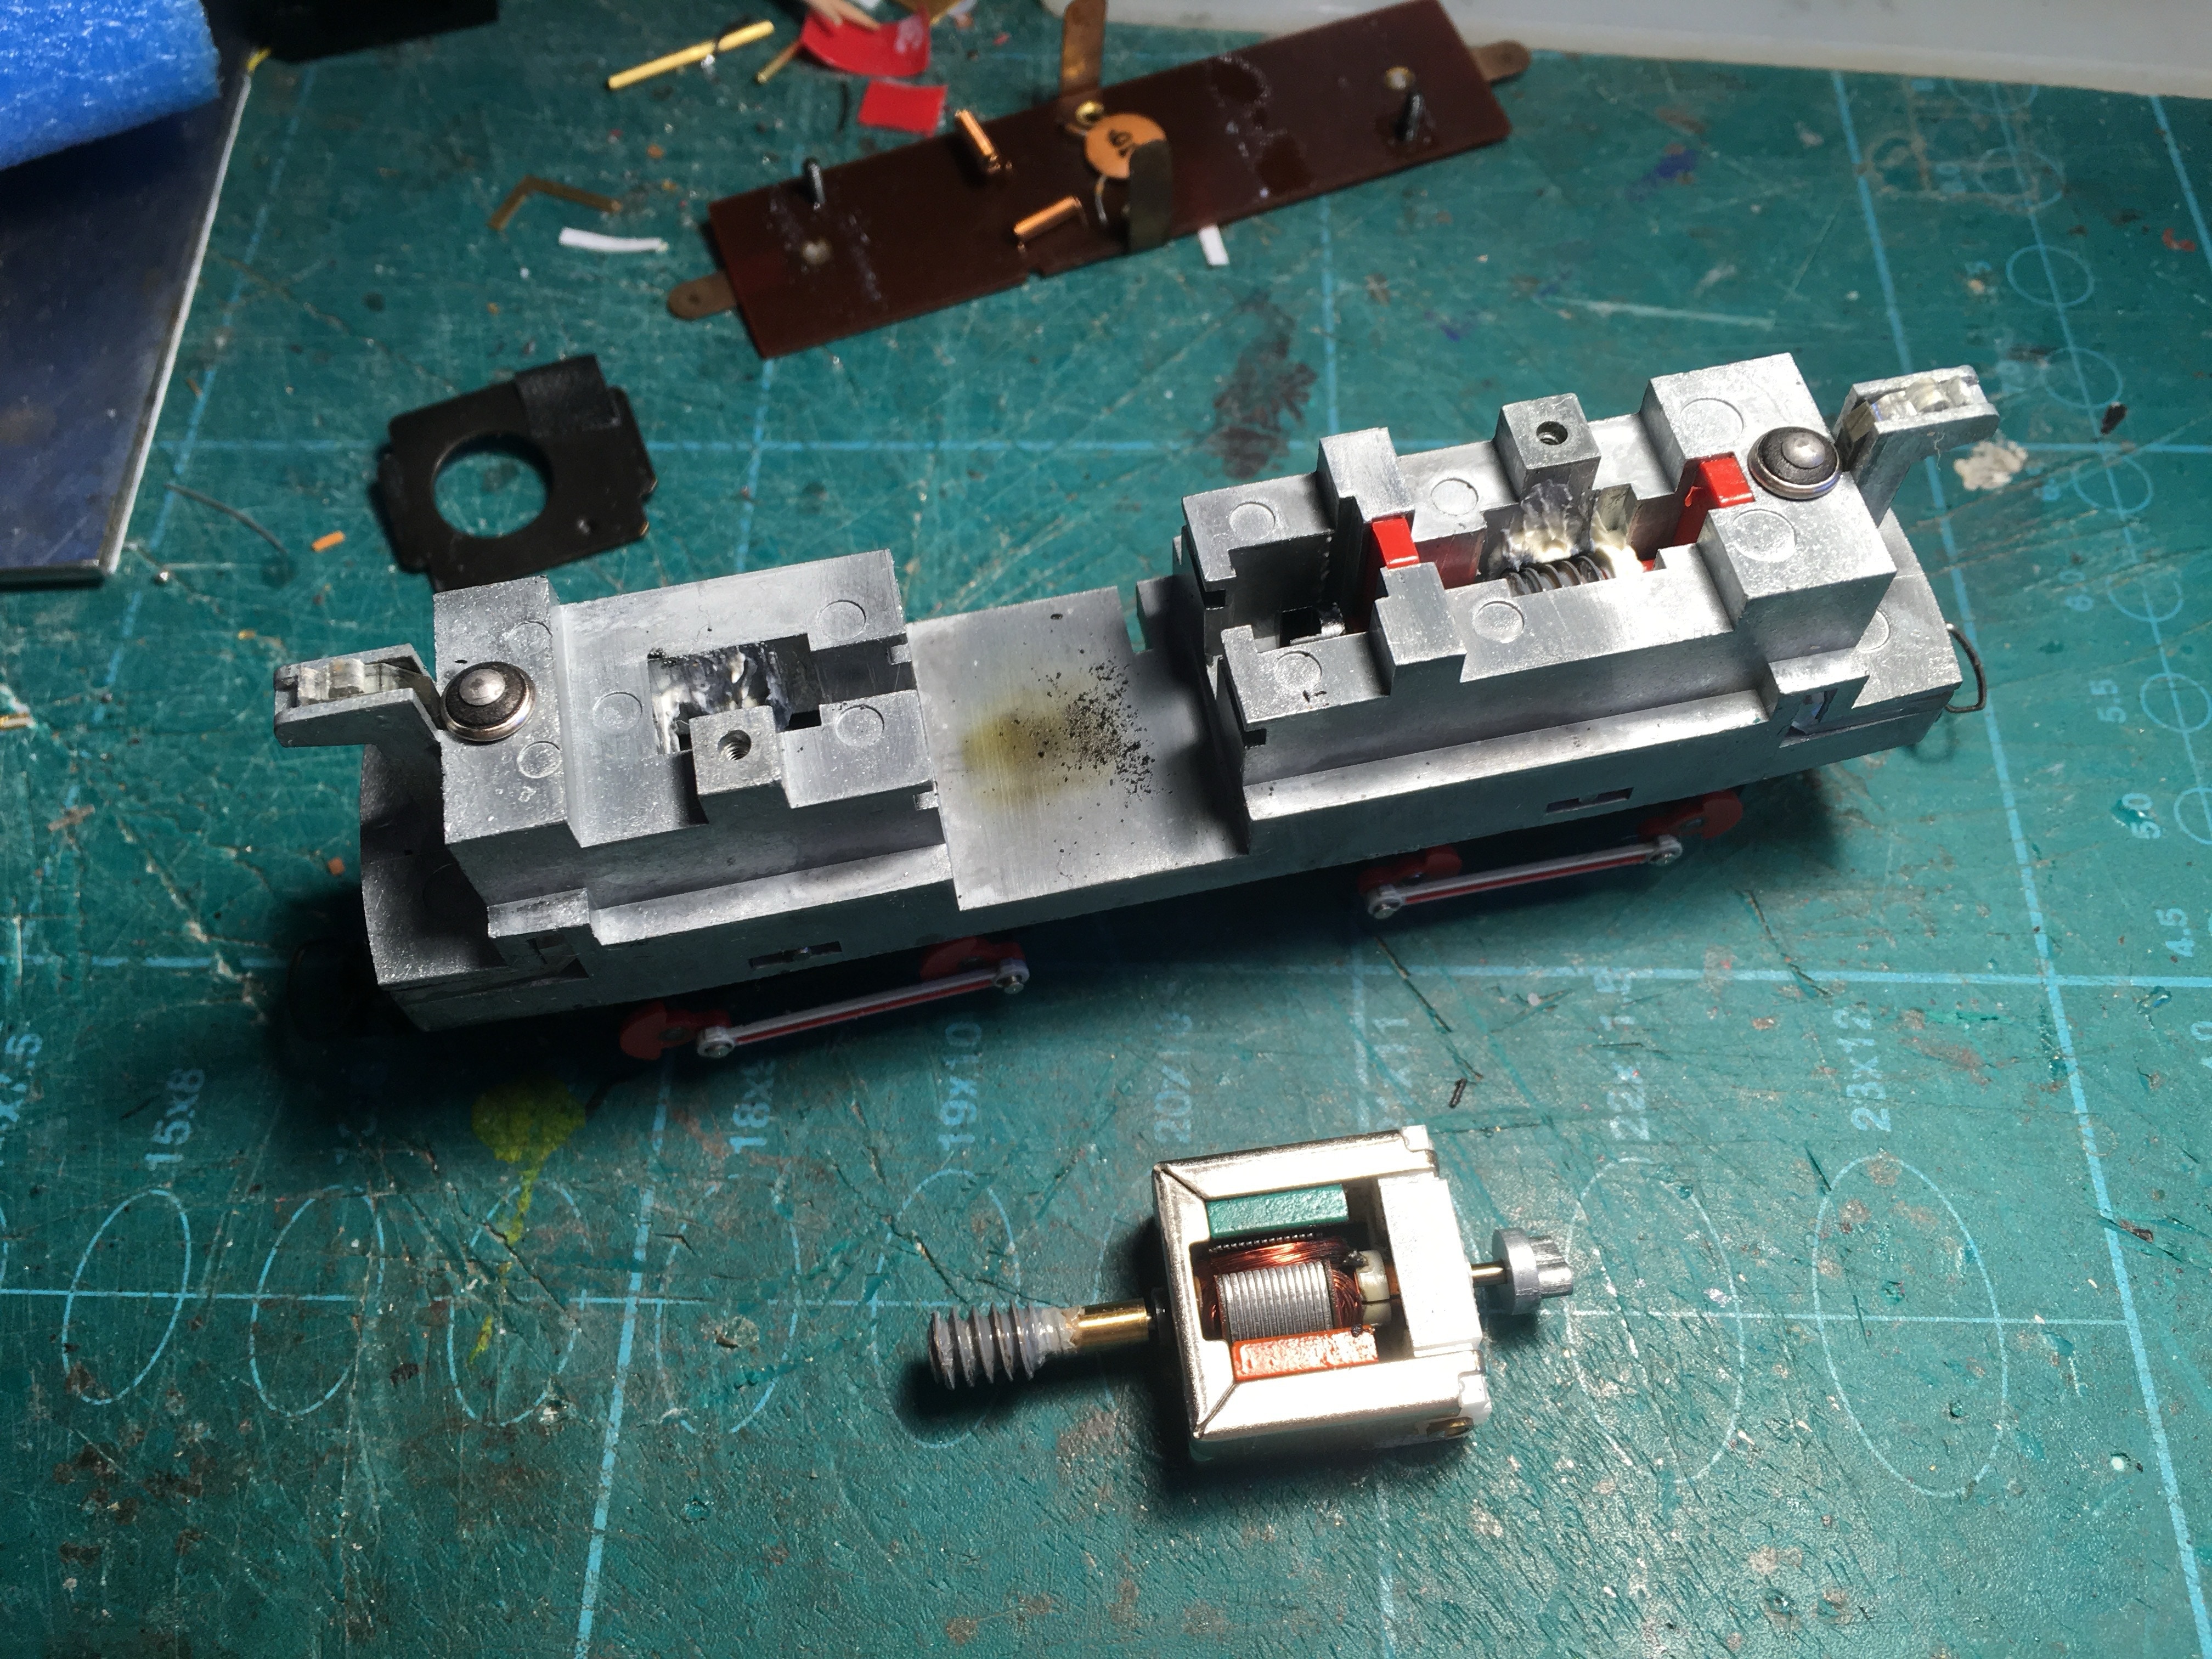
Remove the black metal piece in the middle by sliding it out.
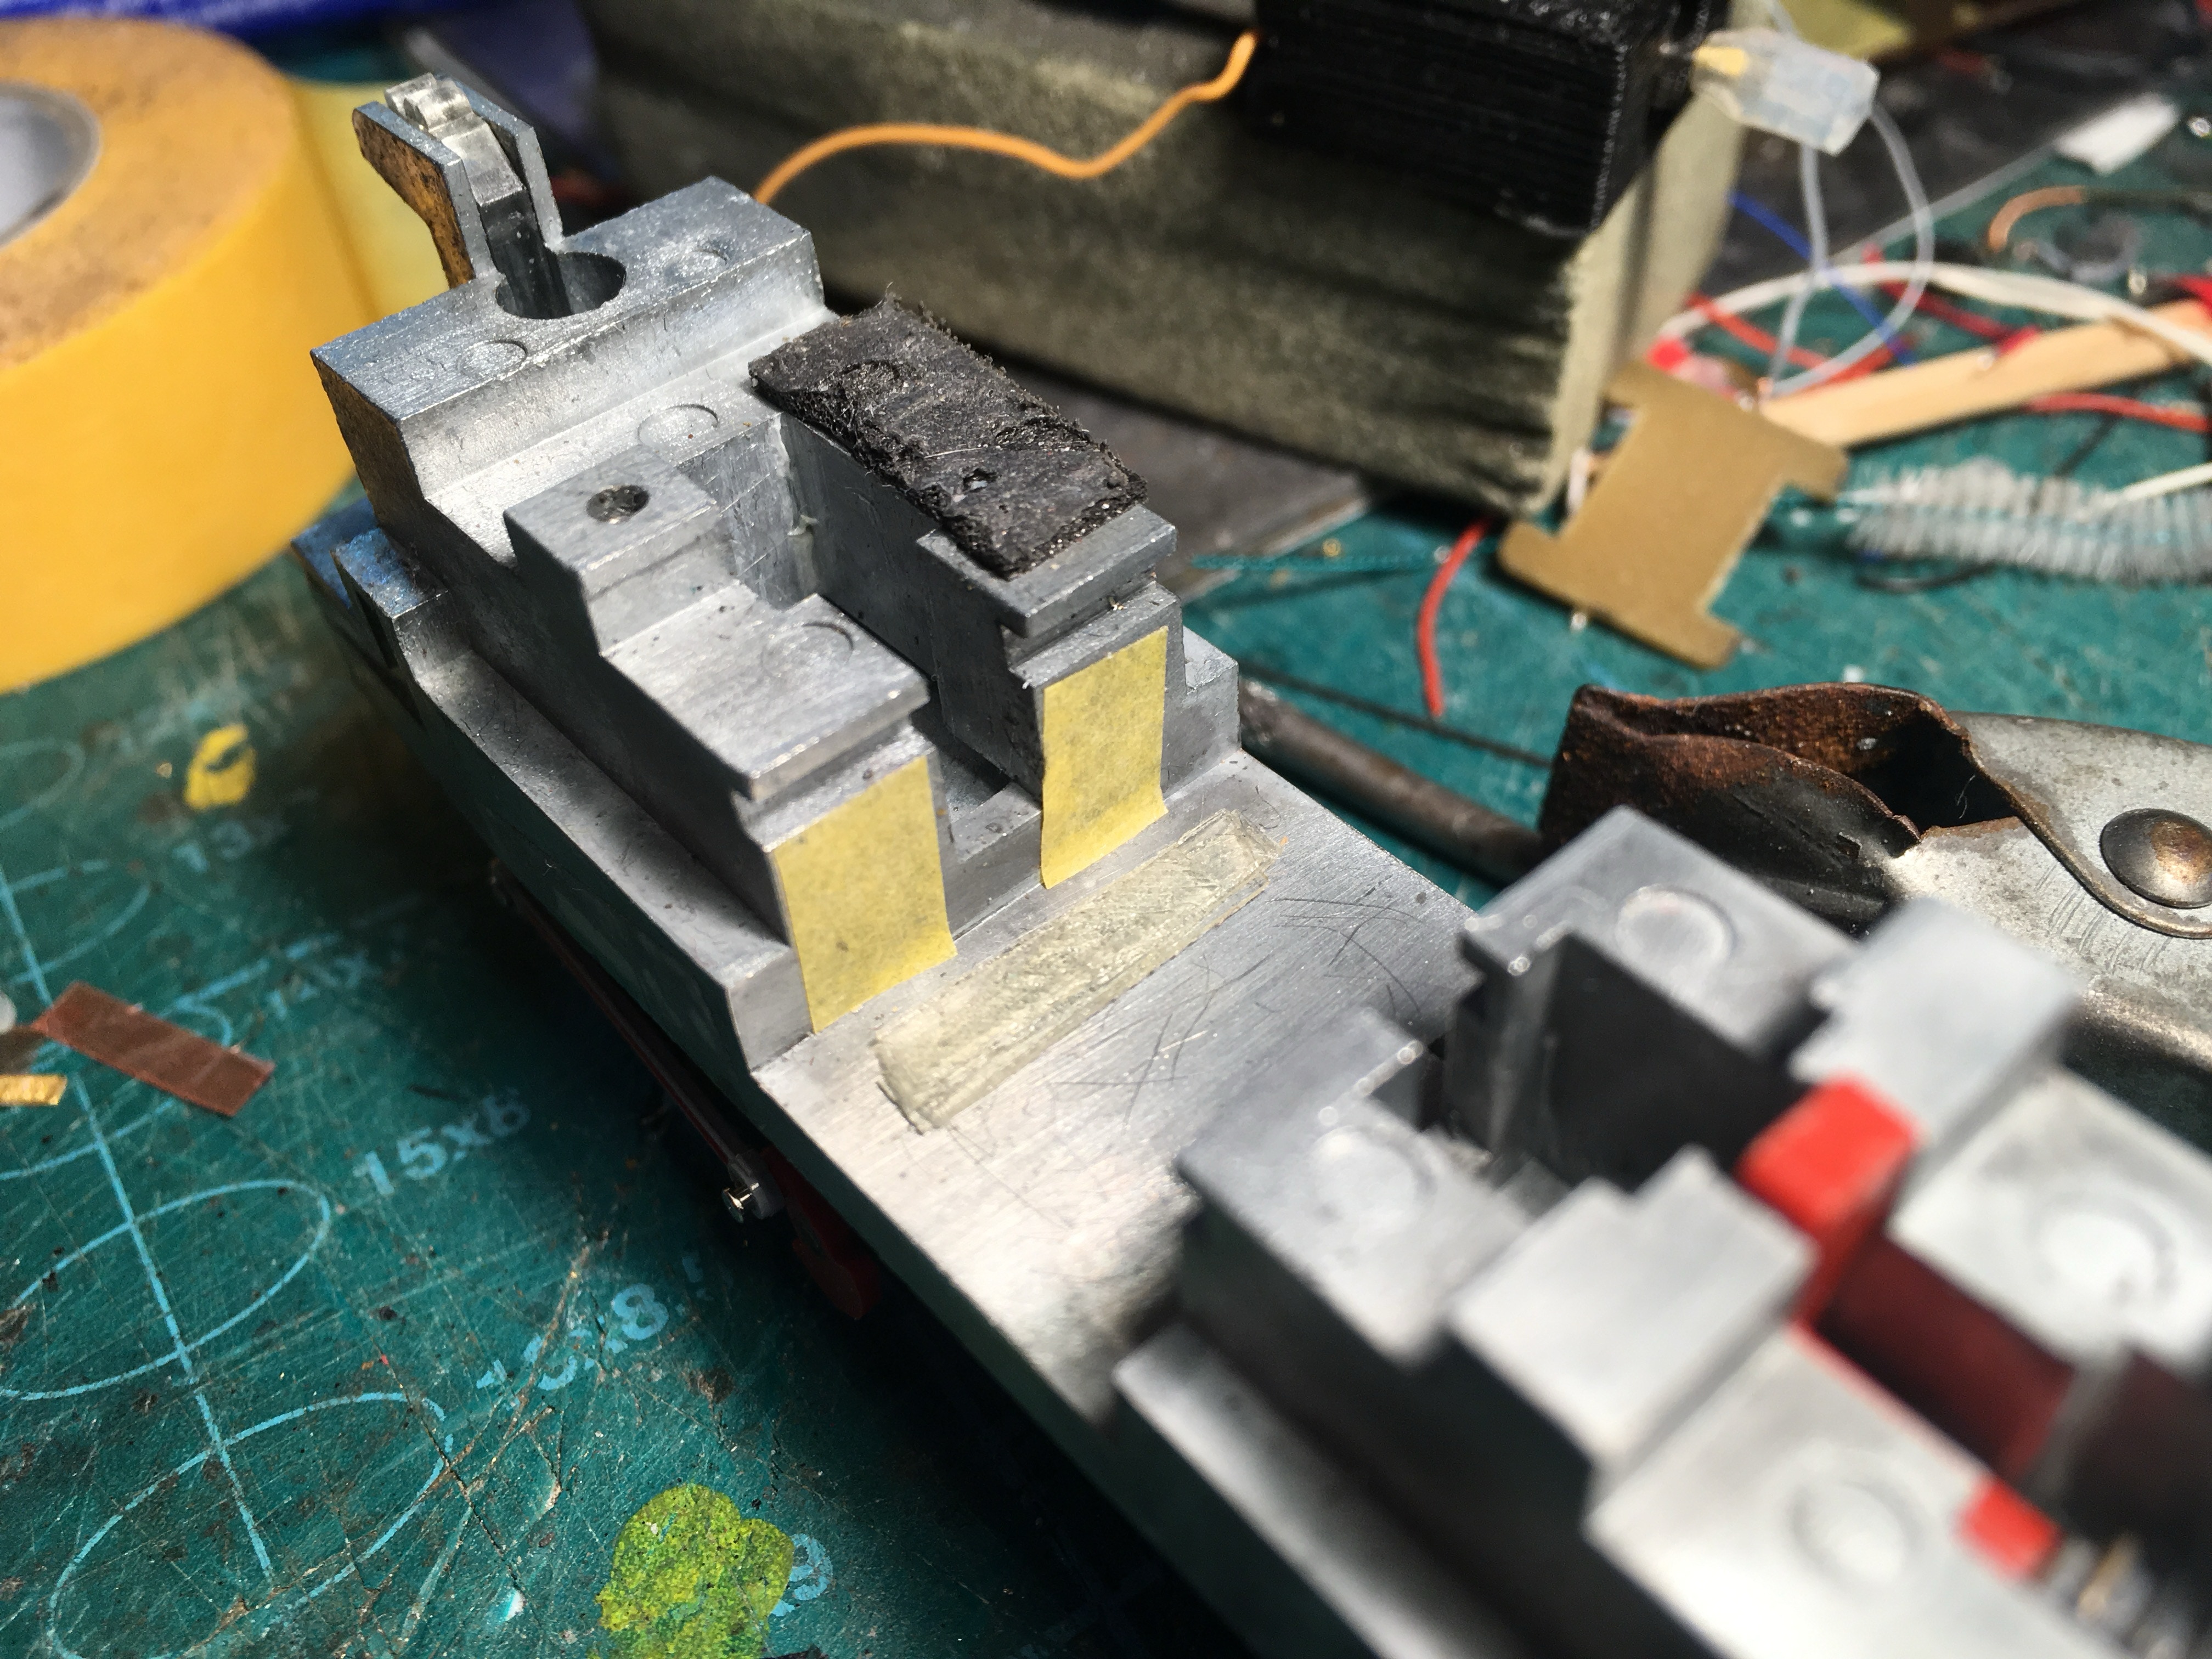
Flatten the contacts of the motor, if this hasn’t already been done for you by the Tramfabriek.
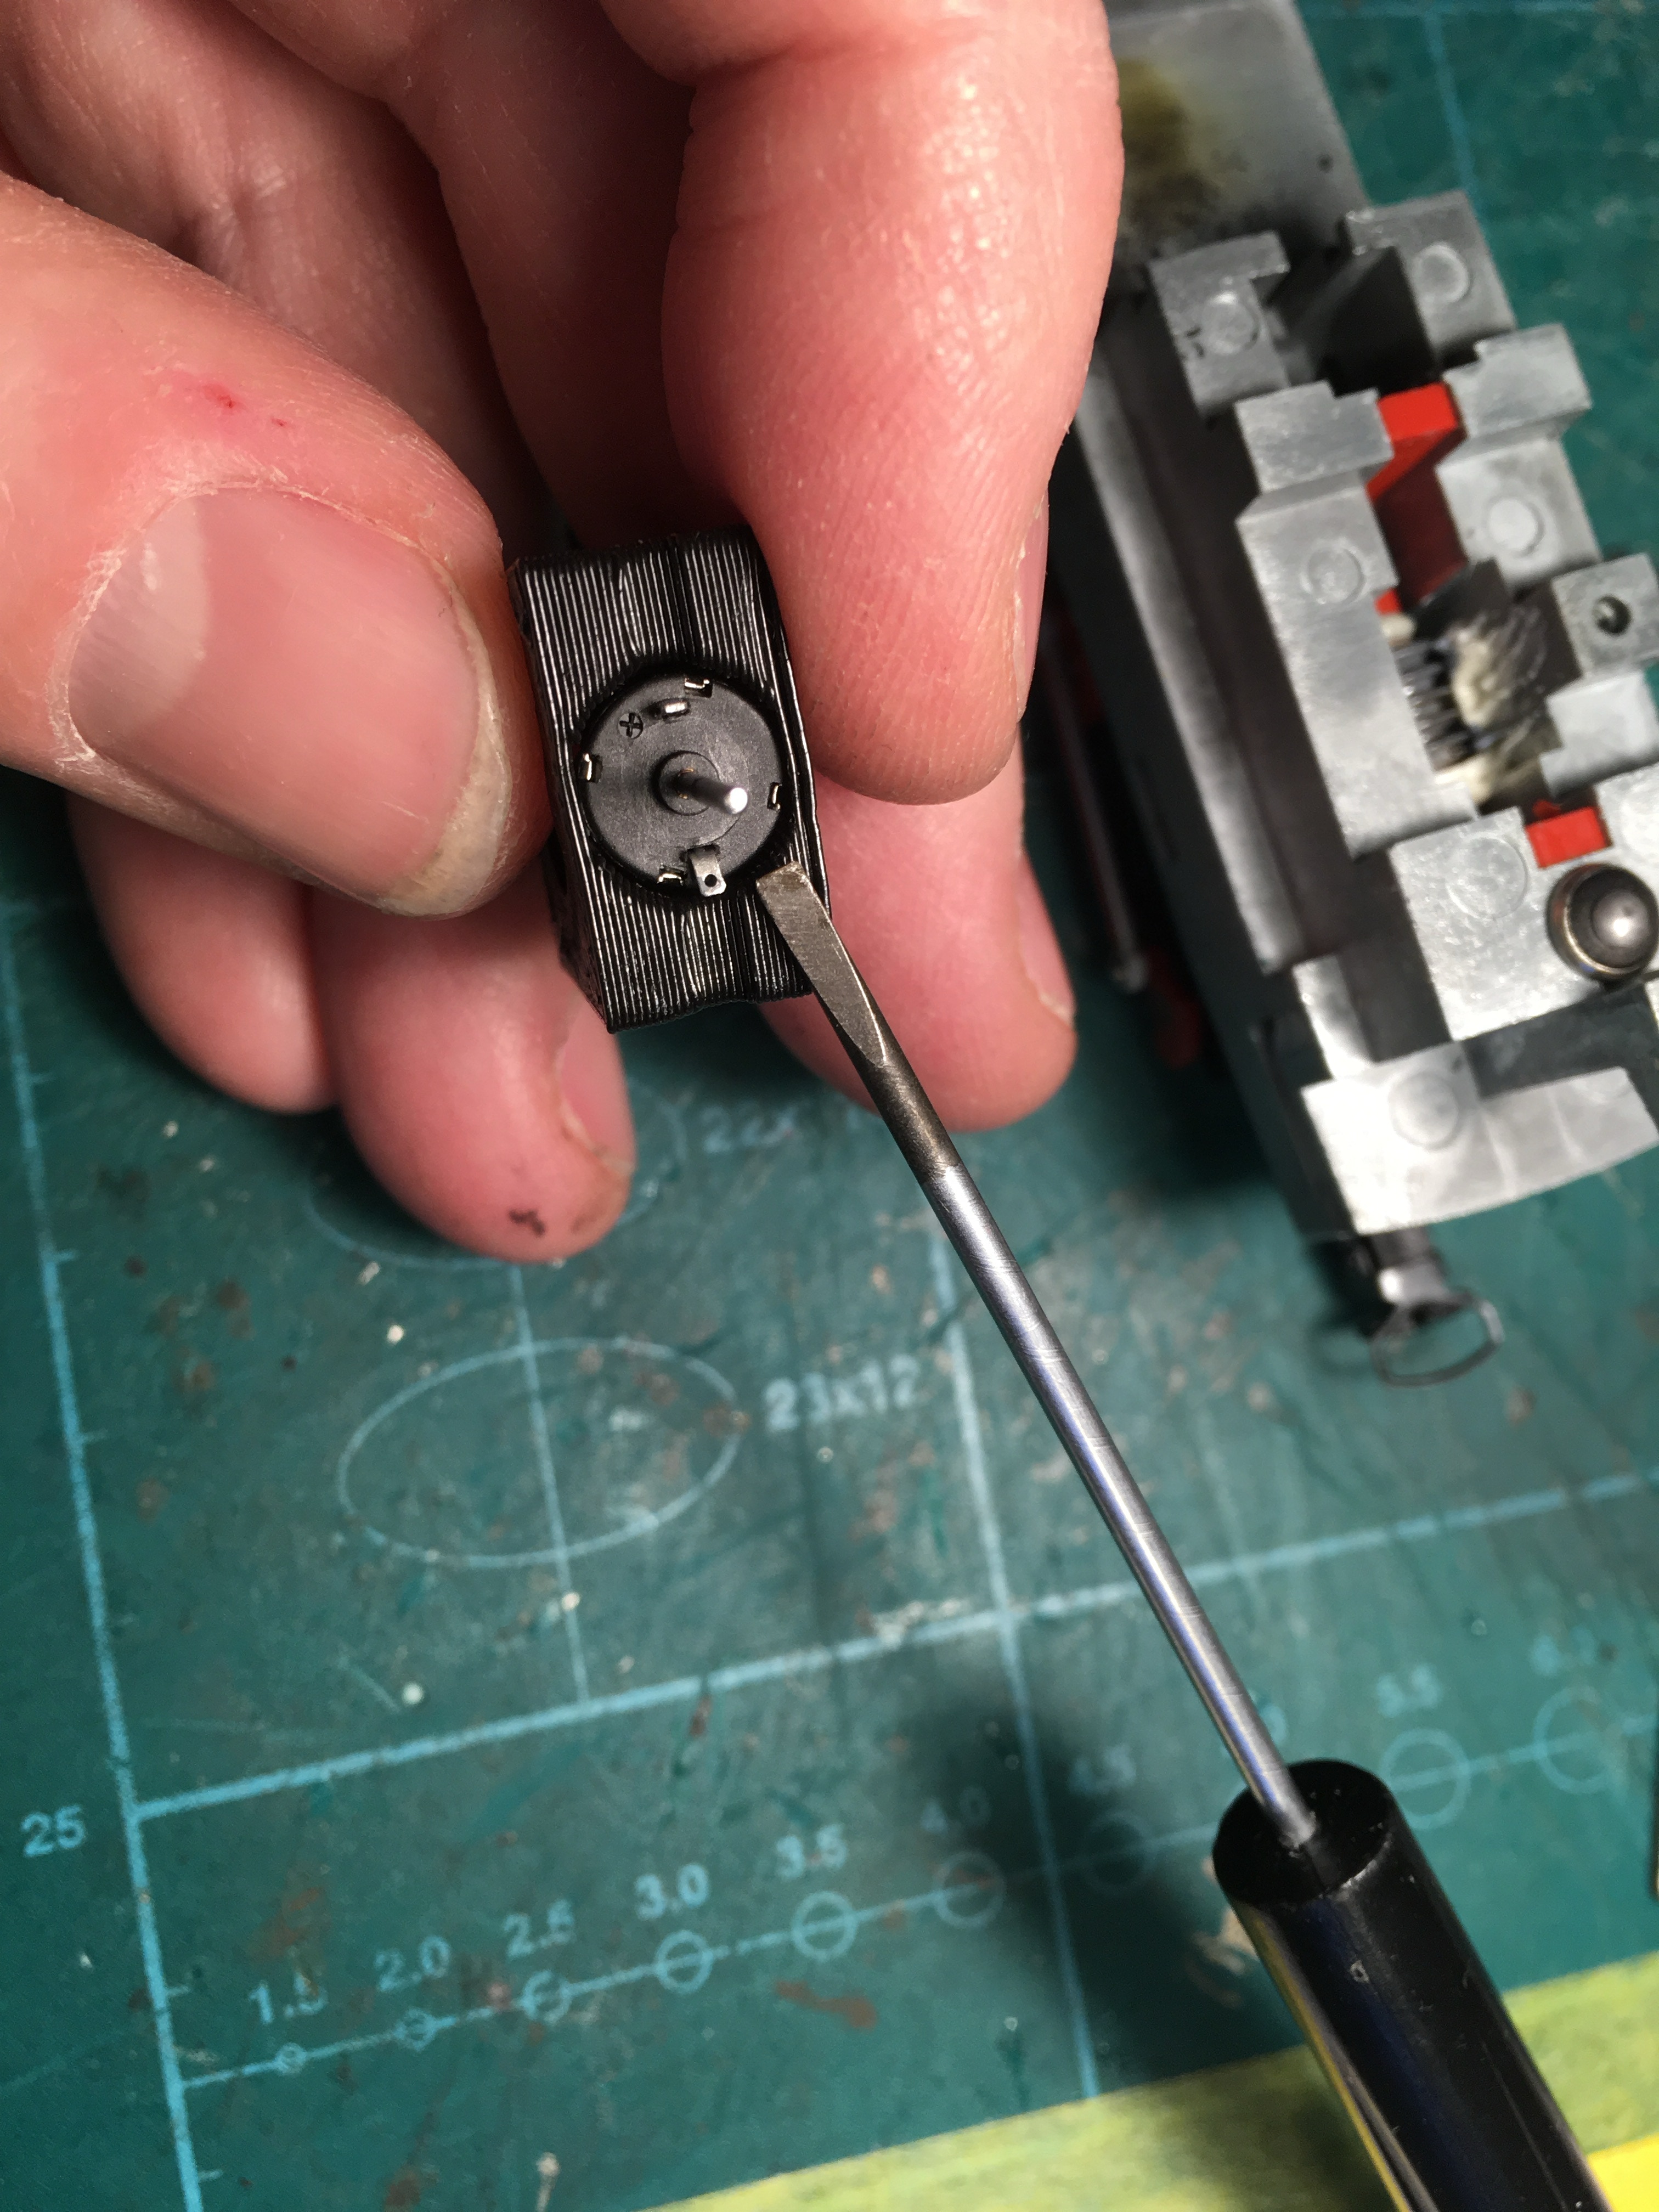
Press with screw driver with equal force on both sides.
Read more about how to remove a worm, gear or flywheel here.
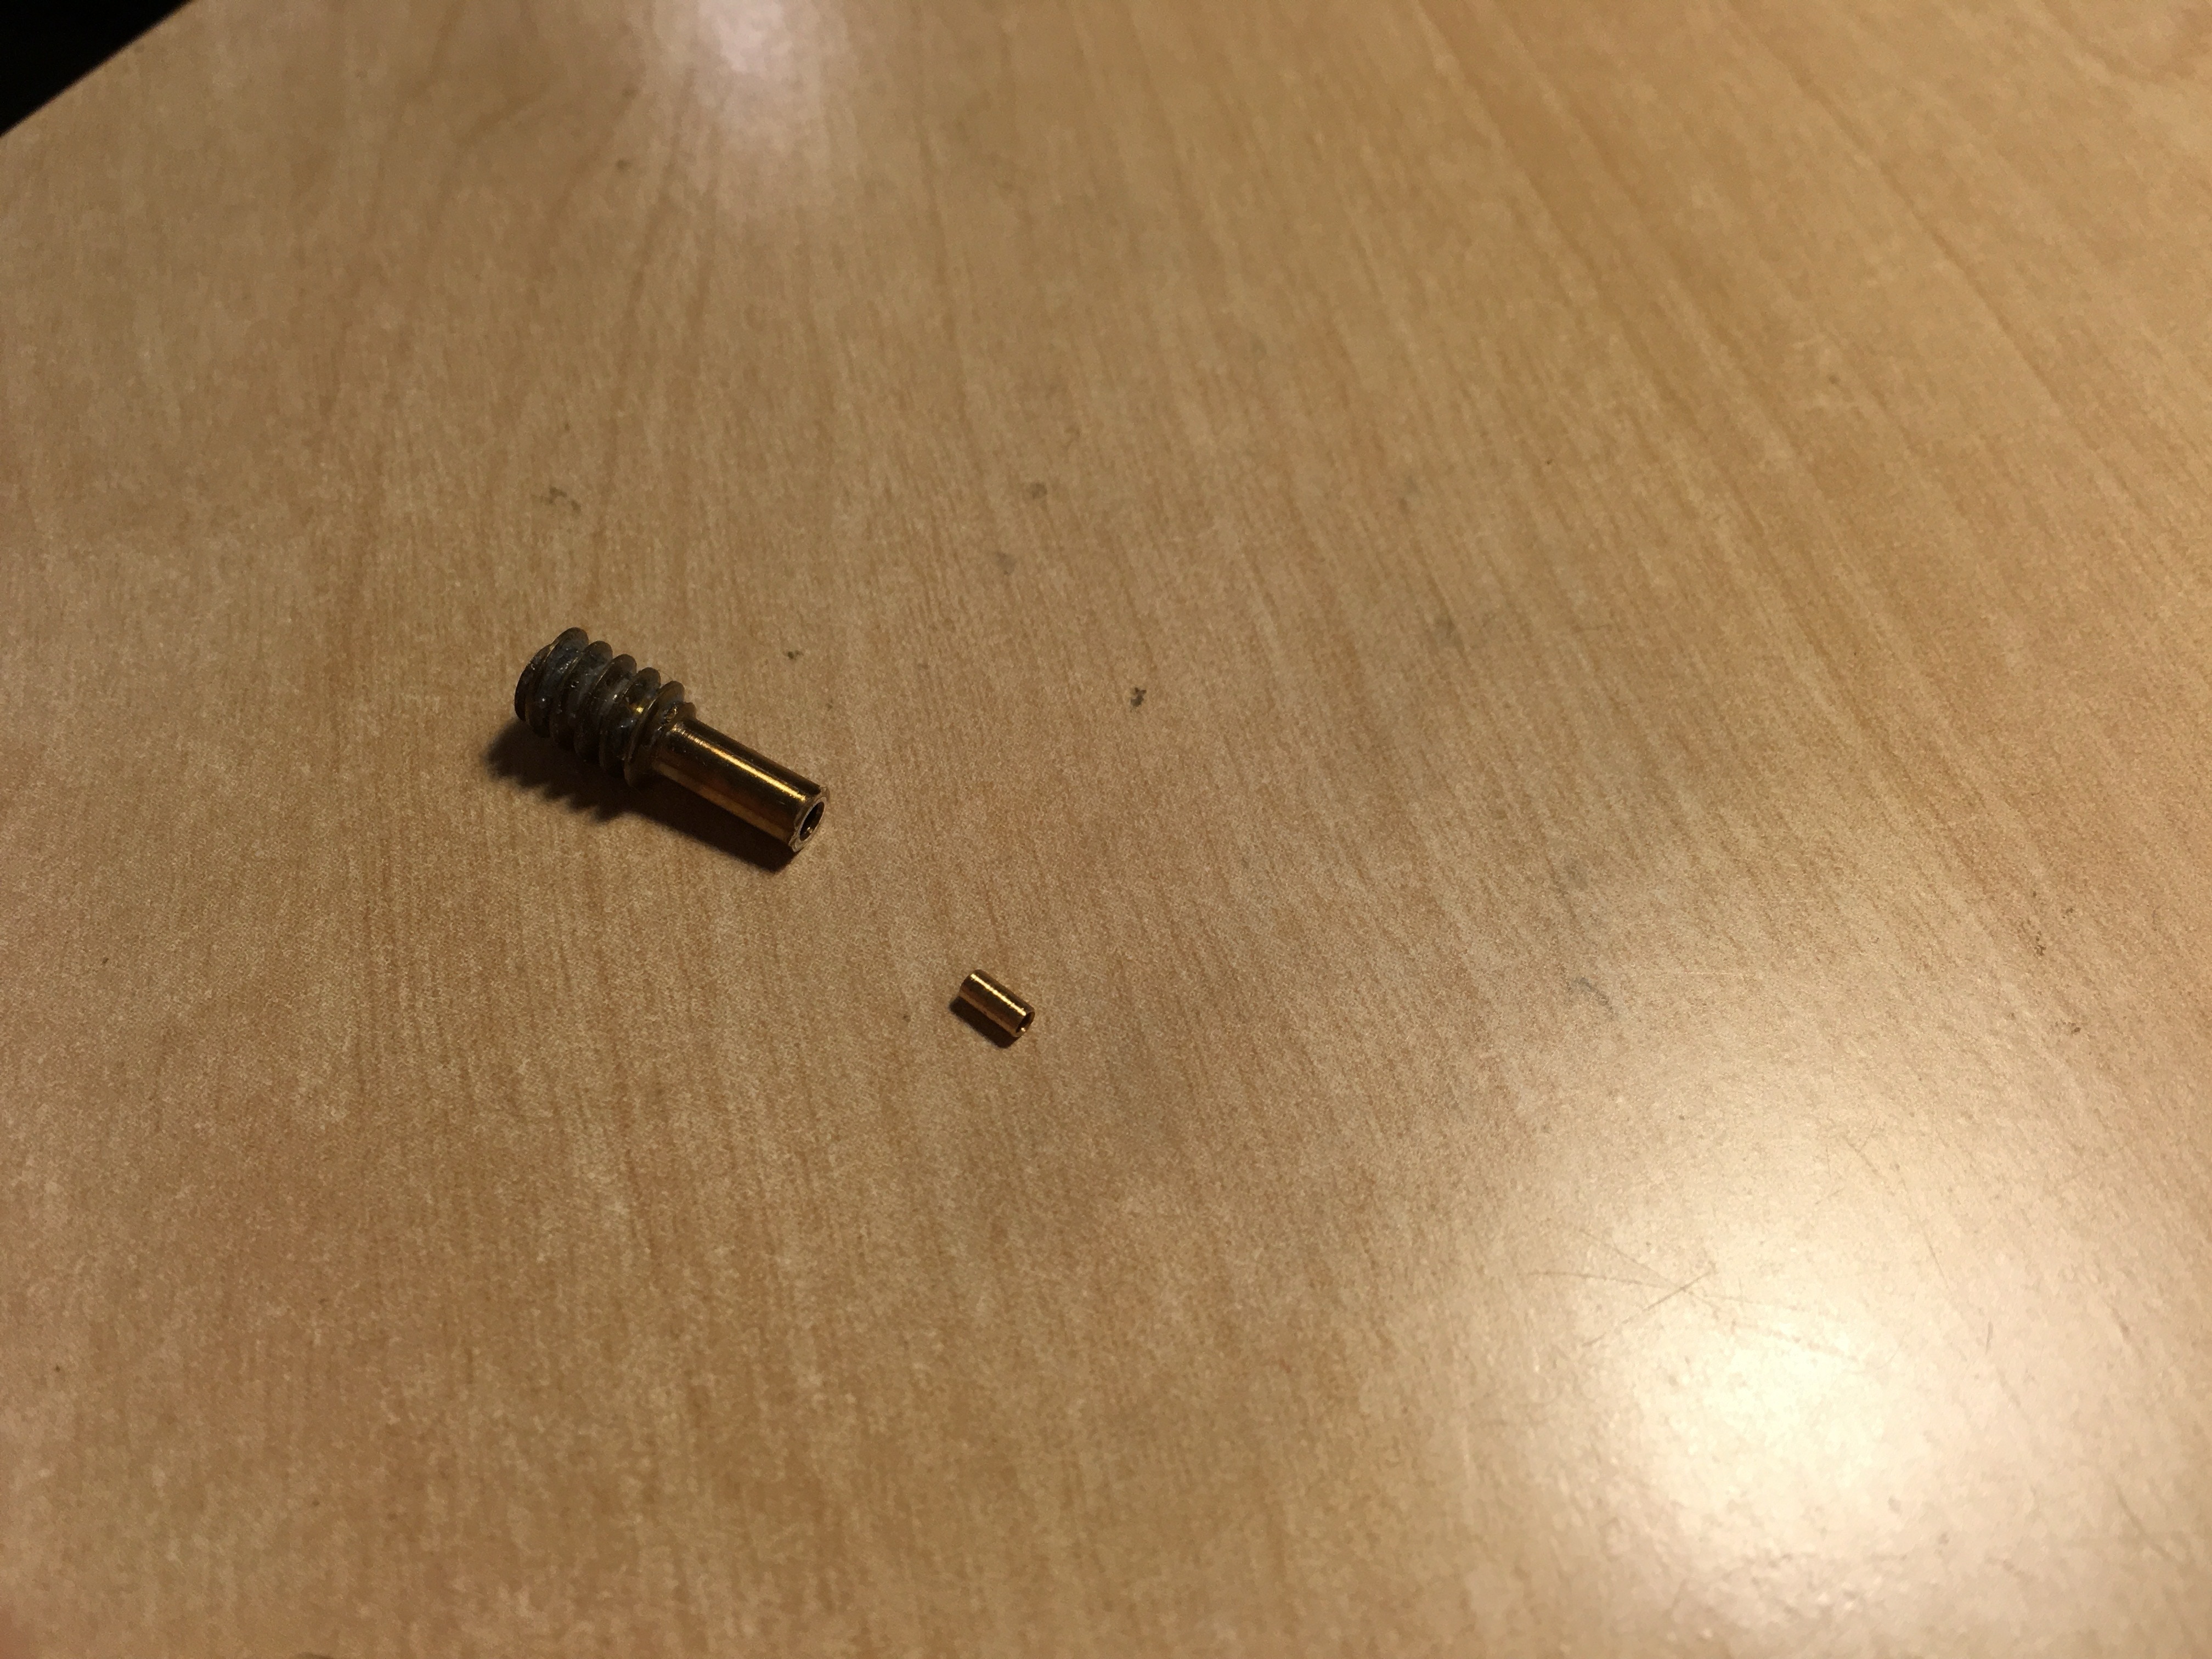
Please note! Use brass adapter that is 3mm long. The second one is 5 mm, which will be fitted on the other side of the motor, to hold the silicone tube in place.
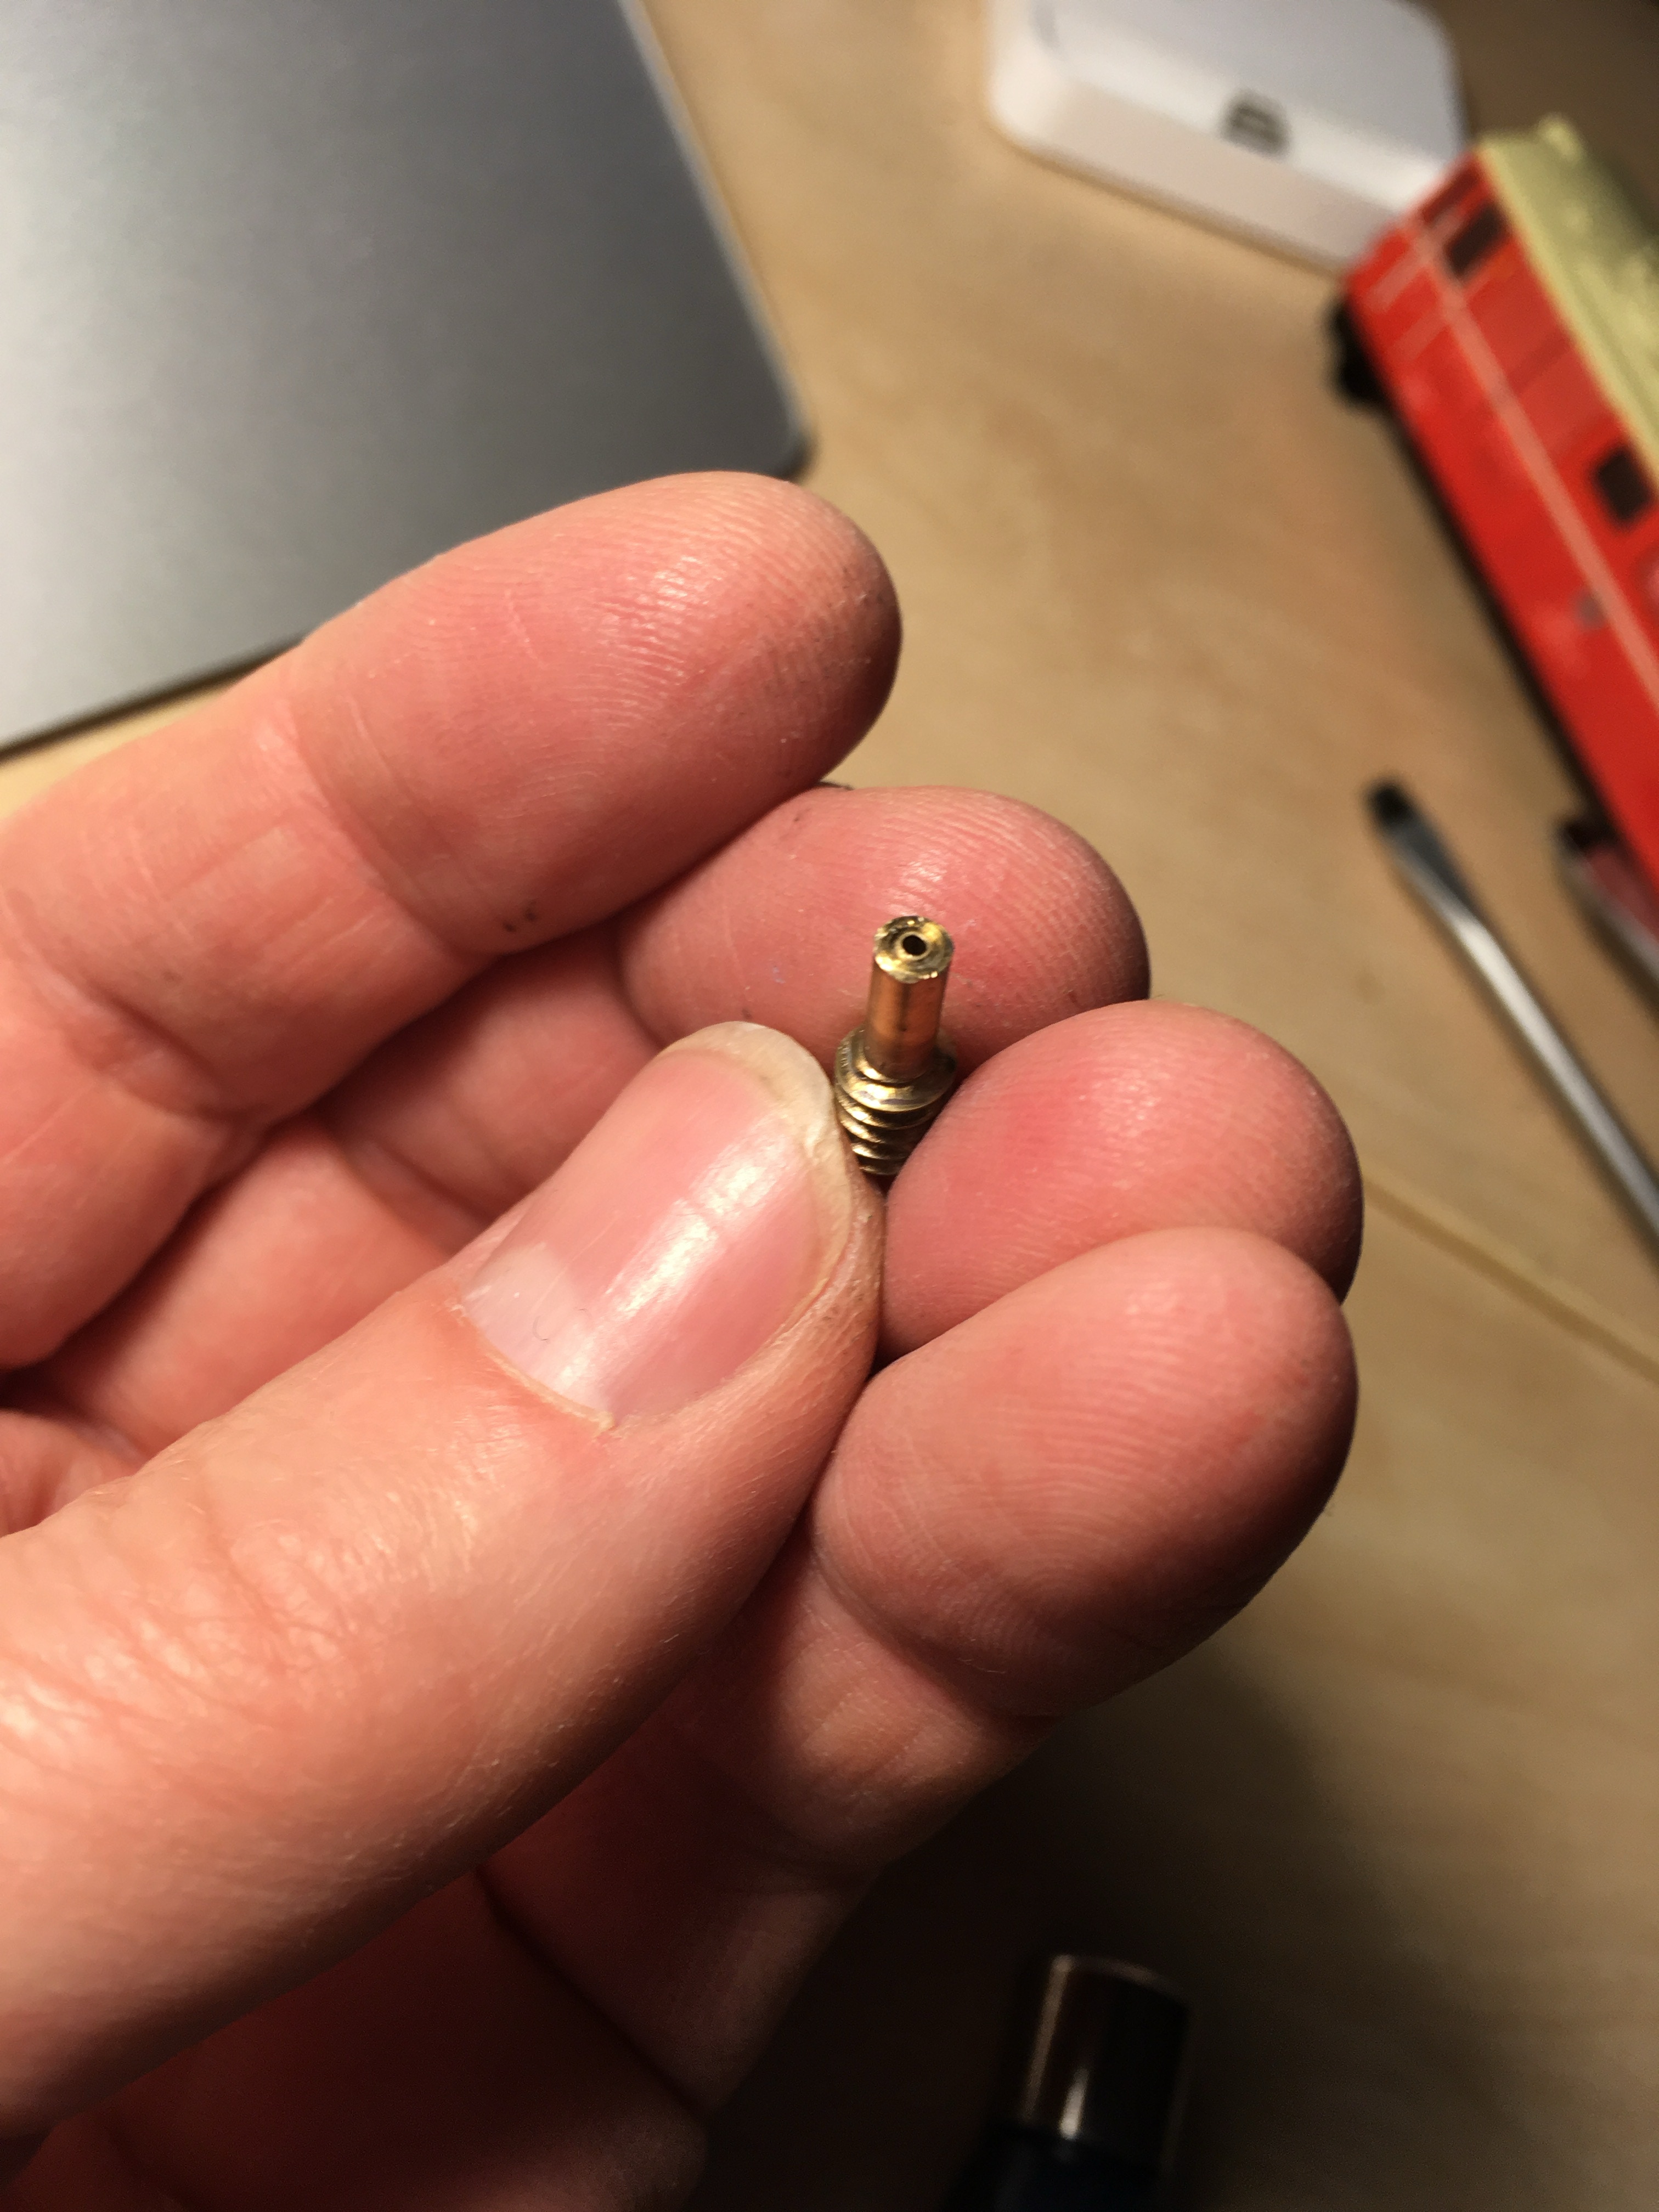
Glue the wormshaft on the contact side of the motor. Solder wires to the contacts.
Glue the 5mm long brass adapter on the non-wire side and slide the piece of silicone tube on it. You’ll have to cut this tube to size when you fit the motor in place.
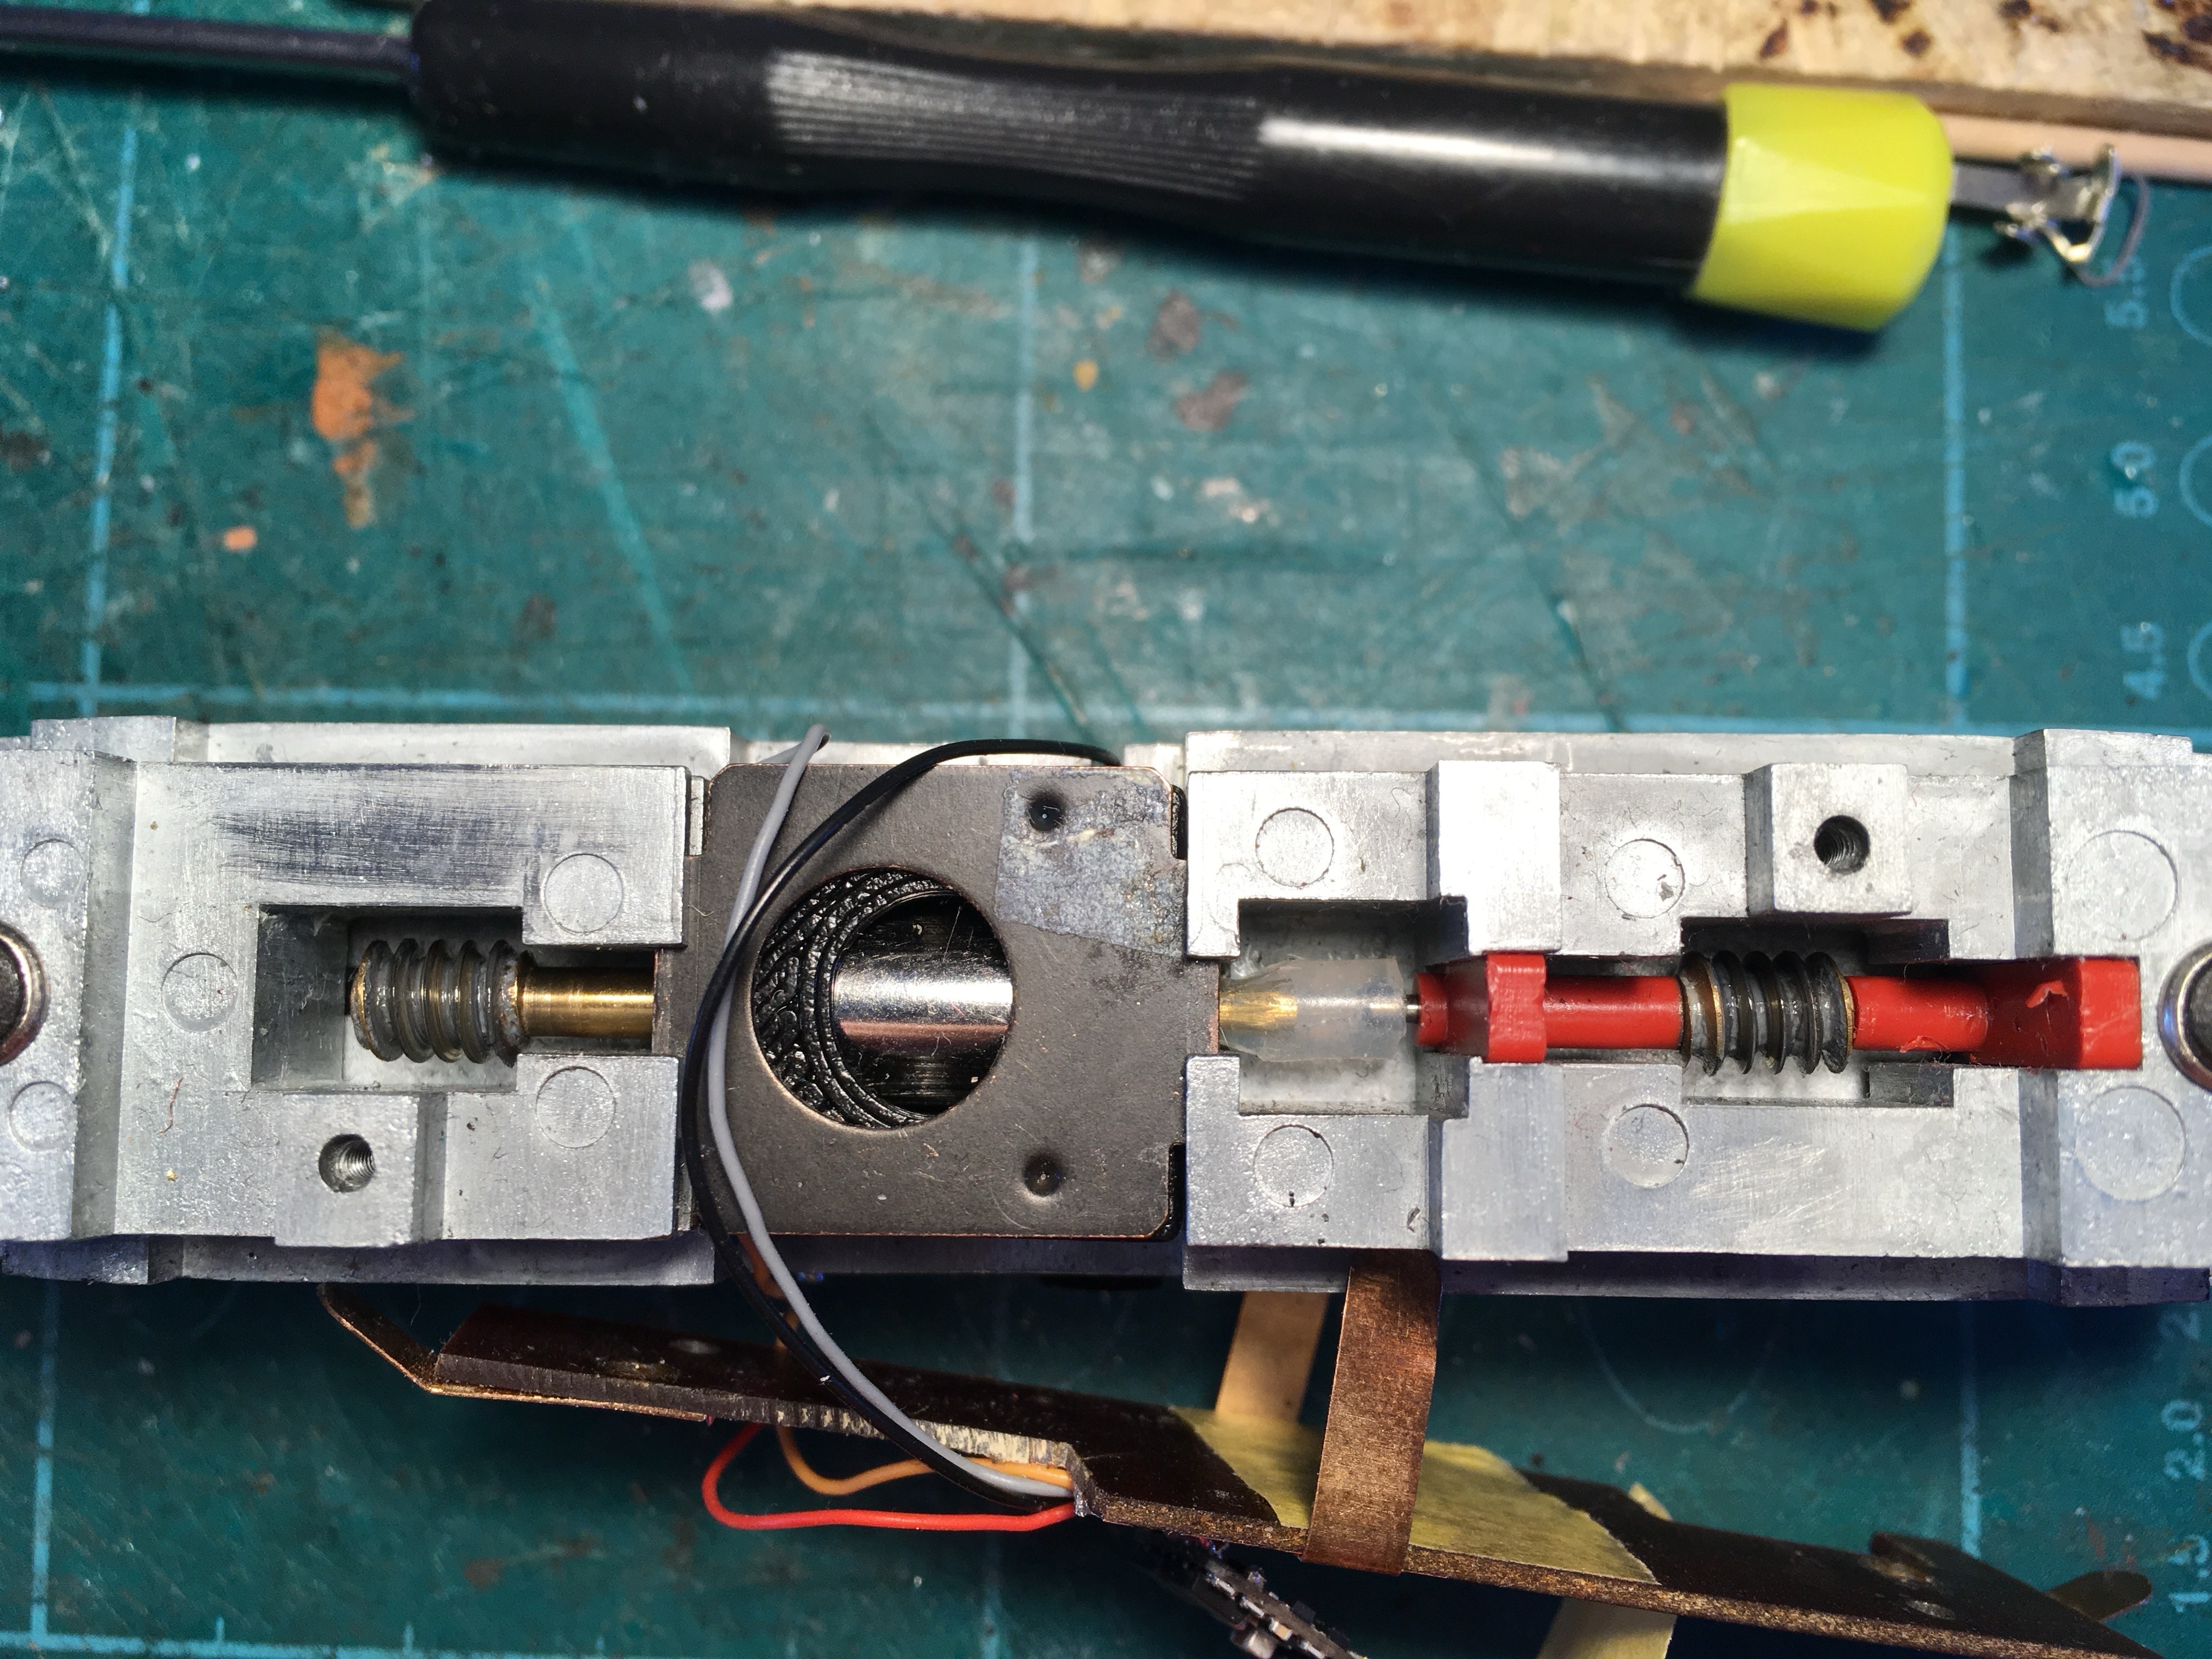
The attention turns to the bogie on the side where the motor points towards with the silicon piece on the shaft. Remove the pin that hold the bogie in place.

Take the bogie out.
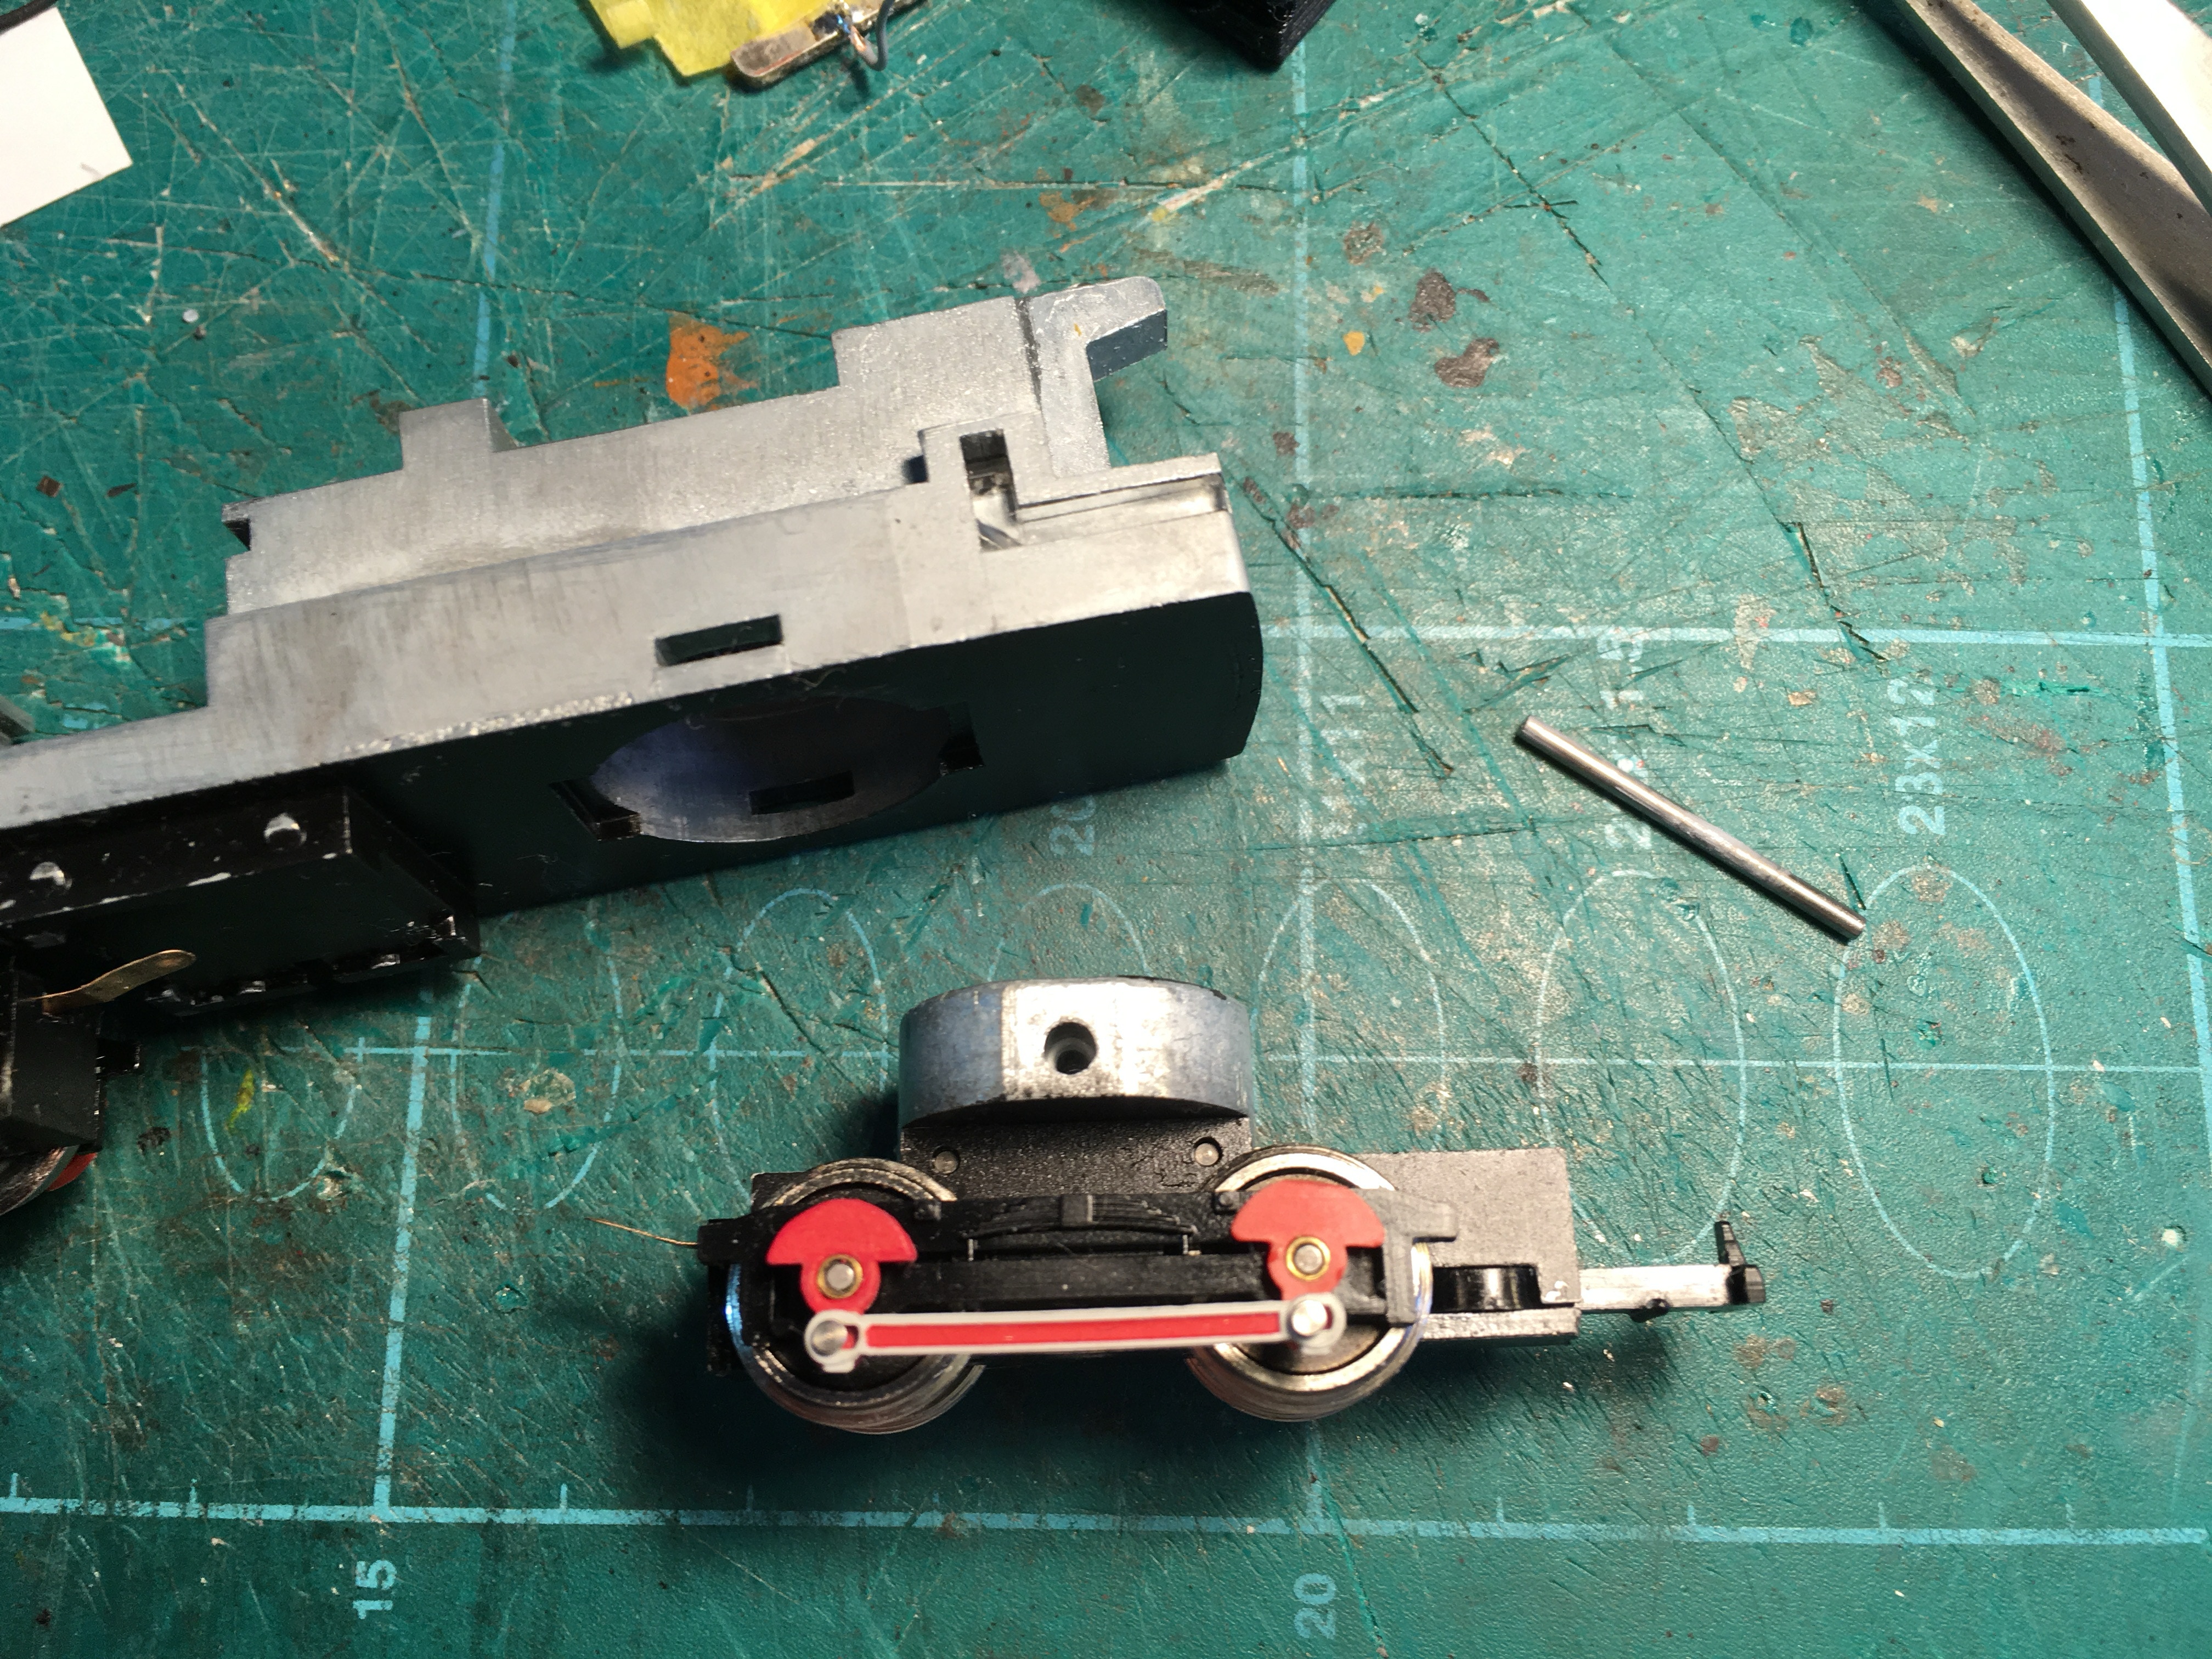
Lift the red plastic, which is holding the worm in place, straight out. Press with a flat screw driver alternatively on each side.
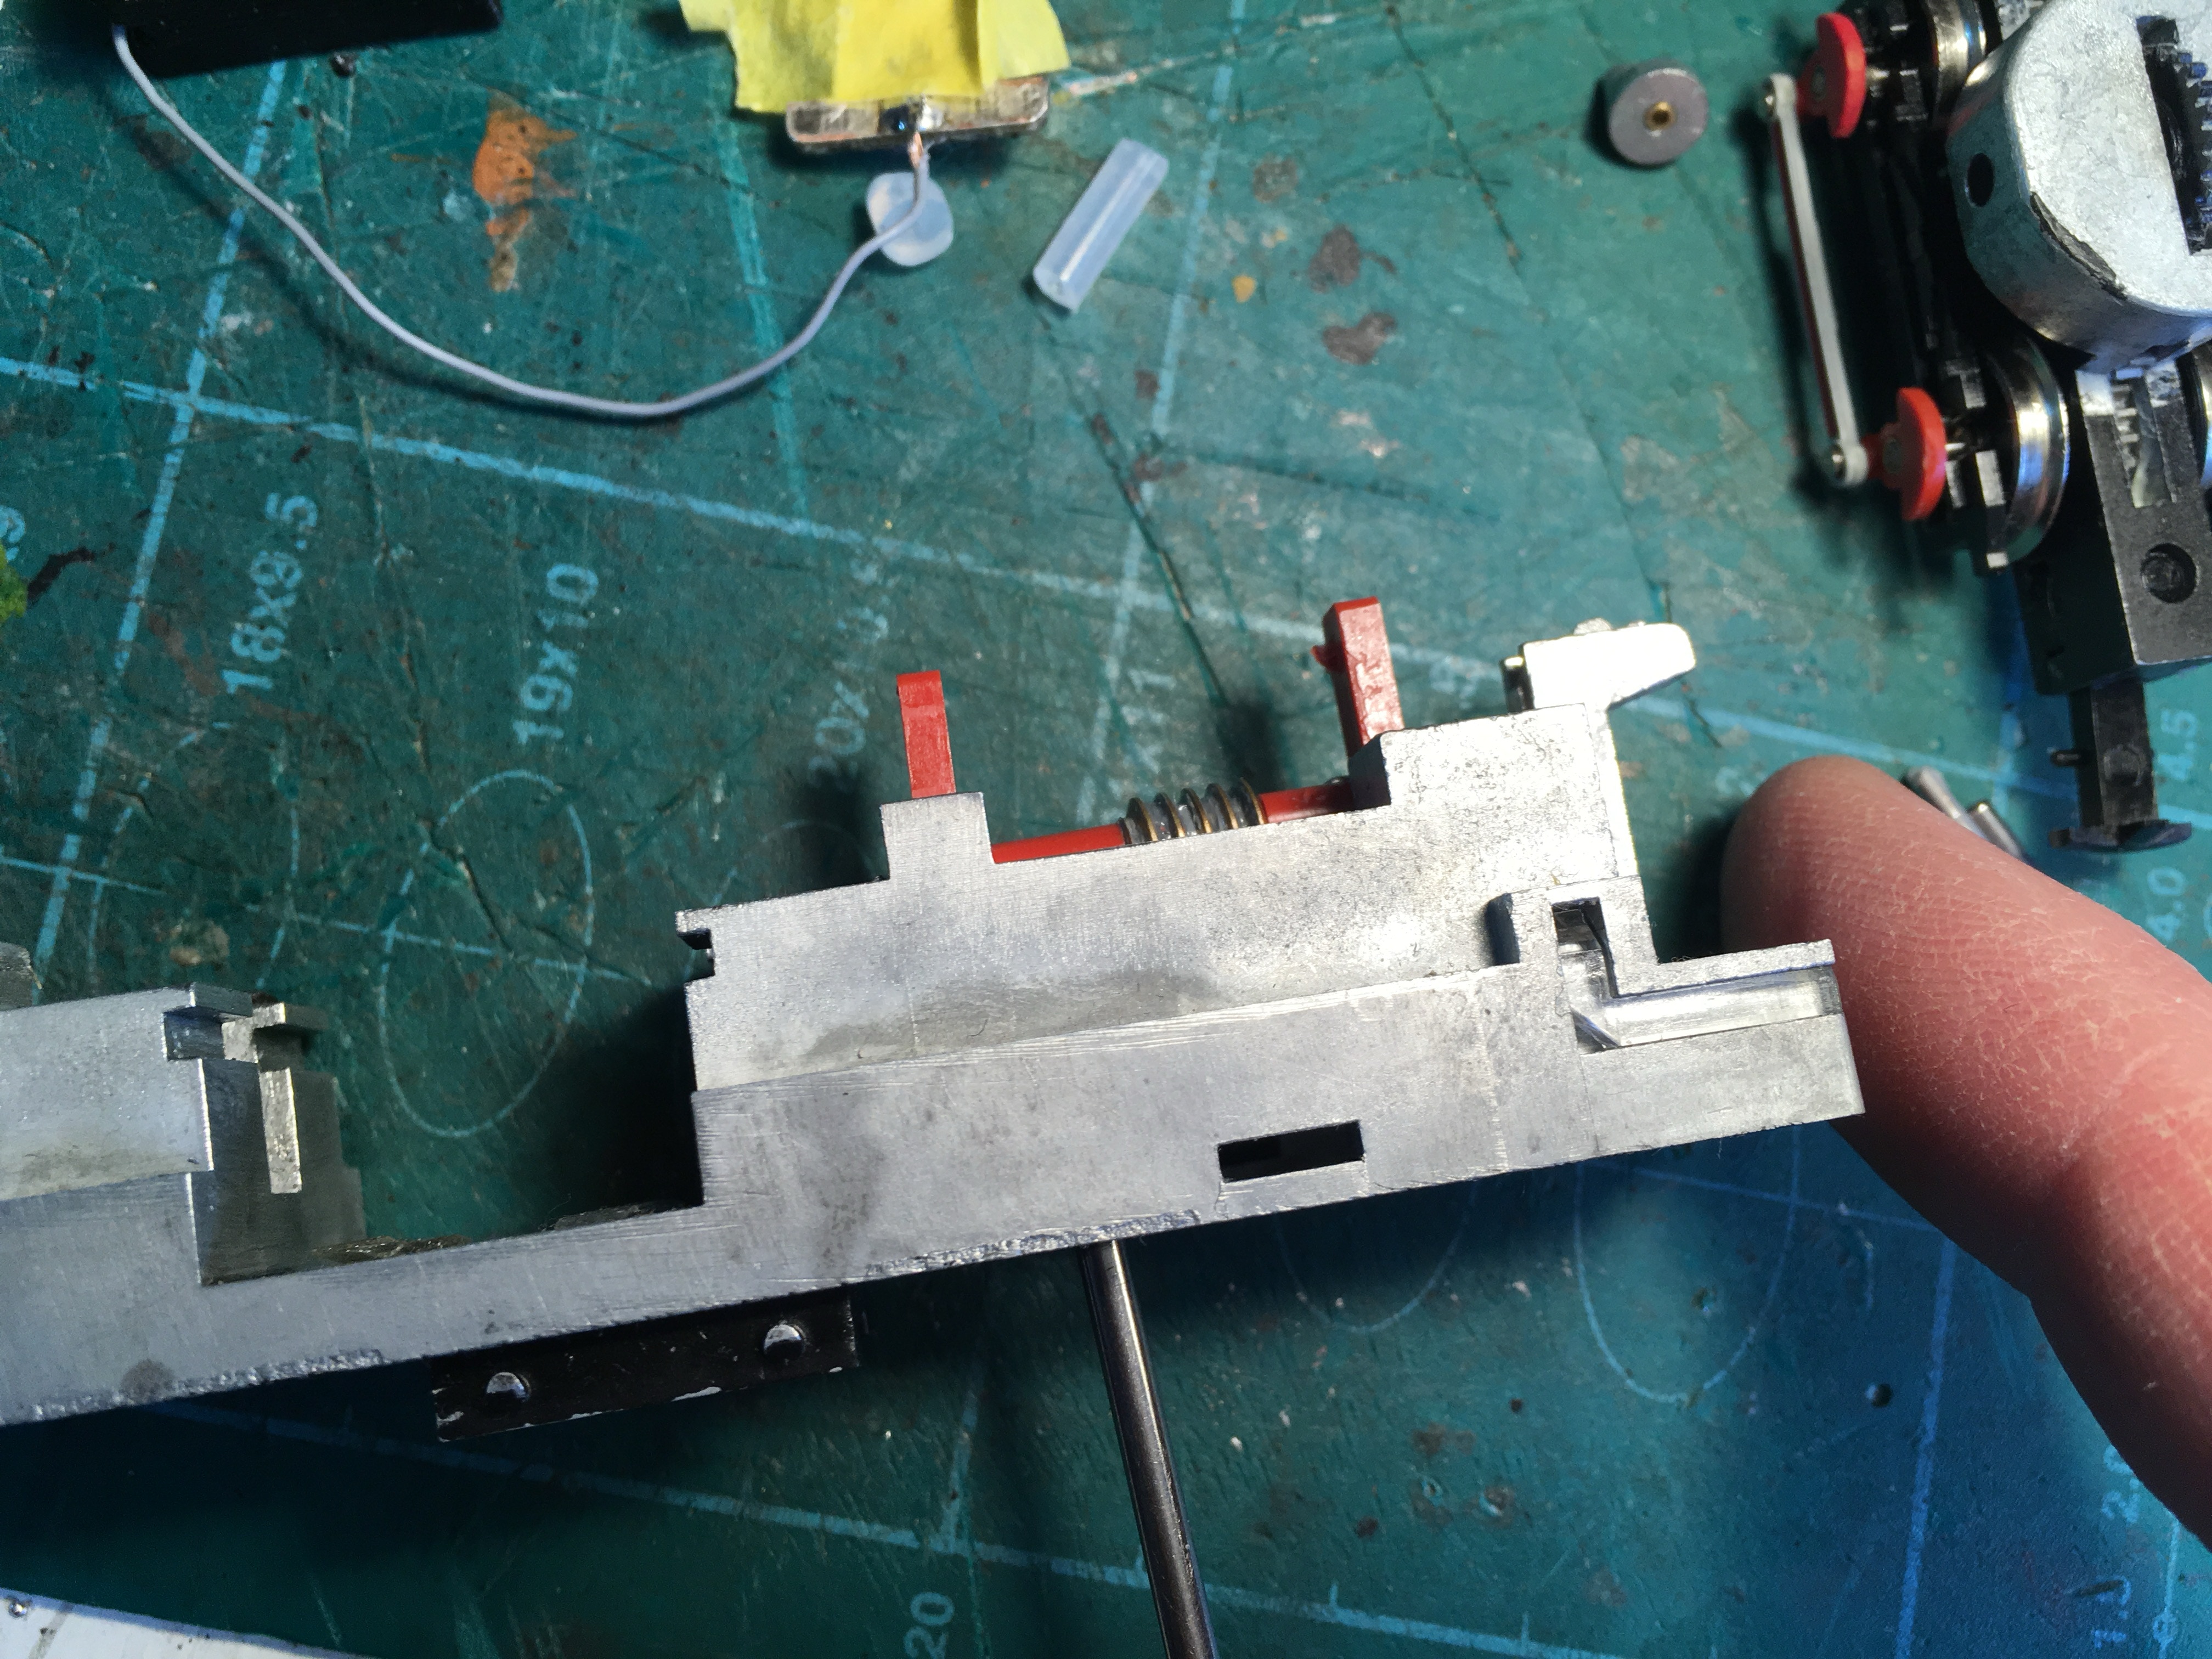
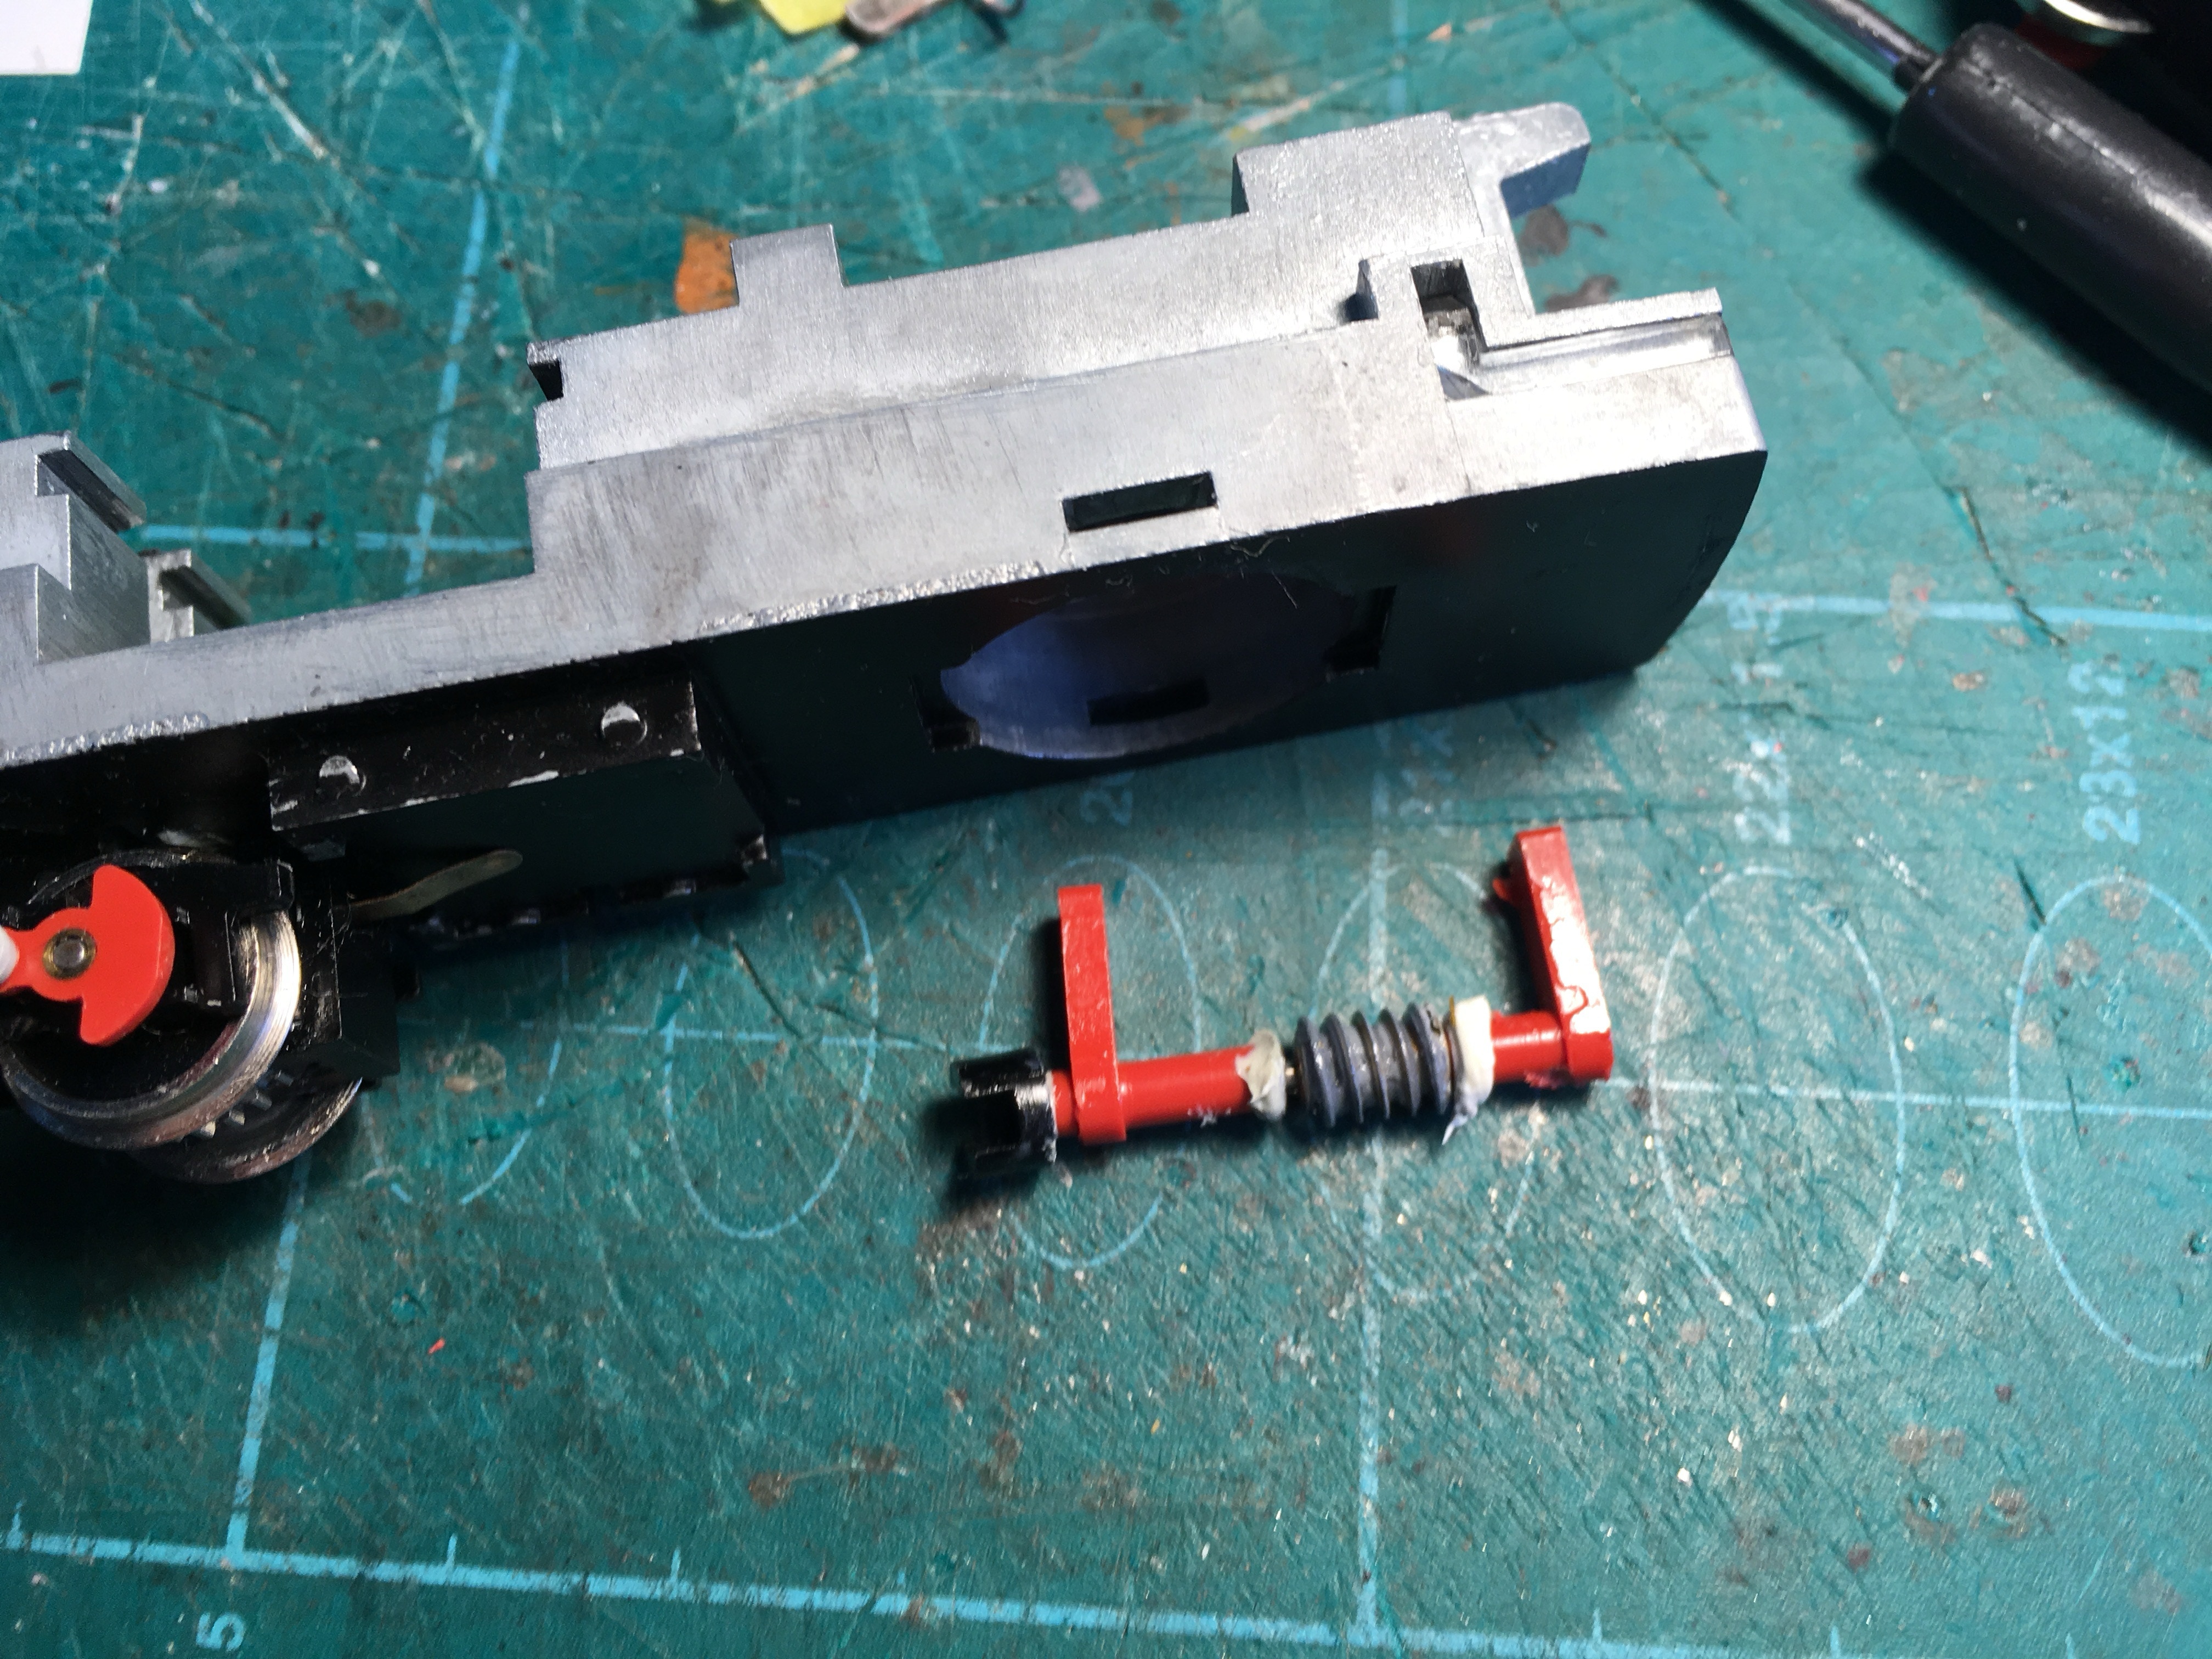
Remove the black piece. A gear puller might come in handy doing this. The black piece is not needed anymore.
The reason why this connection will be replaced by a silicone tube, is because the original connection is a very noisy part of the drive. This part will be noiseless with the connection with the silicone tube.


After removing the black piece, replace this red plastic with worm assembly. Push the red plastic towards the metal, so there is no gap, when you fit it back in.

Put some tape to protect the contacts on the motor for a short circuit. Ignore the tape on the bottom, this is tape that is fitted under the motor.
Done! Fit the remaining parts and test the model before replacing the housing.
•