

UK based
Prices for UK customers are shown inc 20% VAT
Other countries, inc EU, prices shown are ex VAT.
Egger-Bahn/Jouef
Ultimate Motor Upgrade installation instructions

KASTENLOK INDEX


UK based
Prices for UK customers are shown inc 20% VAT
Other countries, inc EU, prices shown are ex VAT.
Egger-Bahn/Jouef
Ultimate Motor Upgrade installation instructions

KASTENLOK INDEX
(As of February 2024, the kit now also comes with a replacement brass worm. Also available separately.)
Question? Just reach out!
1. Opening the Egger-Bahn steam locomotives is done by unscrewing the chimney and the screw(s) at the bottom.
2. Unscrew the original motor with the two screws at the bottom. Check the wheels for correct, unrestrained movement by turning them by hand.
3. Slide the worm on the new motor shaft and check the fitting. If it is a good pressure fit, you don’t need to glue it.. CAREFUL! The black backing of the motor is only fitted with friction. So put the worm on the table and press the motor onto the worm, pressing with your nails on the back of the motor, between motor and flywheel. The worm will be aligned with the end of the motor shaft. If you need to glue it, use Loctite metal glue inside the worm (The blue stuff will do). Do not put the glue on the motor shaft, as you will press the glue inside the motor and destroy the motor.
4. Solder the wires of the motor to the contacts. Cut the contacts shorter if needed, when they touch the motor. From December 2024 I’ve marked left and right on the motor. This is meant in forward direction of the model. If your model runs in the opposite direction of all your other models, you need to swap the connection from the motor to the contacts.
5. Test the running before closing the model. Also for the correct direction.
EXTRA TIP: If you are closing a steam model with chimney, it’s easiest to close the model by first screwing the bottom, middle screw in the model. But DO NOT tighten it yet! Then after screwing and tightening the chimney the model, you can tighten the screw on the bottom. If you would tighten the bottom screw first, then it is hard to screw the chimney in place.
Watch the below video for the upgrade running at slow speed and the effect of the flywheel
Coupling rods
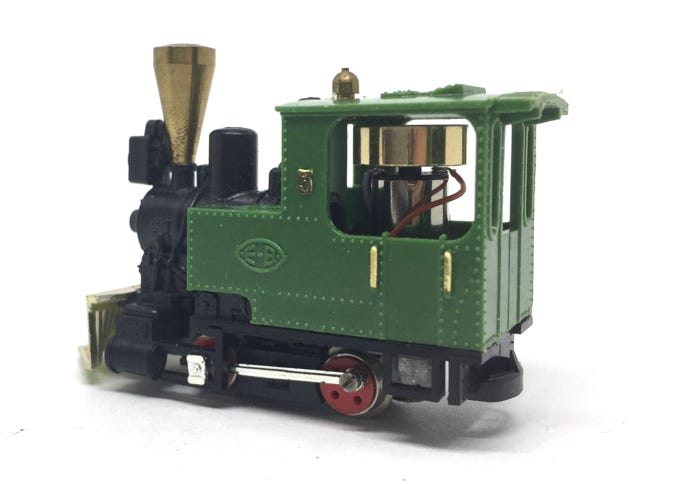
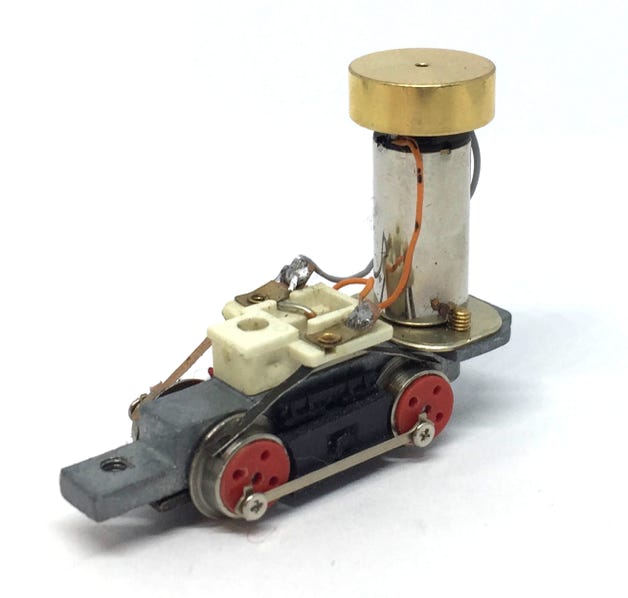
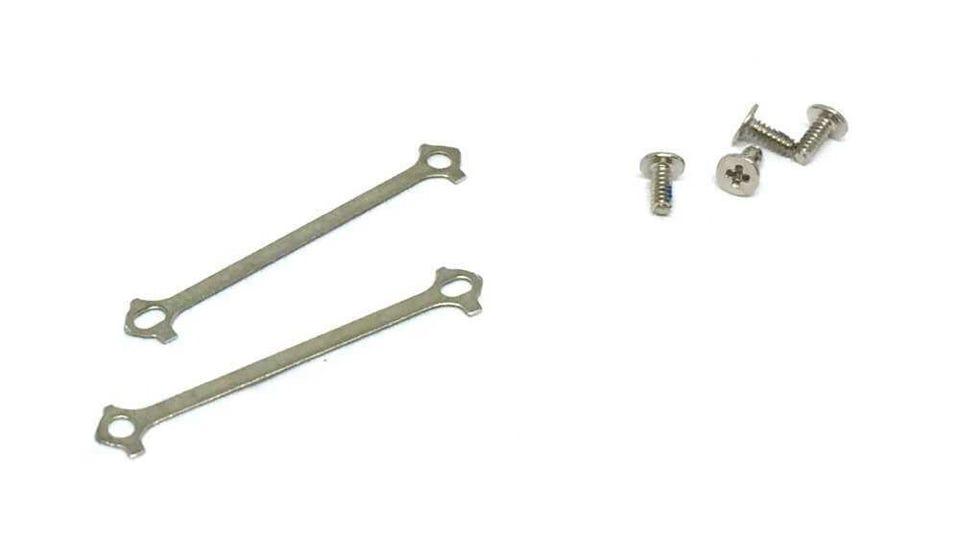
The rings that come with the coupling rods, are for another model. You don’t need to use them. However, on some models, which have the perma-magnet, you might need to arrange spacers for the coupling rods, as it the plastic of the model will be in the way.
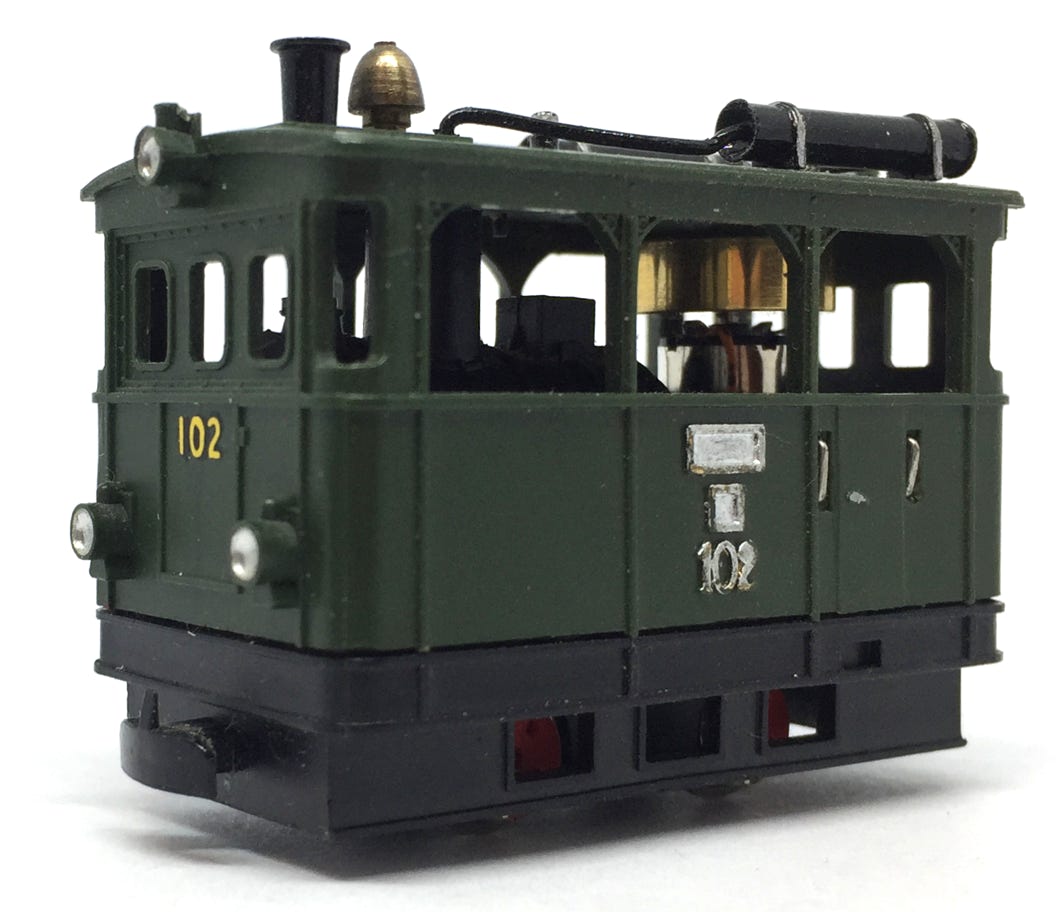
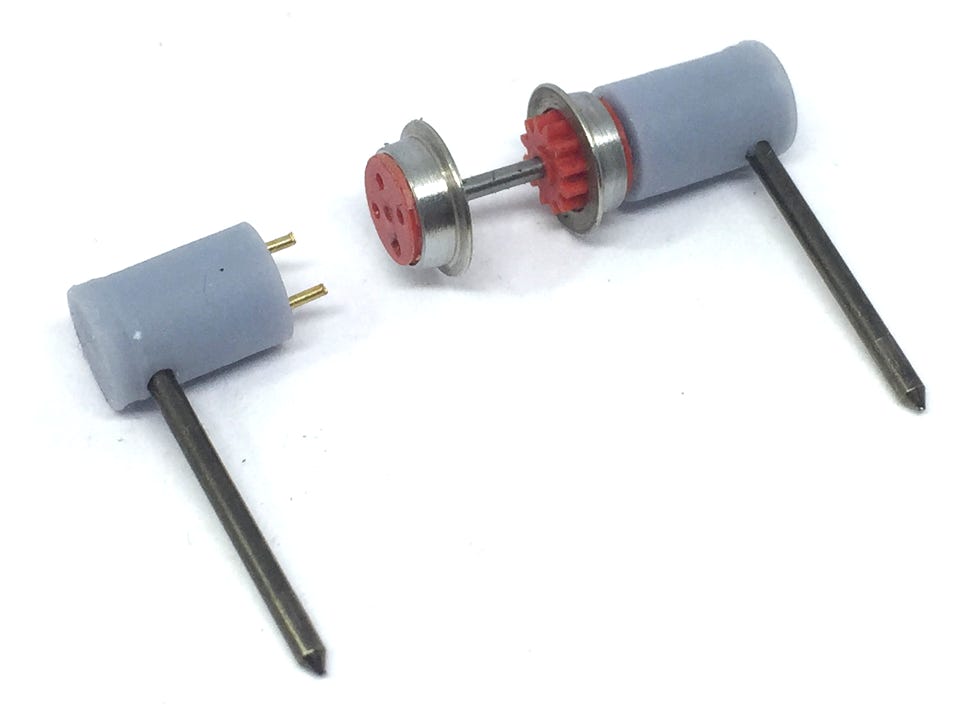
The kit works on Egger-Bahn/Jouef and Minitrains models. You’ll need a 000 or 00000 Phillips screw driver to screw them in. The holes in the wheels on both sides of the train need to be aligned. If that is not the case, using the quartering tool, you can easily adjust this.

•