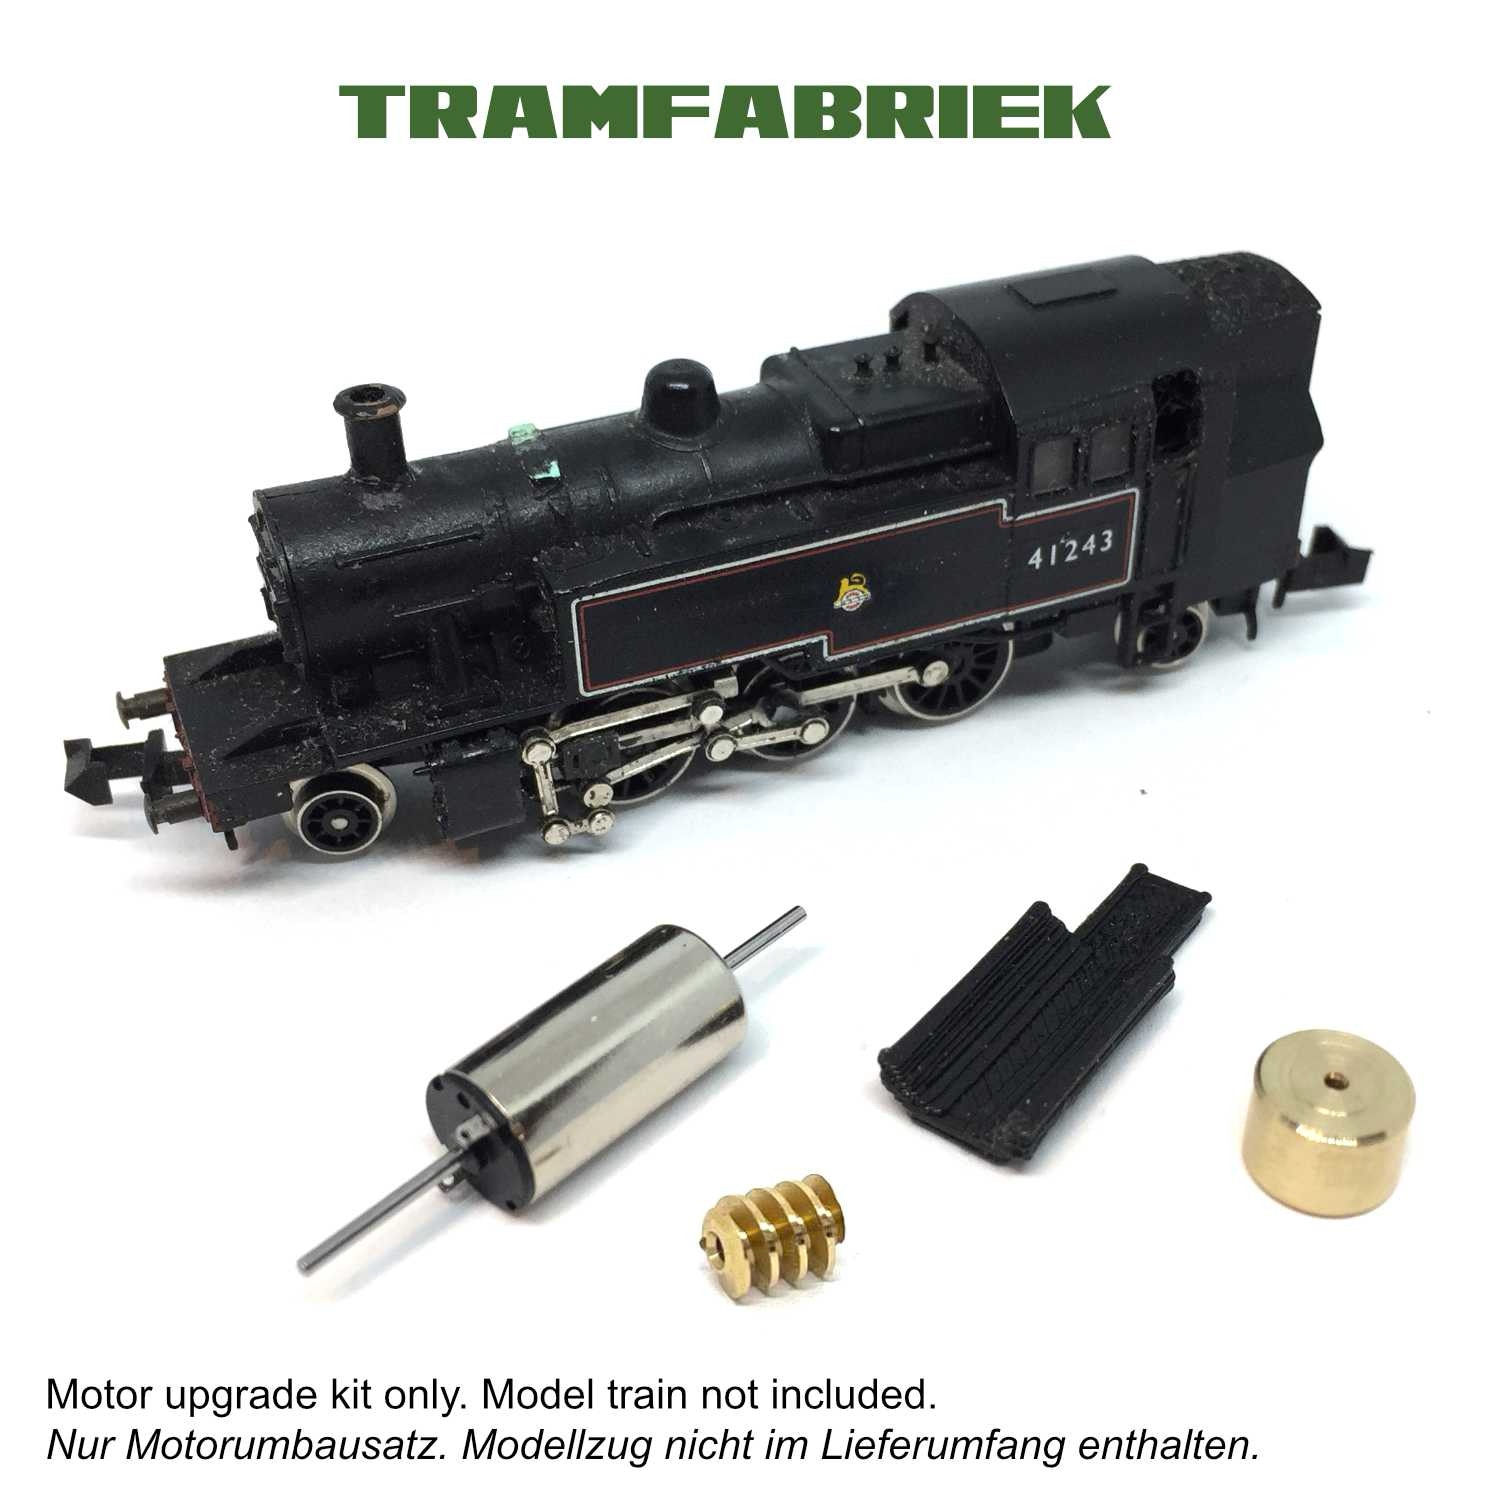
What you need for conversion set
- The model and upgrade kit
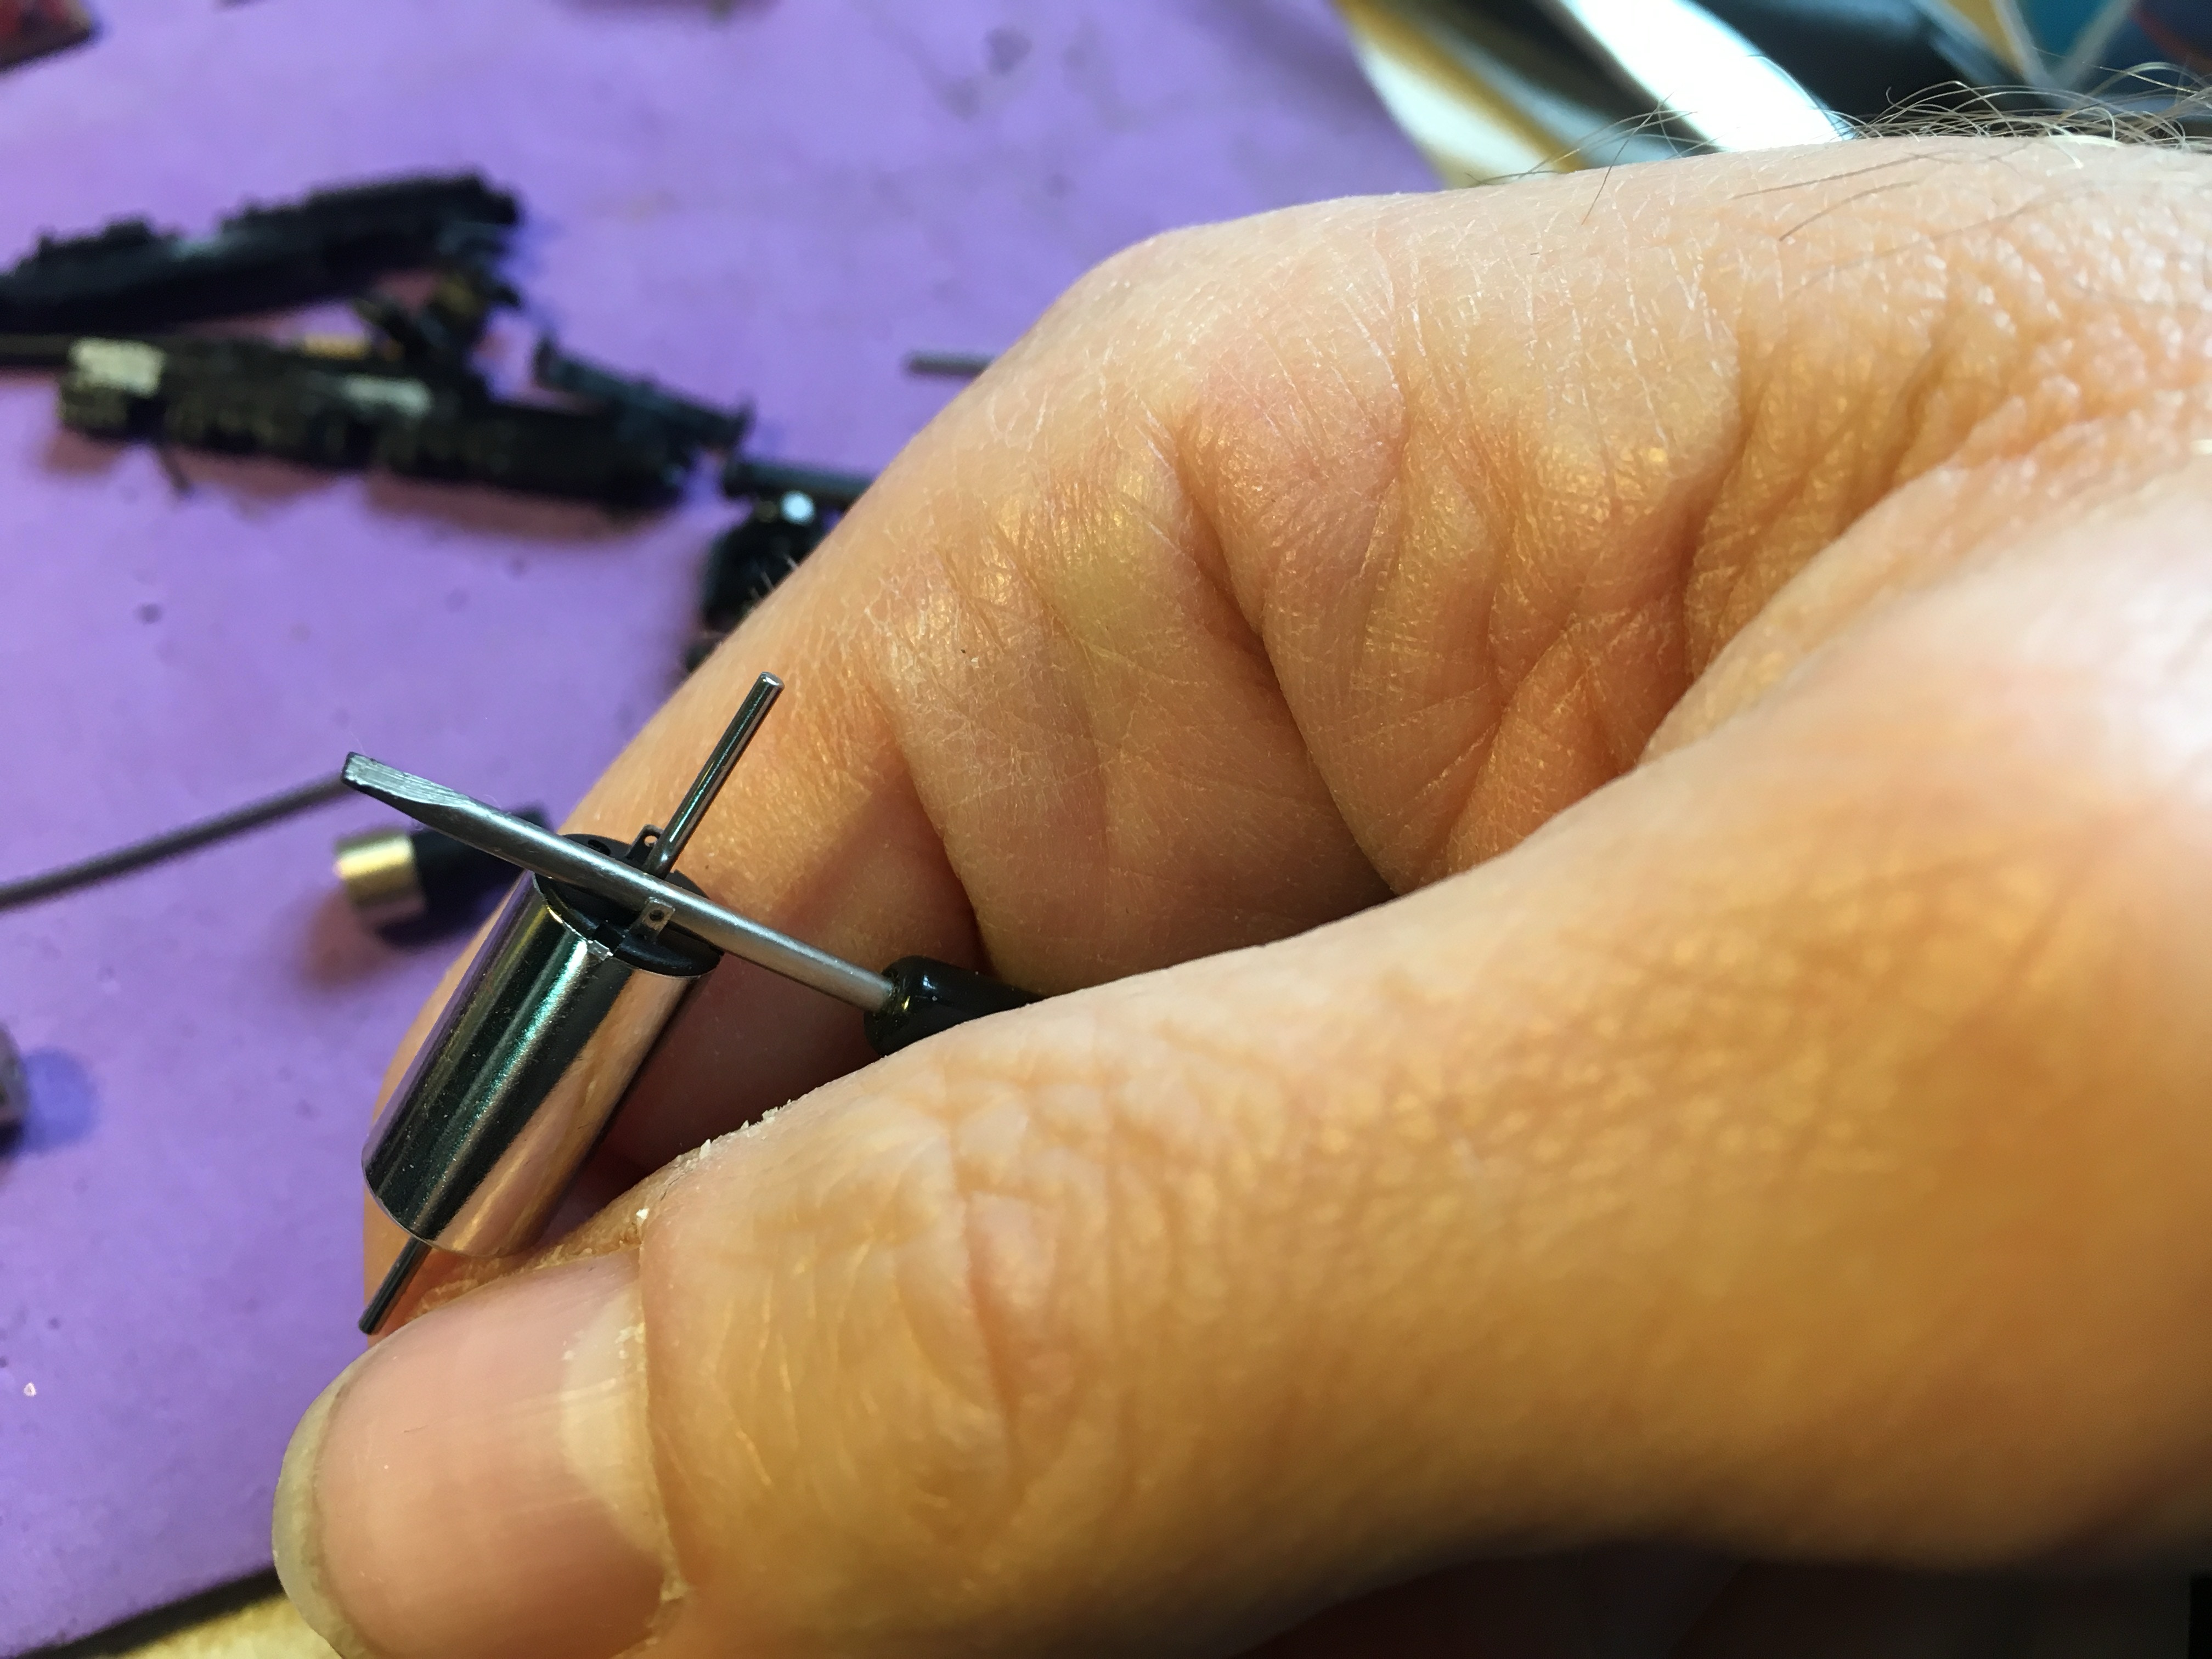
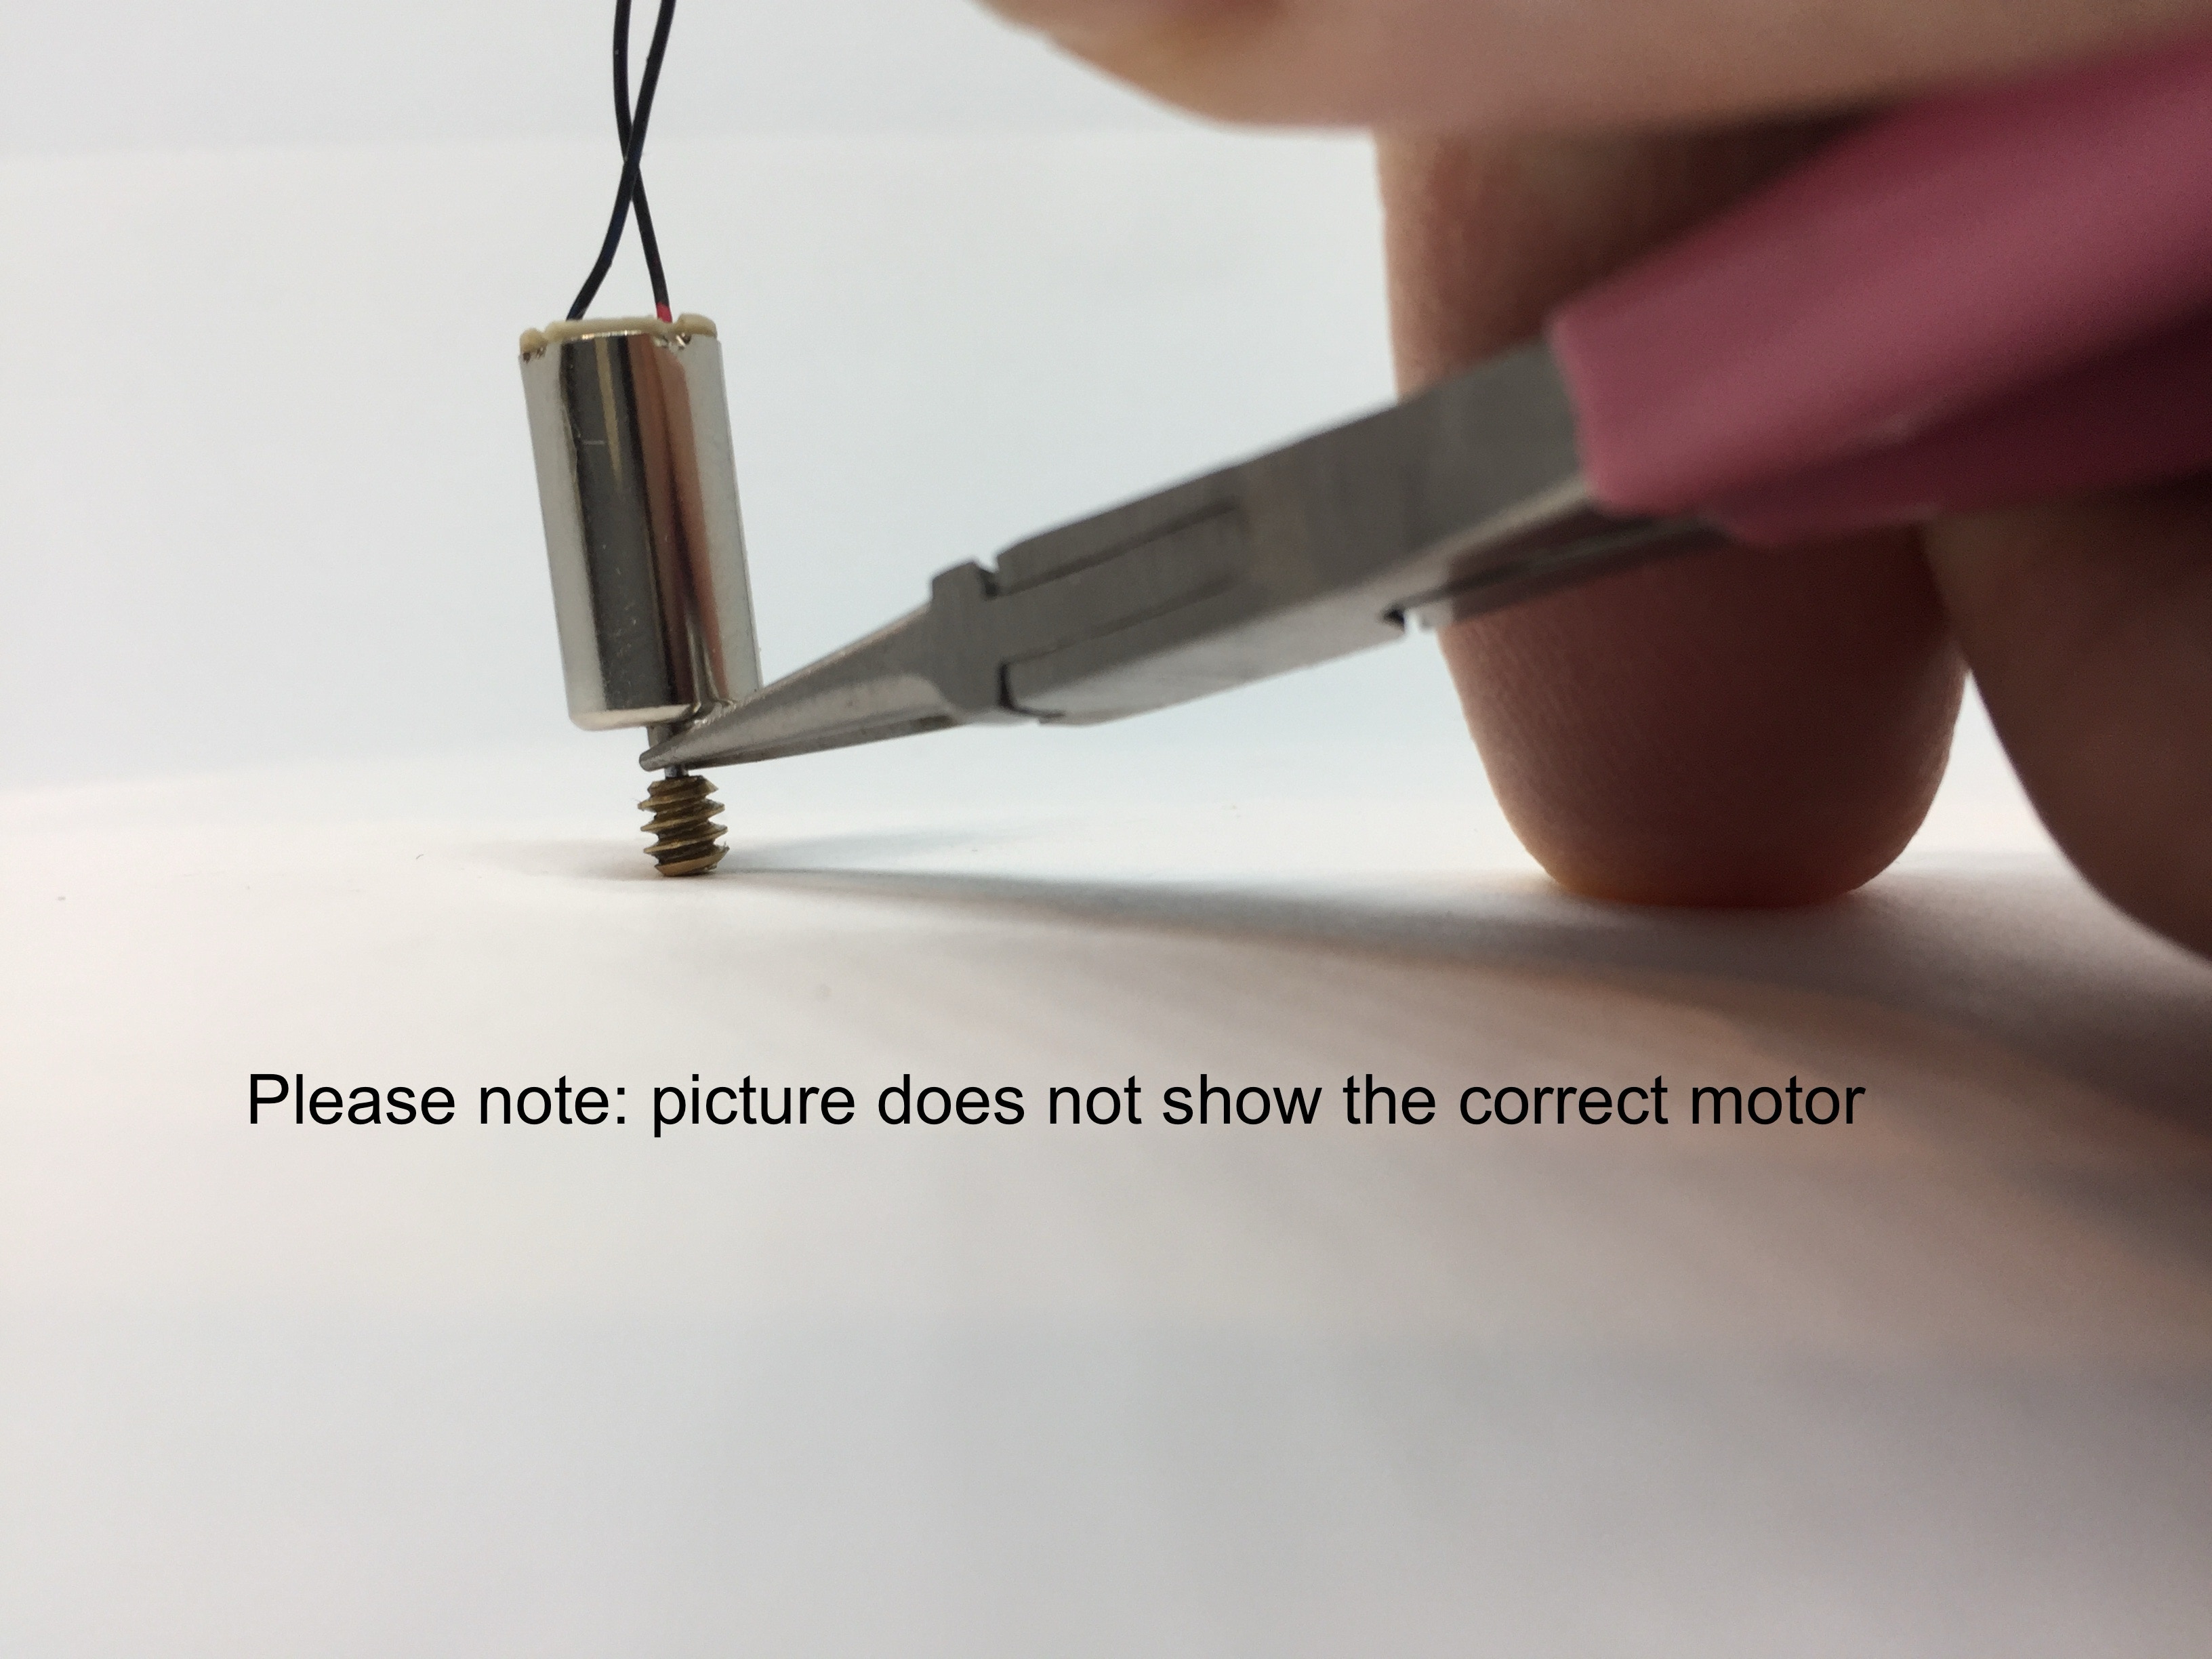
- Small flat screwdriver
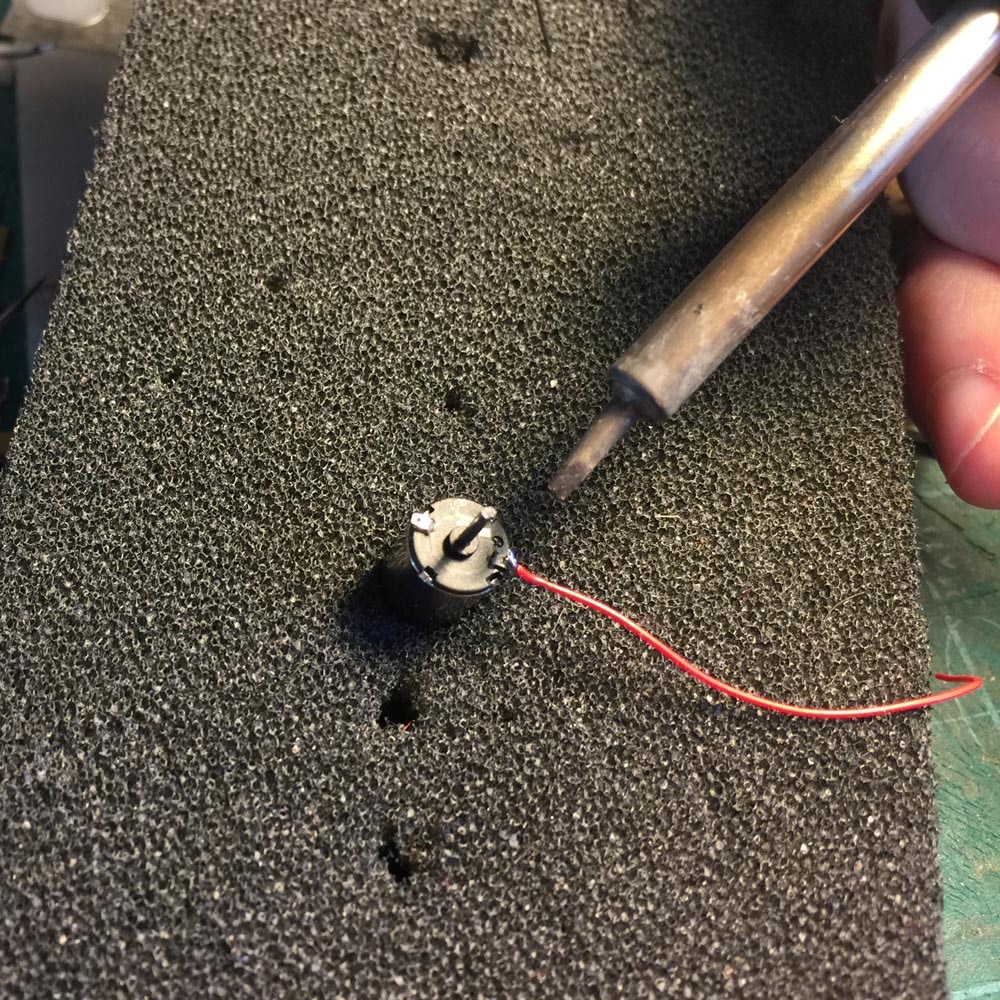
- Soldering iron 15W/25W
- Thin wire (get the best wire here)
- Epoxy glue
- Super glue
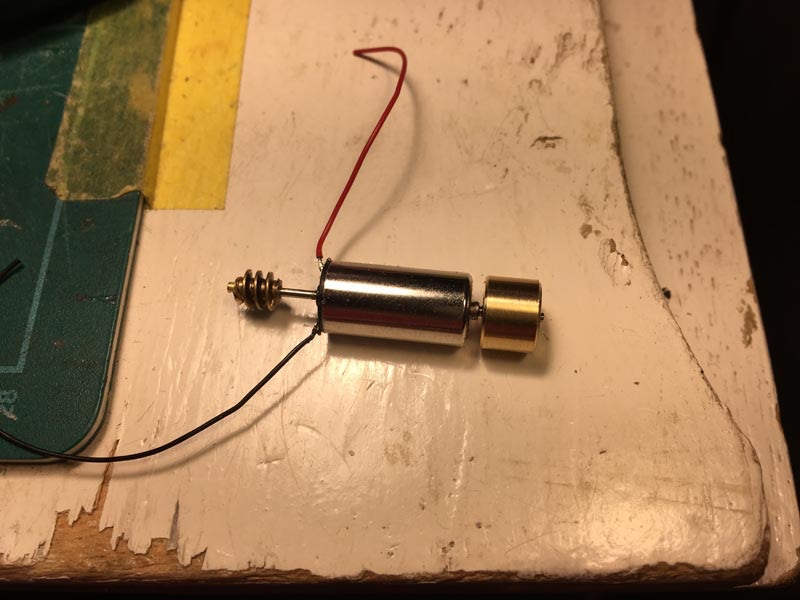
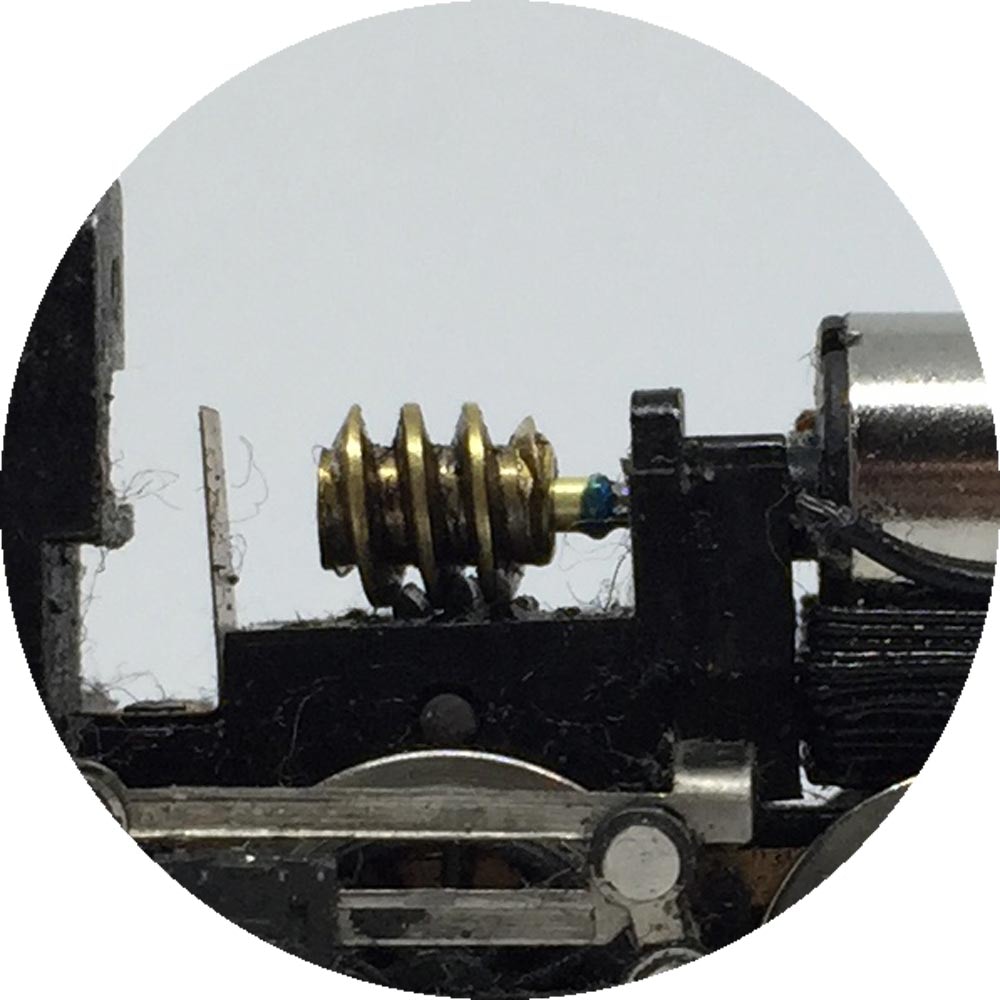
Replacement worm included!
Installation time: <1 hour
1
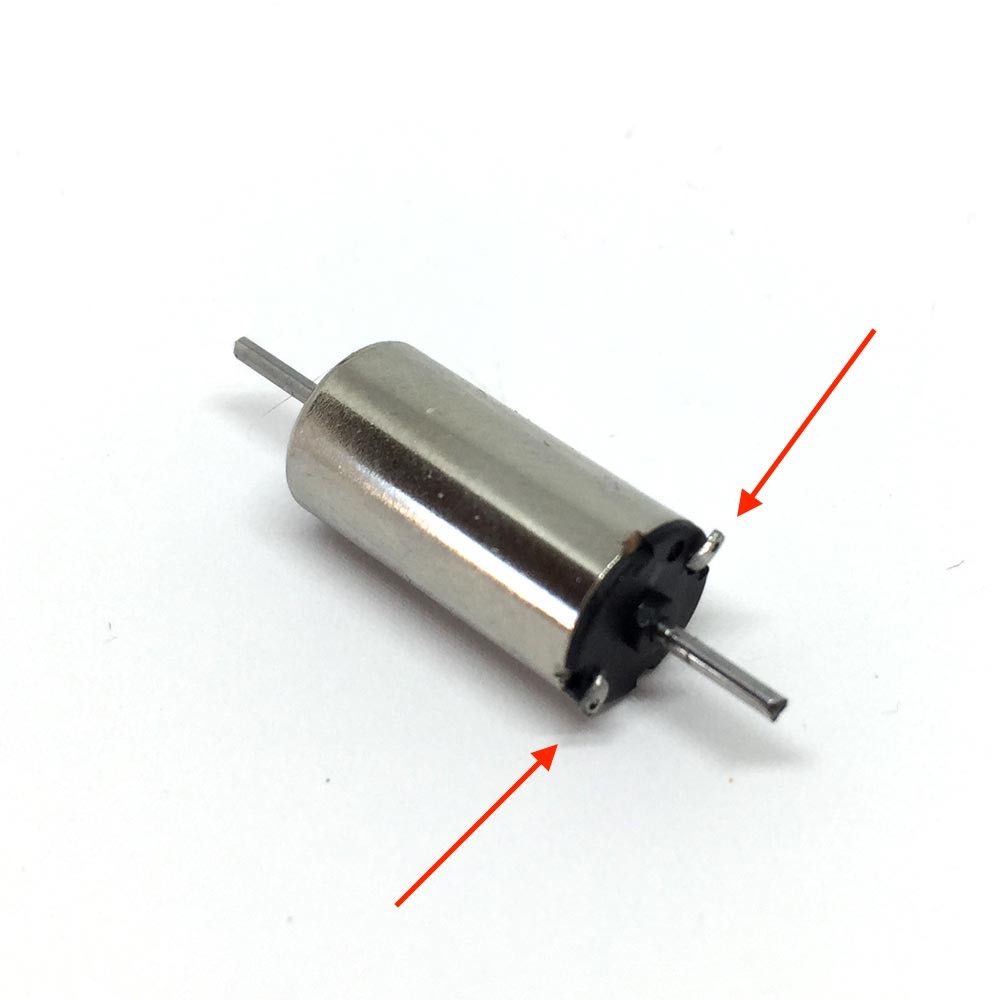
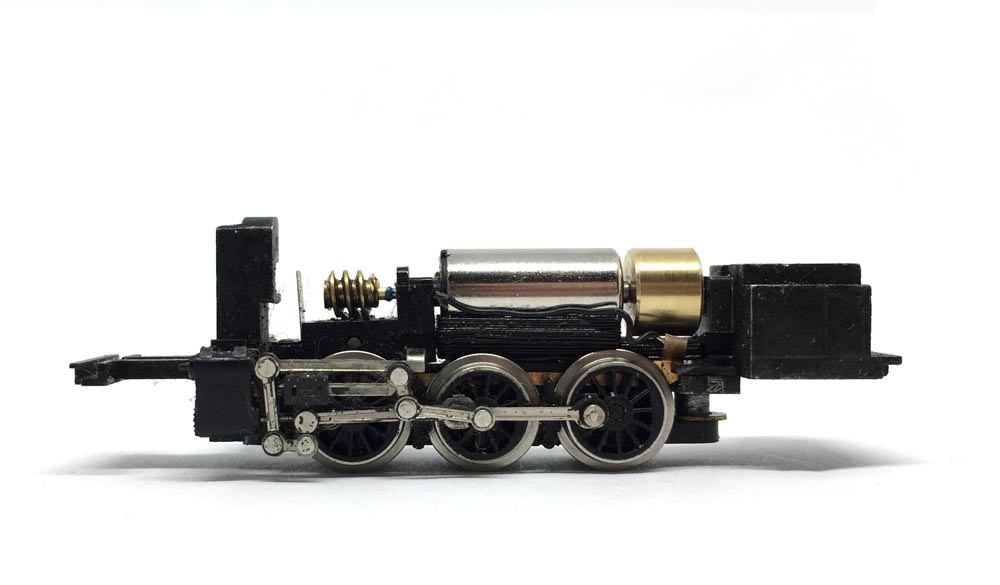
to coreless motor

UK based
For Minitrix article numbers 2028, 2029, 2030, 2039, 2040, 11415, 12027, 12028, 12038, 12039, 12040, 12836, 12839 among others.
See and hear the remarkable difference between the original and the new motor.

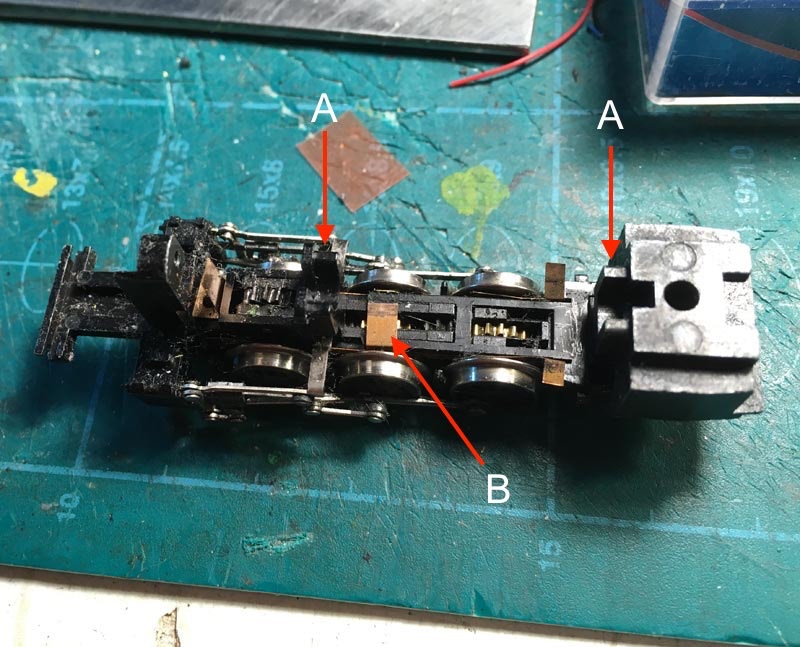
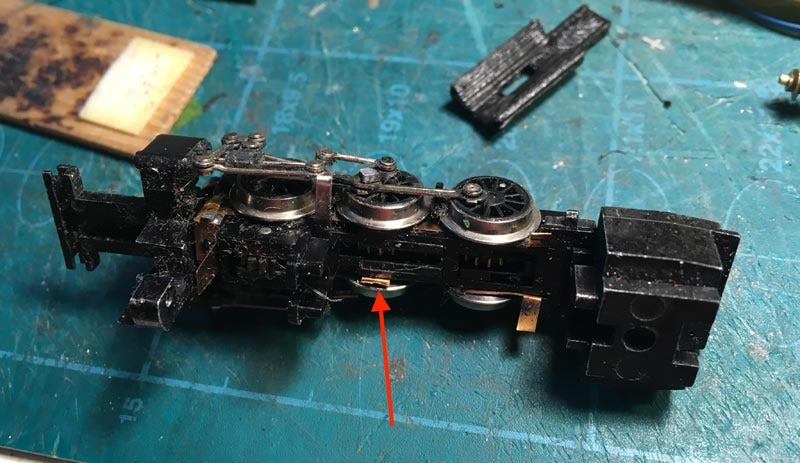
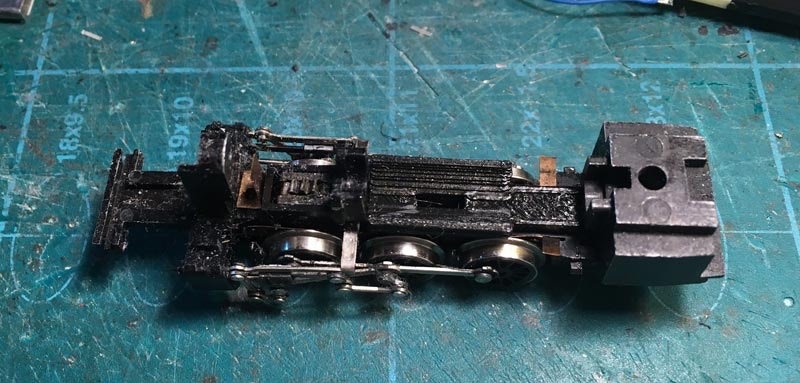
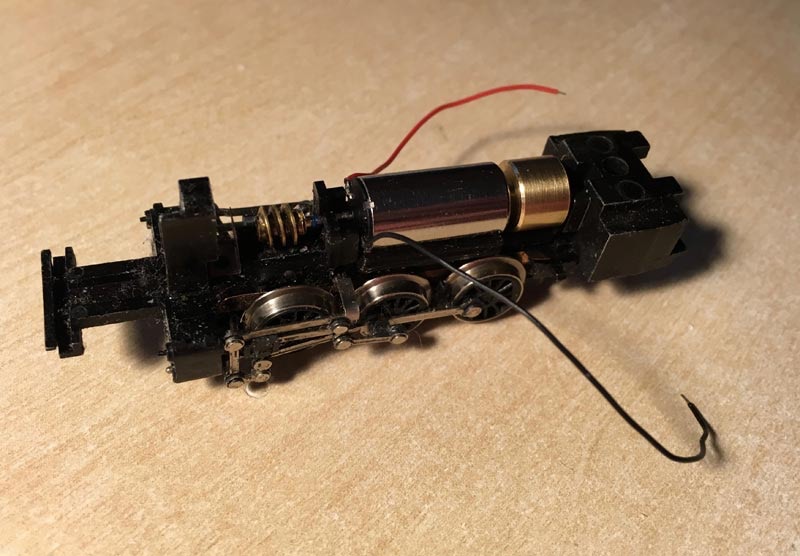
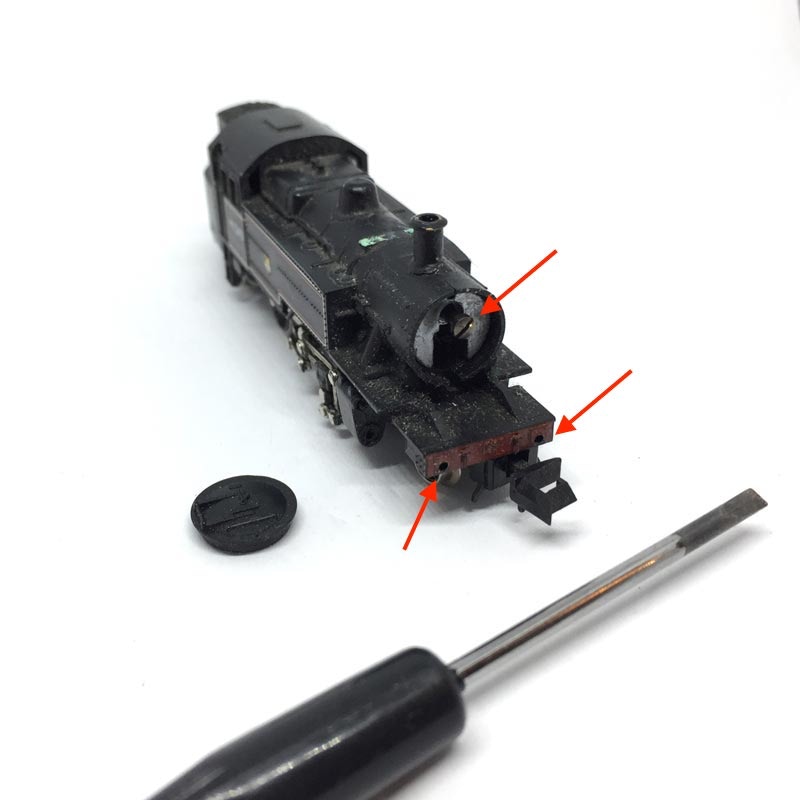
Take apart
Remove four buffers (front and rear) by pulling them. Take the boiler door out by putting your nail behind it and pull it out. Remove the screw and the cover comes off.
Prices for UK customers are shown inc 20% VAT
Other countries, inc EU, prices shown are ex VAT.


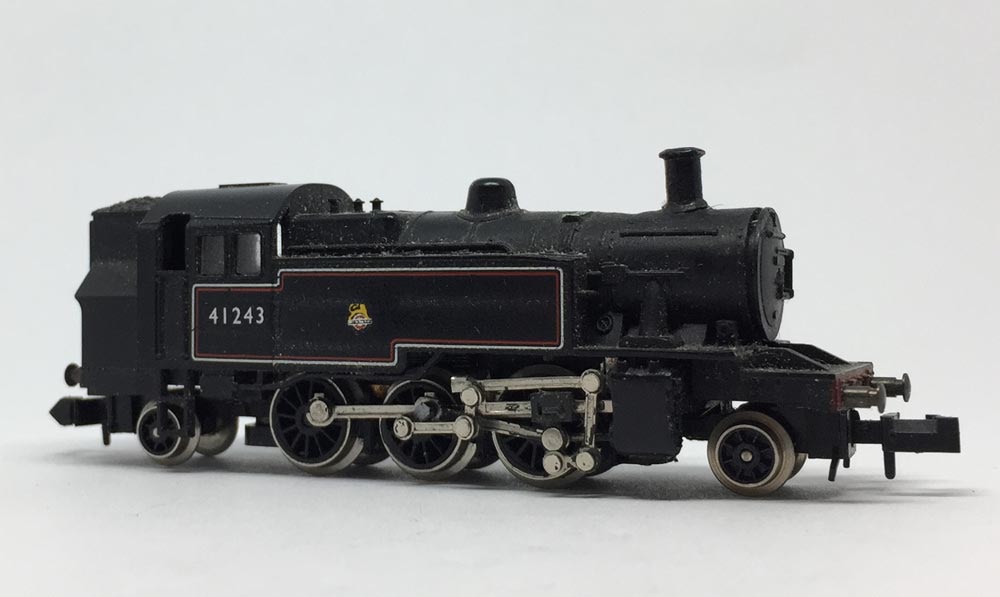
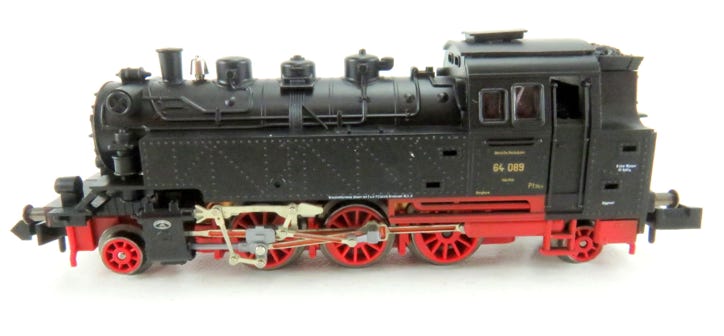
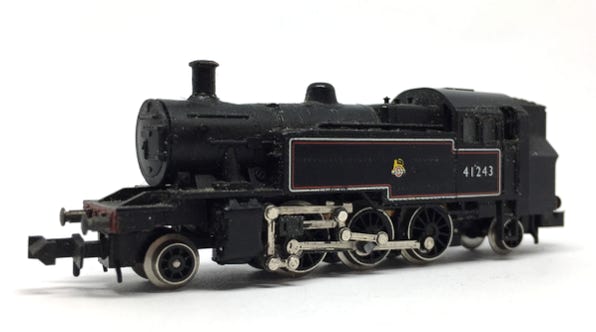
Conversion Minitrix Ivatt/BR 24/BR 64
Question? Just reach out!