
UK based
Prices for UK customers are shown inc 20% VAT
Other countries, inc EU, prices shown are ex VAT.


UK based
Prices for UK customers are shown inc 20% VAT
Other countries, inc EU, prices shown are ex VAT.
Question? Just reach out!
What you need for conversion set
- The model and upgrade kit
- Small screwdrivers
- Soldering iron 15W/25W
- General model making tools
Installation time: Around 60 minutes
Take apart
Remove the bolt and keep it aside. You need this later again. This screw is the contact point to the power pickups from the right side (seen in the direction of forwards driving).
Take the top part off by wiggling/pulling it.
Remove the wheels. Don’t pay attention to the weird axles, this is how I got this used model.
5
Fits on many, many other Graham Farish models with a similar motor design.
3
Remove the two screws, these are holding the bottom plate in place.
6
10
7
8
9

Please take note: it has come to my attention that some motors seem to be wired differently, which means the electrical poles of the motor are swapped. This means the red wire should lead to the front of the train, while the blue wire has to go to the clip. So test if the direction of the model is going in the same way as your other models. If not, swap the wires around.
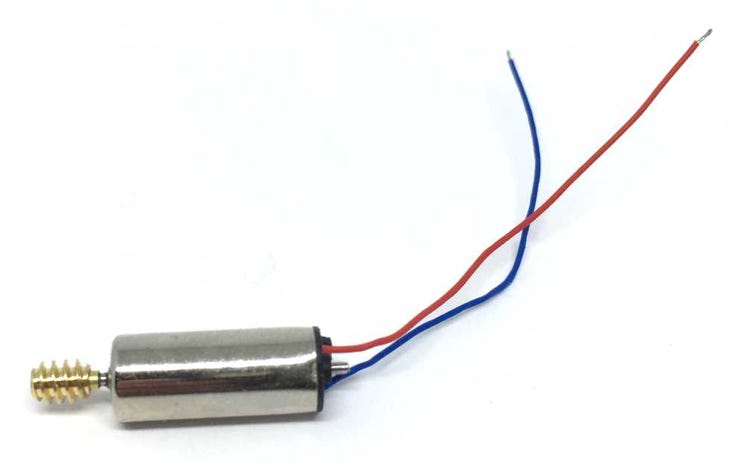
Assemble the worm and motor. But normally this should already been done when you received the upgrade kit. Your kit should have a POM (plastic) worm, not a brass one.

The motor will fit between the two lines. So it will be higher at the rear. DO NOT file the end away, the motor should not lay flat, otherwise the worm would not touch the gear below.
Prepare the chassis for the glue. Using fine sandpaper, degrease the area by lightly sanding it.
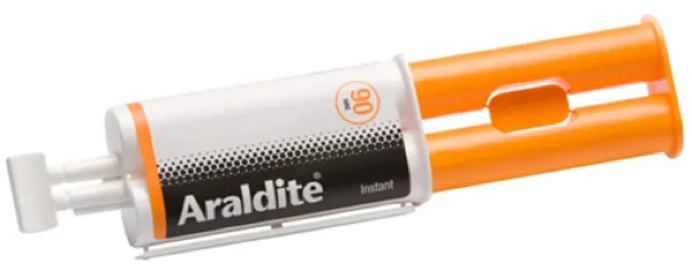
I two small blobs of Araldite Instant (90 seconds drying time) to glue the motor in place. Pay attention that the worm is well centred above the gear.
Soldering time! If you are not going to run this model DCC, then you can keep the red wire pretty short. Using the clip, solder the red wire to it. IMPORTANT: solder the wire at the right top corner (red arrow) and NOT in the middle of the clip, as otherwise it will touch the wheel.
On the below picture left, the motor is not glued yet. Of course, first solder the wire on the clip, then fit the clip and after that glue the motor in place.
11
12
13
14
Then you’re done. Unless you want to make it digital…
To isolate the other wheel contact, which electricity flows through the long screw, we can re-use the white bush from the original motor assembly.
With an 1.7 mm drill bit and a hand vice, drill through the plastic.
At the picture you see the order of the parts.
You don’t have to solder the wire to the brass clip. You can also just wrap the wire around the screw and tighten it to the screw with the bolt.
Test it and when all is working fine, re-assemble the model.
Digital conversion
If you want to make it digital, the Train-O-Matic Micro decoder fits on top of the motor. Available from the Tramfabriek here. The perfect CV settings for this motor for several decoder brands you can find by clicking here.
•