

UK based
Prices for UK customers are shown inc 20% VAT
Other countries, inc EU, prices shown are ex VAT.


UK based
Prices for UK customers are shown inc 20% VAT
Other countries, inc EU, prices shown are ex VAT.
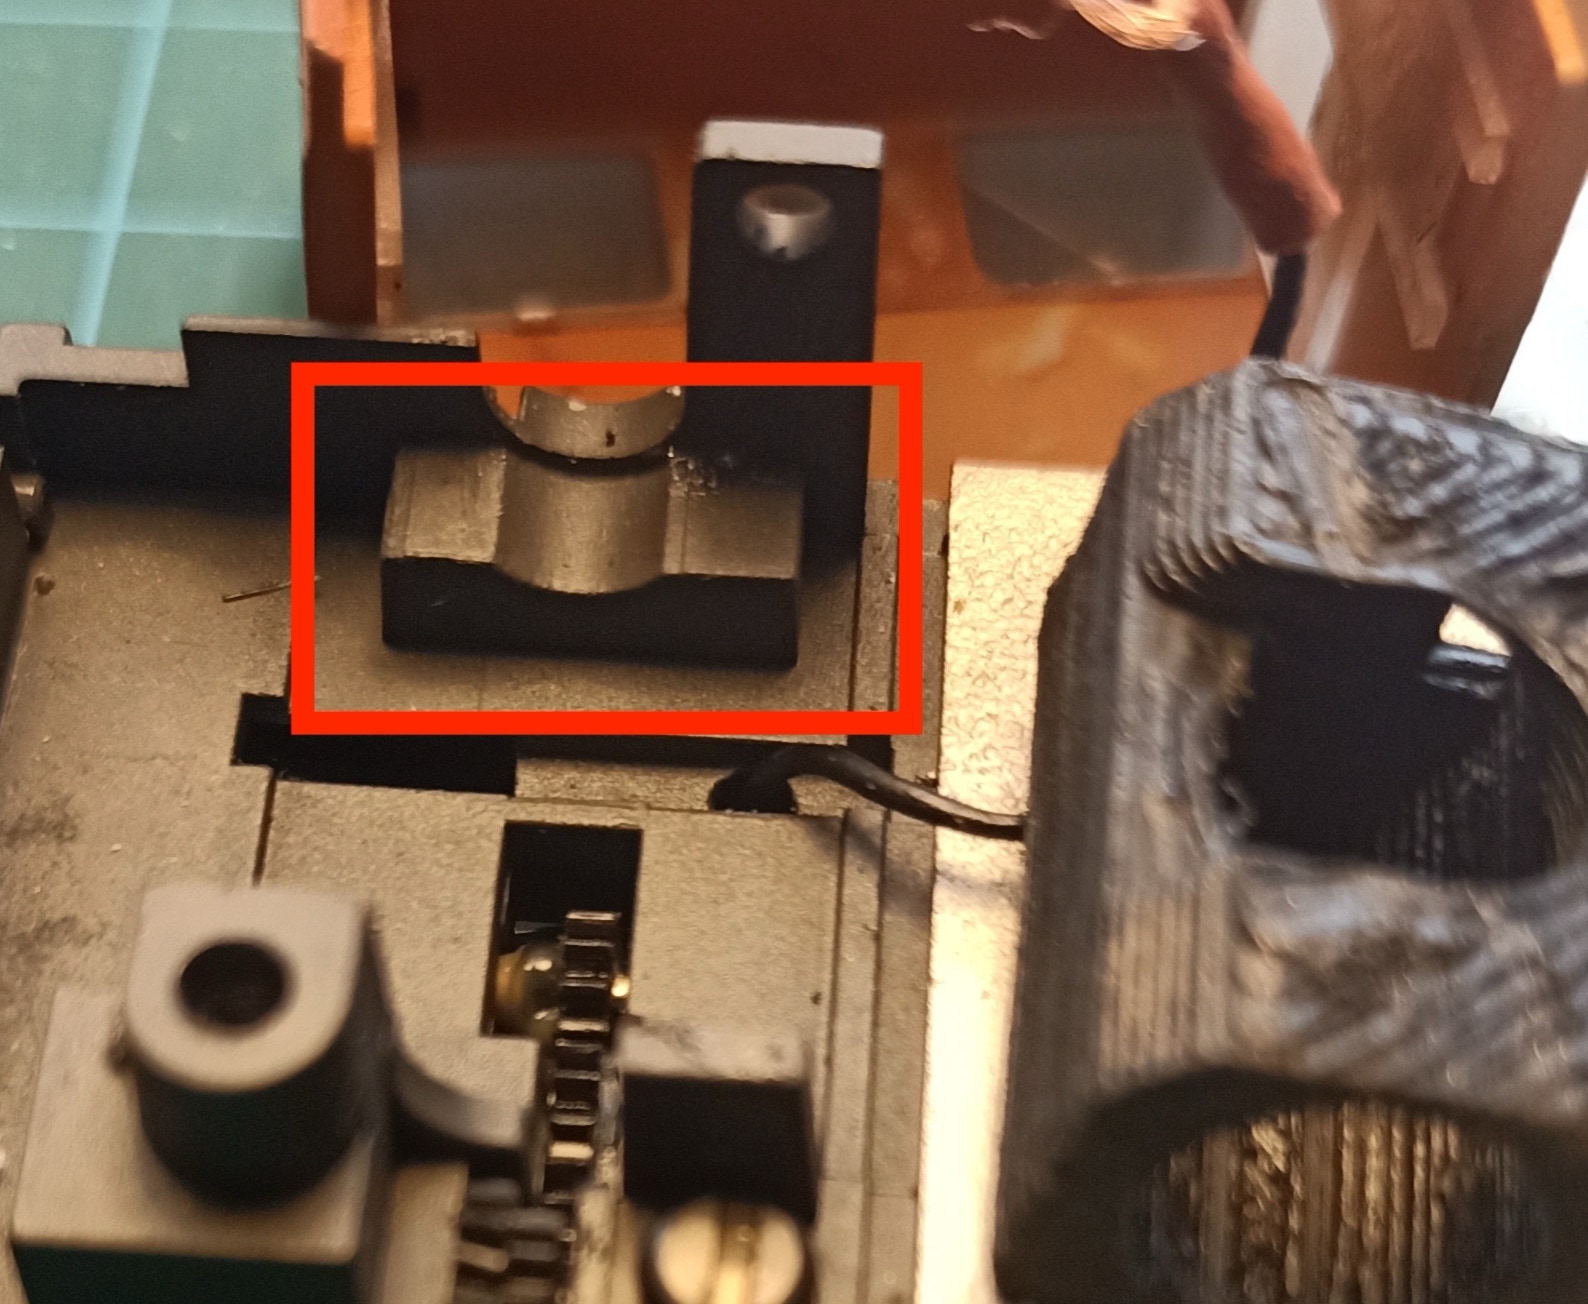
Please note: does NOT fit in model with this metal part in the motor bay, so check your model.
What you need for conversion set
- The model and upgrade kit
- Soldering iron 15W/25W
- General model making tools
Installation time: Around 30 minutes
Note: if you have the model with a black gear and not the worm, you will still have a little gearing sound. Only the model with worm will be extremely quiet, because of the mechanical construction.
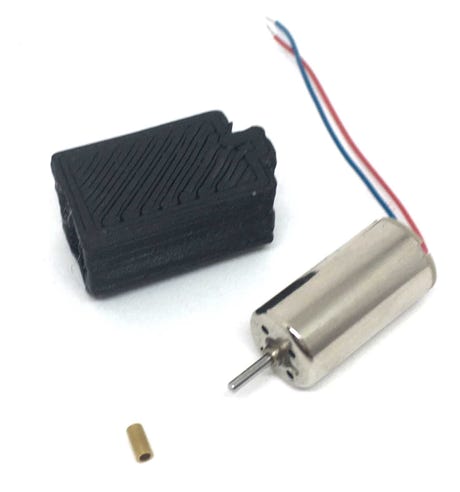
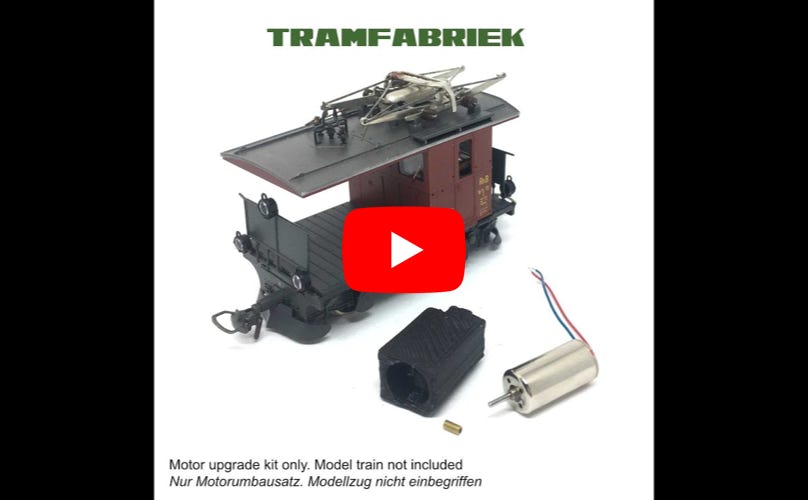
Contents of the kit.
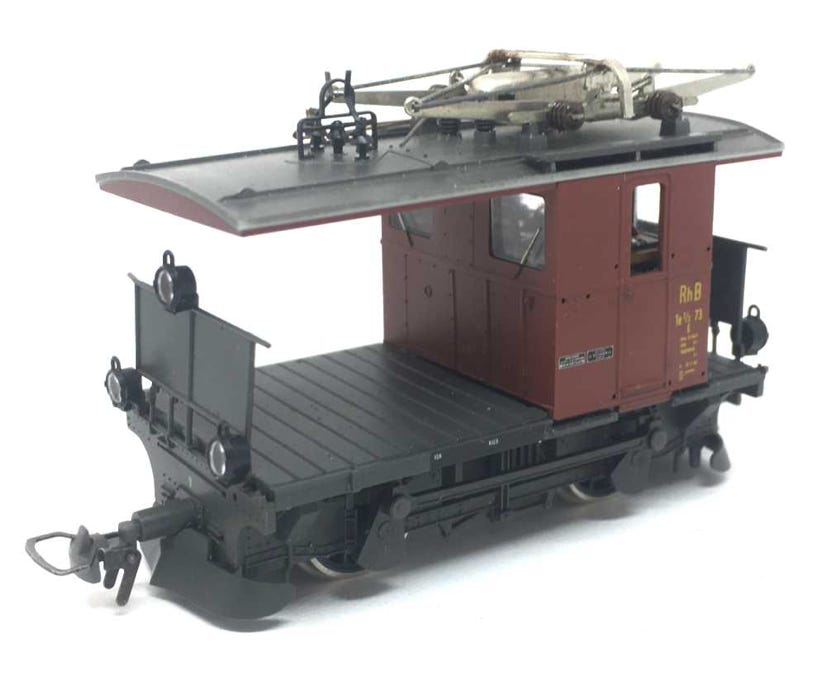
Bemo Tm 2/2
upgrade to 12V Coreless motor
Original models (example of the many released variations)
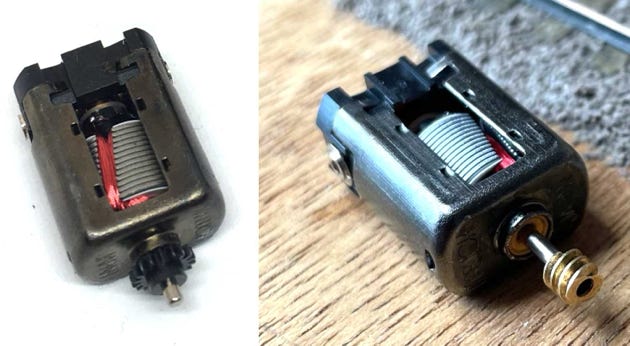
Compatible with both gear and worm driven gearing>>>
Question? Just reach out!

Take apart
1

With a small, flat screw driver, push the two layers (plastic housing and window panel) away, so you can insert a tooth picker. Do this on both sides.
2
3
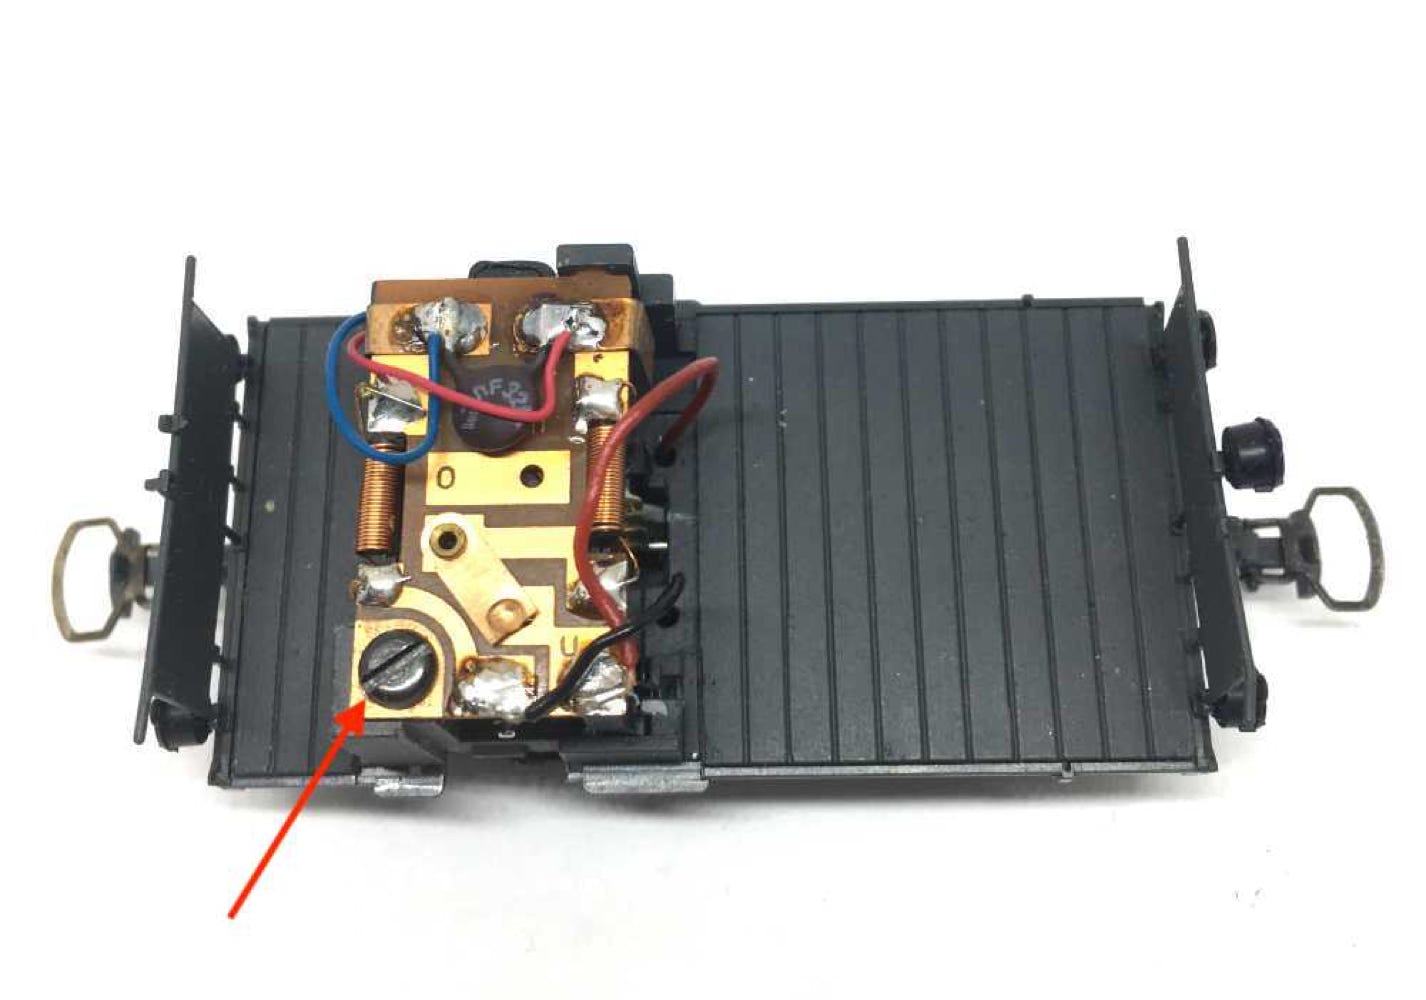
Remove the one screw that holds the electronics board in place. Then the motor can be lifted out.
4
6
Take the gear off the motor shaft. This can be done with your fingers.
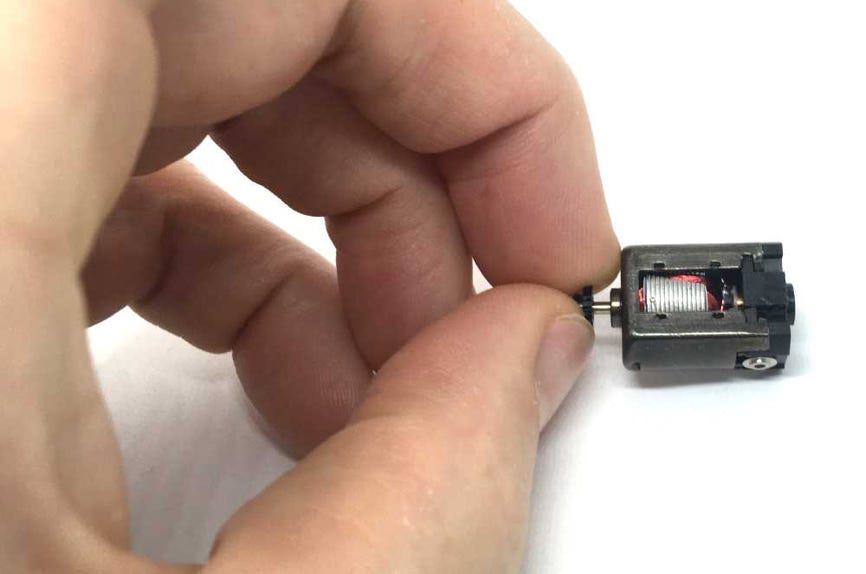
Press the gear on the motor. Fit it in place to align the gear. I did not have to use glue, but if it would be too loose, use Loctite and not Superglue.
7
5

8
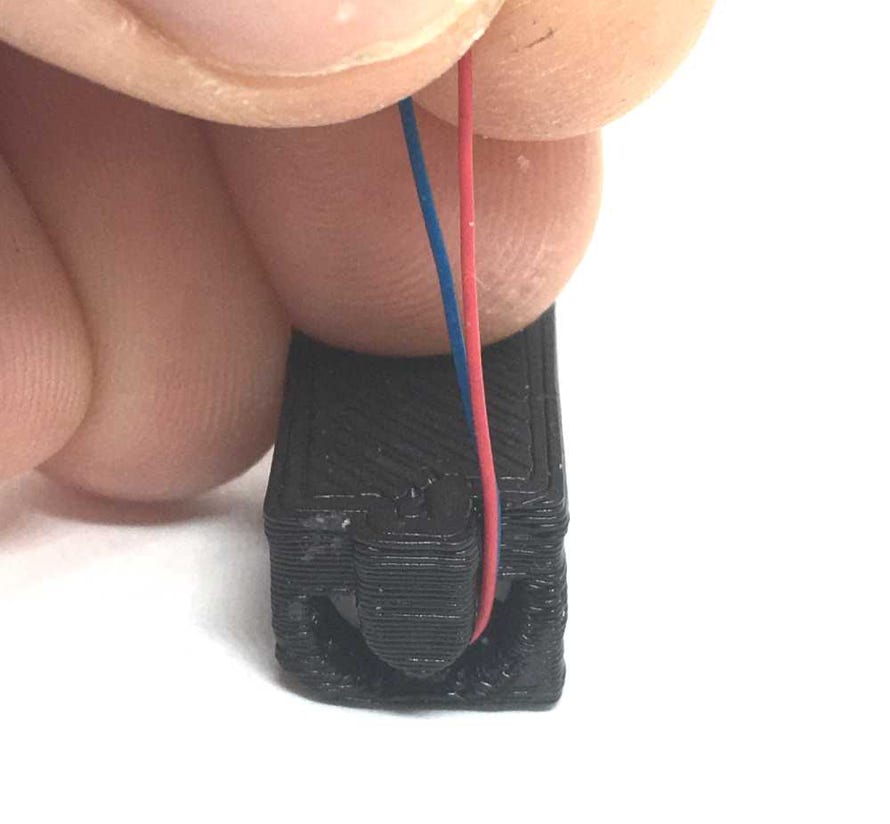
Place the motor and fit the board again. Solder the wires of the motor. as shown to the electronics board.
9
Test the model, refit the housing and you’re done.
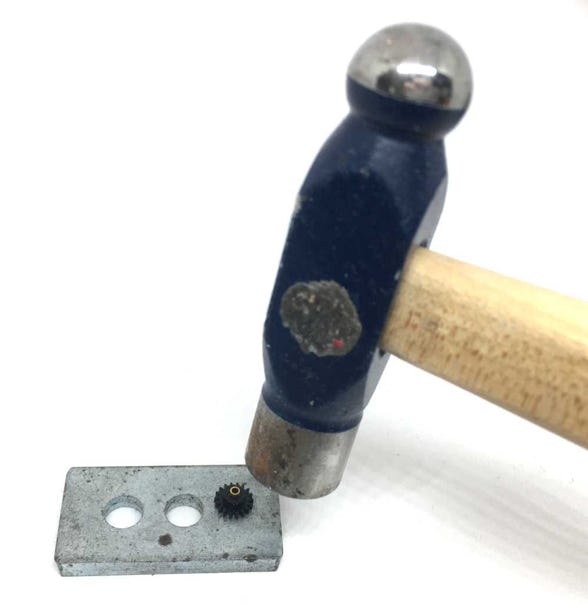
Take the brass adapter that comes with the upgrade kit and press it in the gear. This can be done with your fingers or a small hammer.
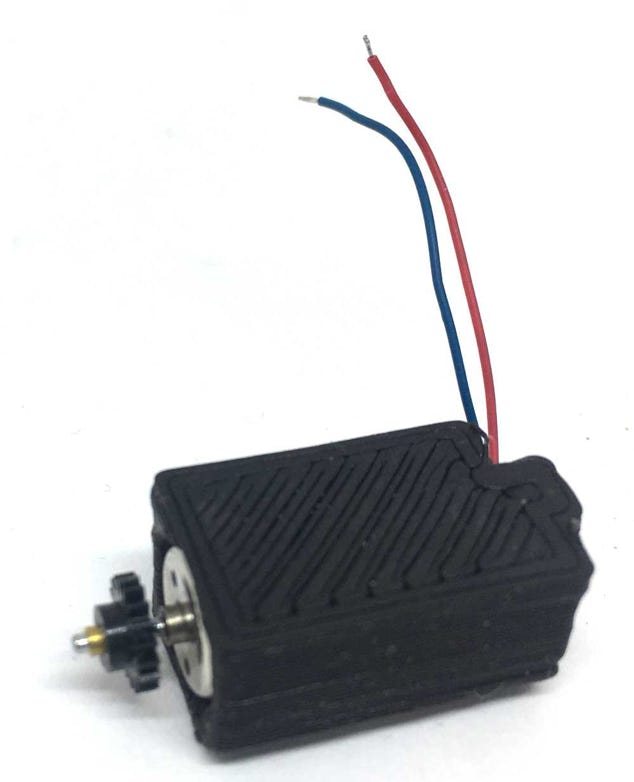
This is how to guide the wires along the casing, so they don’t get stuck between the casing and the model. You will see there is a space made for that on the shown side. It will not work on the left side.
Then lift the housing upwards to take it off.

Digital
If it all works well, you can fit a decoder. Train-O-Matic makes excellent small decoder, available here from the Tramfabriek.
For optimal performance, you need to change some CV settings on a decoder. For several decoder brands, the ideal CV settings can be found by clicking here.
END
•