General tips to help you with any motor upgrade
Last update 30/11/2022
For upgrading models that the Tramfabriek offers a kit, a step by step instruction is available. Though there are some general tips that apply to all upgrades, including your own, custom upgrade. So please read this well and it will help you to a successful conversion.
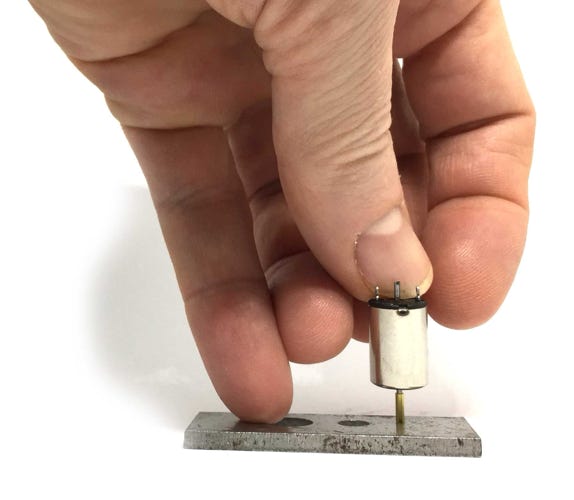
1. Always protect the back from your motor!!!
A common mistake is that when people press a gear or worm on, they don’t protect the plastic back of the motor and with that, pushing the “lid” of the motor. This is held in place with friction, so you have to be very careful. Place the motor on a slightly opened vice, with the shaft in the vice, so the back is protected. Or press the worm on by pressing on the back. Btw, first press the worm on the adapter, only then press this assembly on the motor shaft.
2. Check the gears for defects or obstruction.
A traditional motor has a much higher torque. So if one gear is split or there is dirt in the gears, it might still be able to turn the gears. This is not good, of course, but the model might run. Poorly, but sometimes hardly noticeable. A coreless motor is strong, but doesn’t have as much torque as a traditional 3 or 5 pole motor.
Action:
With a model with bogies, always, before installing and testing with the new motor, take the bogies out and feel if the gears are running freely. This can be done by turning the top sprocket with your finger. There should be no resistance. If there is any resistance:
- Check for dirt
- Check for split gears. A split gear is sometimes only noticeable under a magnifying glass. This needs to be replaced by a new gear. Glueing is not possible. For British models, check BR Lines. For German models, check Spur-N-Teile. If you can’t get original spare parts, you can have them custom made by Mikro-Antriebe in Poland.
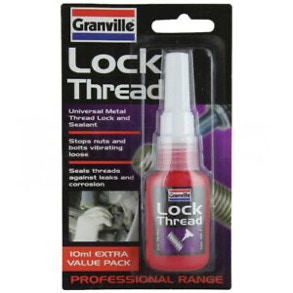
3. Glue for metal shaft
To fit a brass adapter of gear/worm to a metal shaft, use Loctite 242/243 or Granville Lock Thread (In the UK available from Halfords). Do not use superglue, as the glue will set before you have the chance to slide the part on completely.
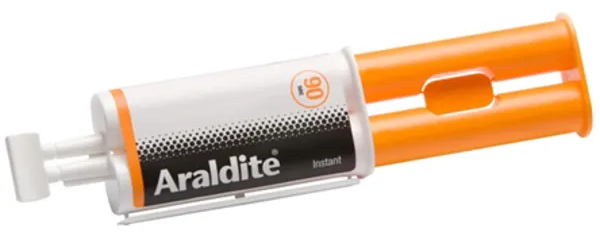
4. Glue to fit motor to chassis
If you need to glue the motor to the chassis, best is to use 90 second drying time Epoxyglue. I advise Araldate Instant, but any other fast drying two component glue will do. This will give you enough time to align the motor correctly. If the worm on the motor shaft has to align with a gear, check that they are not tight on each other, but leave 0.2 mm of space. Putting Rizla cigarette paper between worm and gear might make this easier.
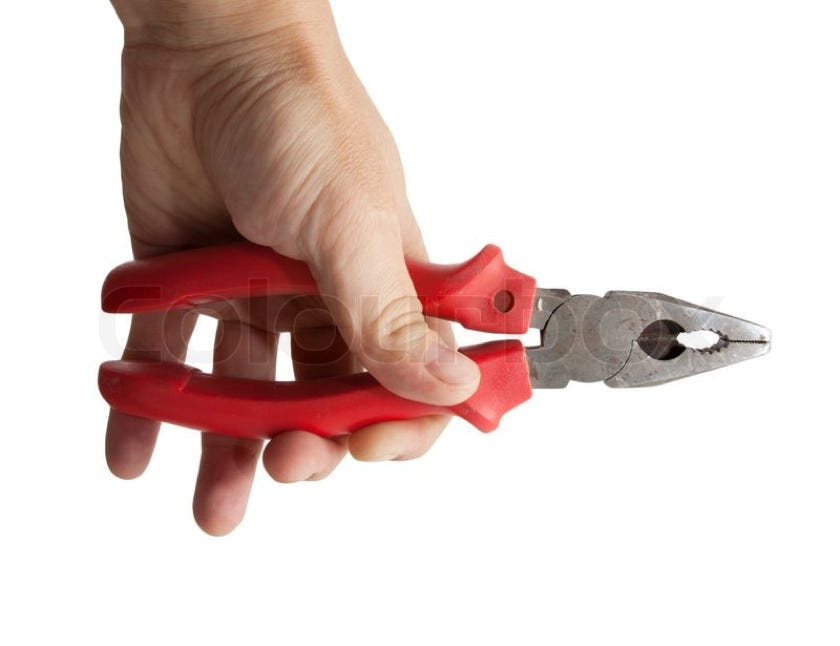
5. Cutting the motor shaft
The motor shaft of the coreless motor is pretty strong. Strong, but not indestructible. If you need a shorter shaft for your project, use a strong pair of pliers to make a cut. You have to file the end clean to fit the adapter or gear.
•


