

Prices for UK customers are shown inc 20% VAT
Other countries, inc EU, prices shown are ex VAT.
UK based
KASTENLOK INDEX
A guide to installing sound, firebox and cab lights.
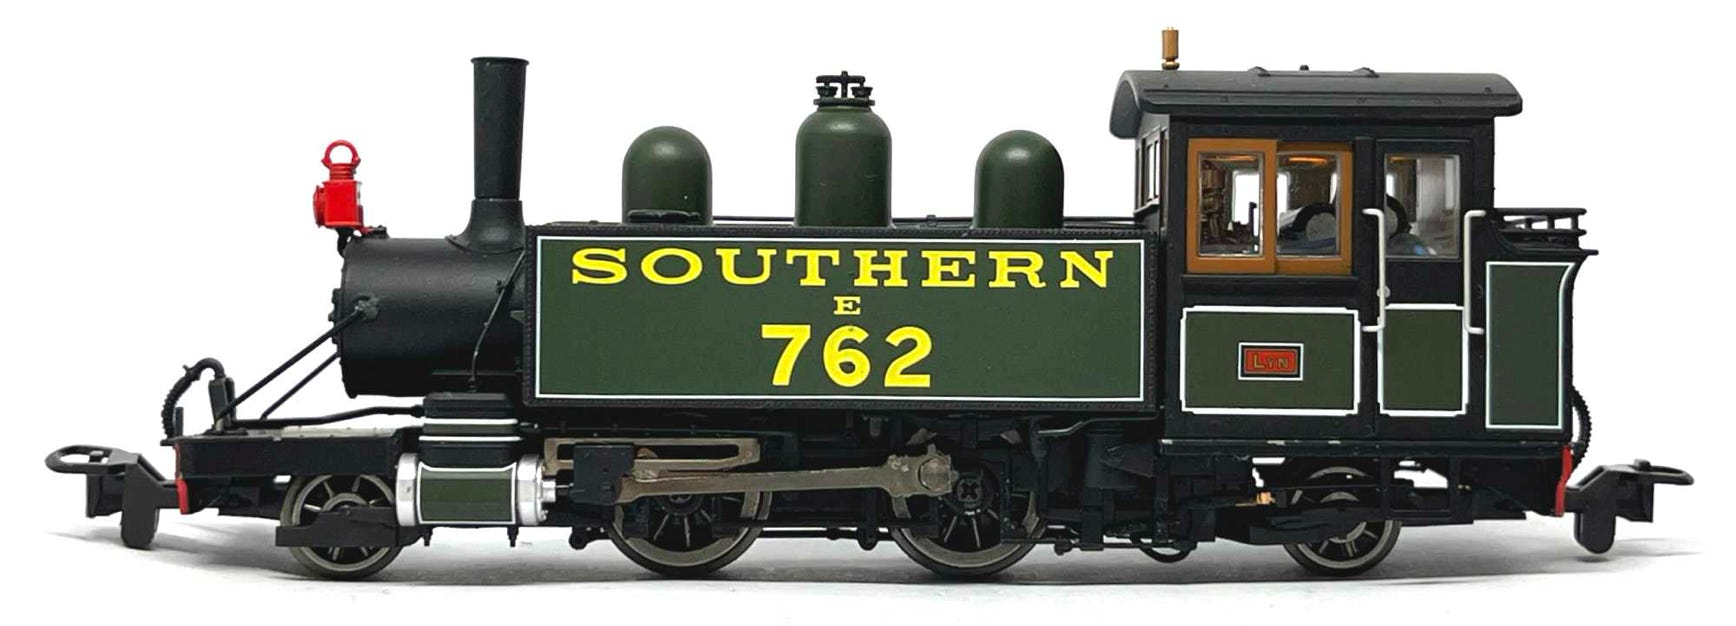
Heljan Baldwin ‘Lyn’


Prices for UK customers are shown inc 20% VAT
Other countries, inc EU, prices shown are ex VAT.
UK based
KASTENLOK INDEX

A guide to installing sound, firebox and cab lights.
Heljan Baldwin ‘Lyn’
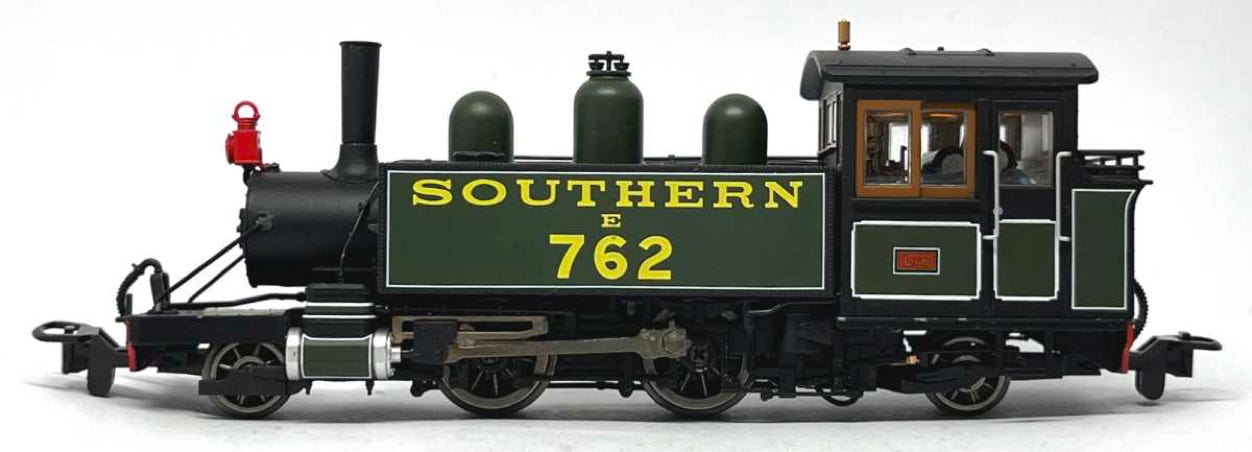
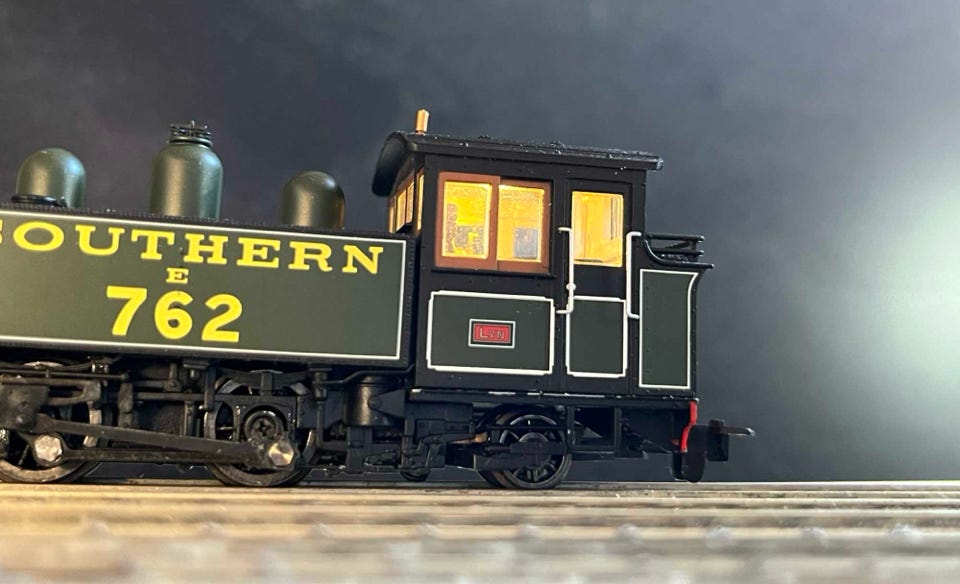
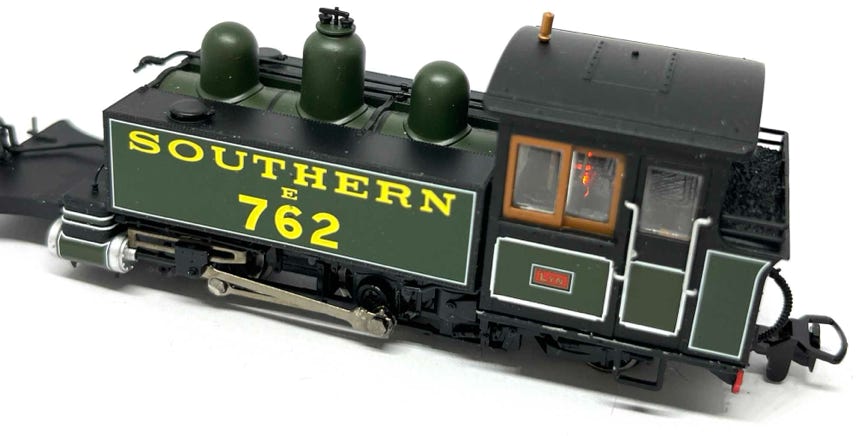
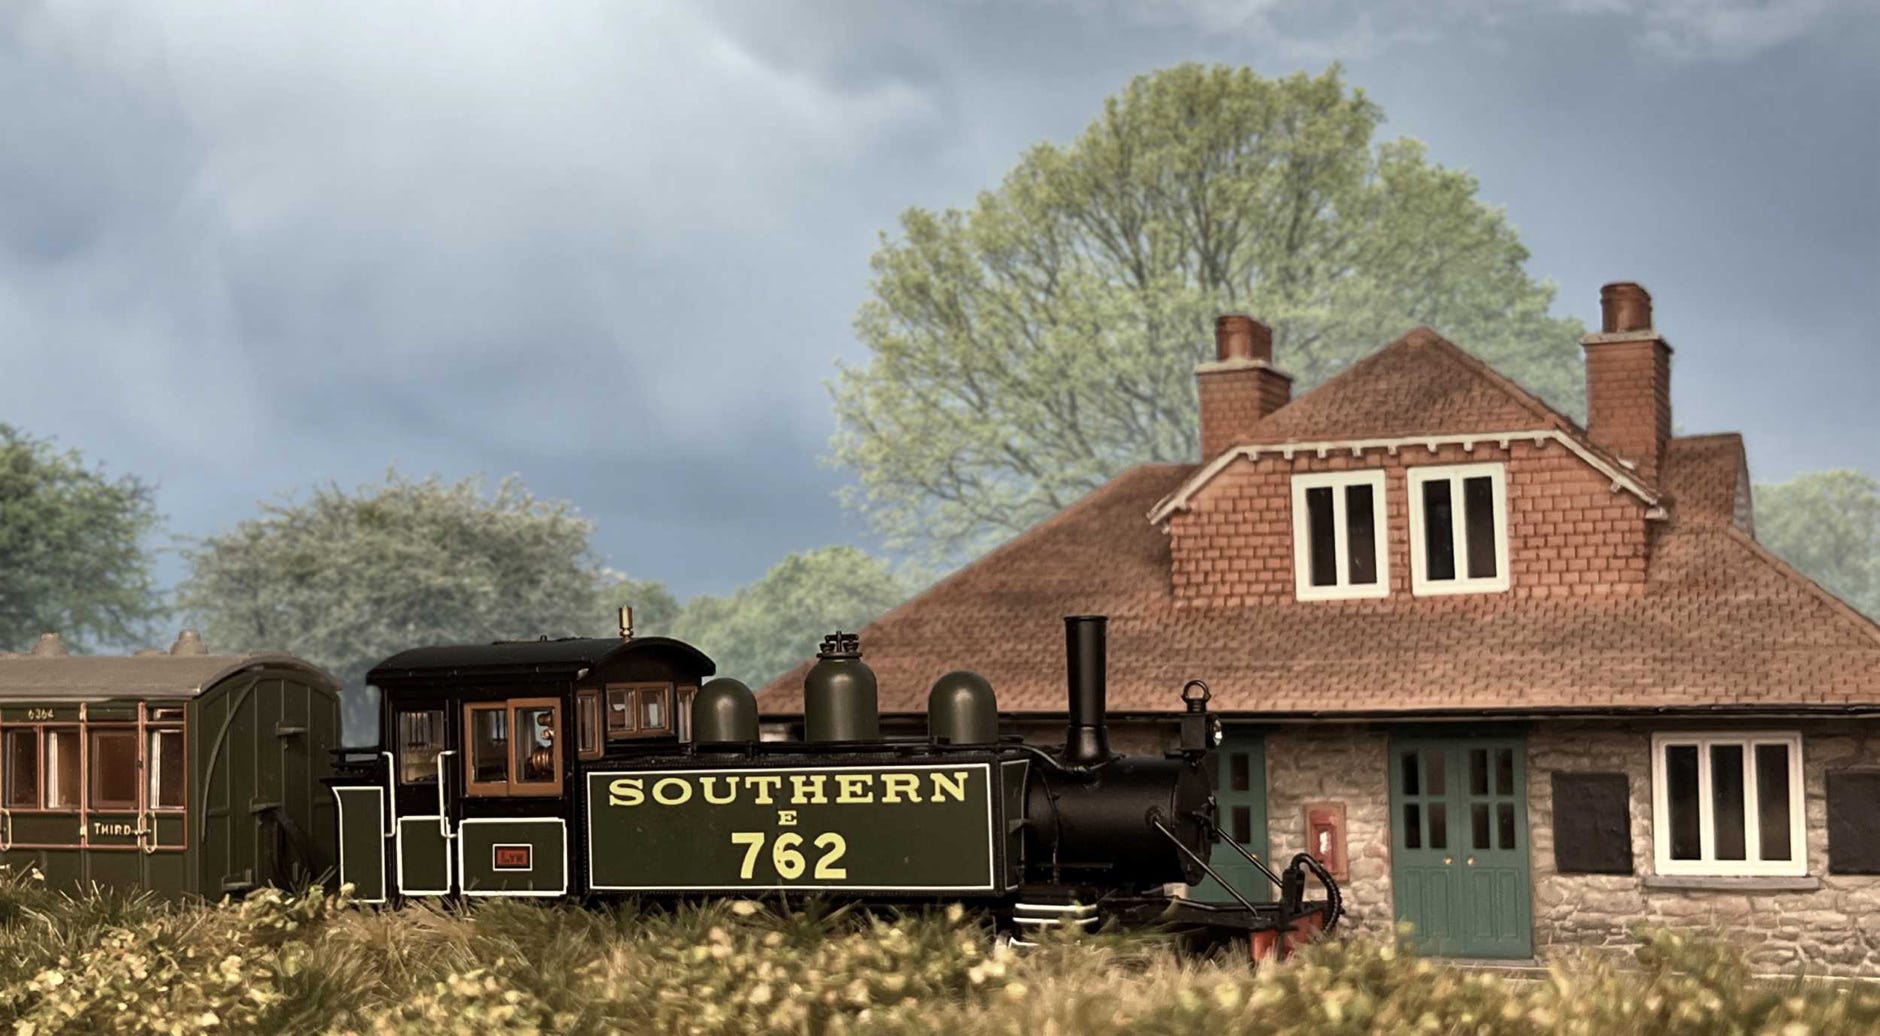
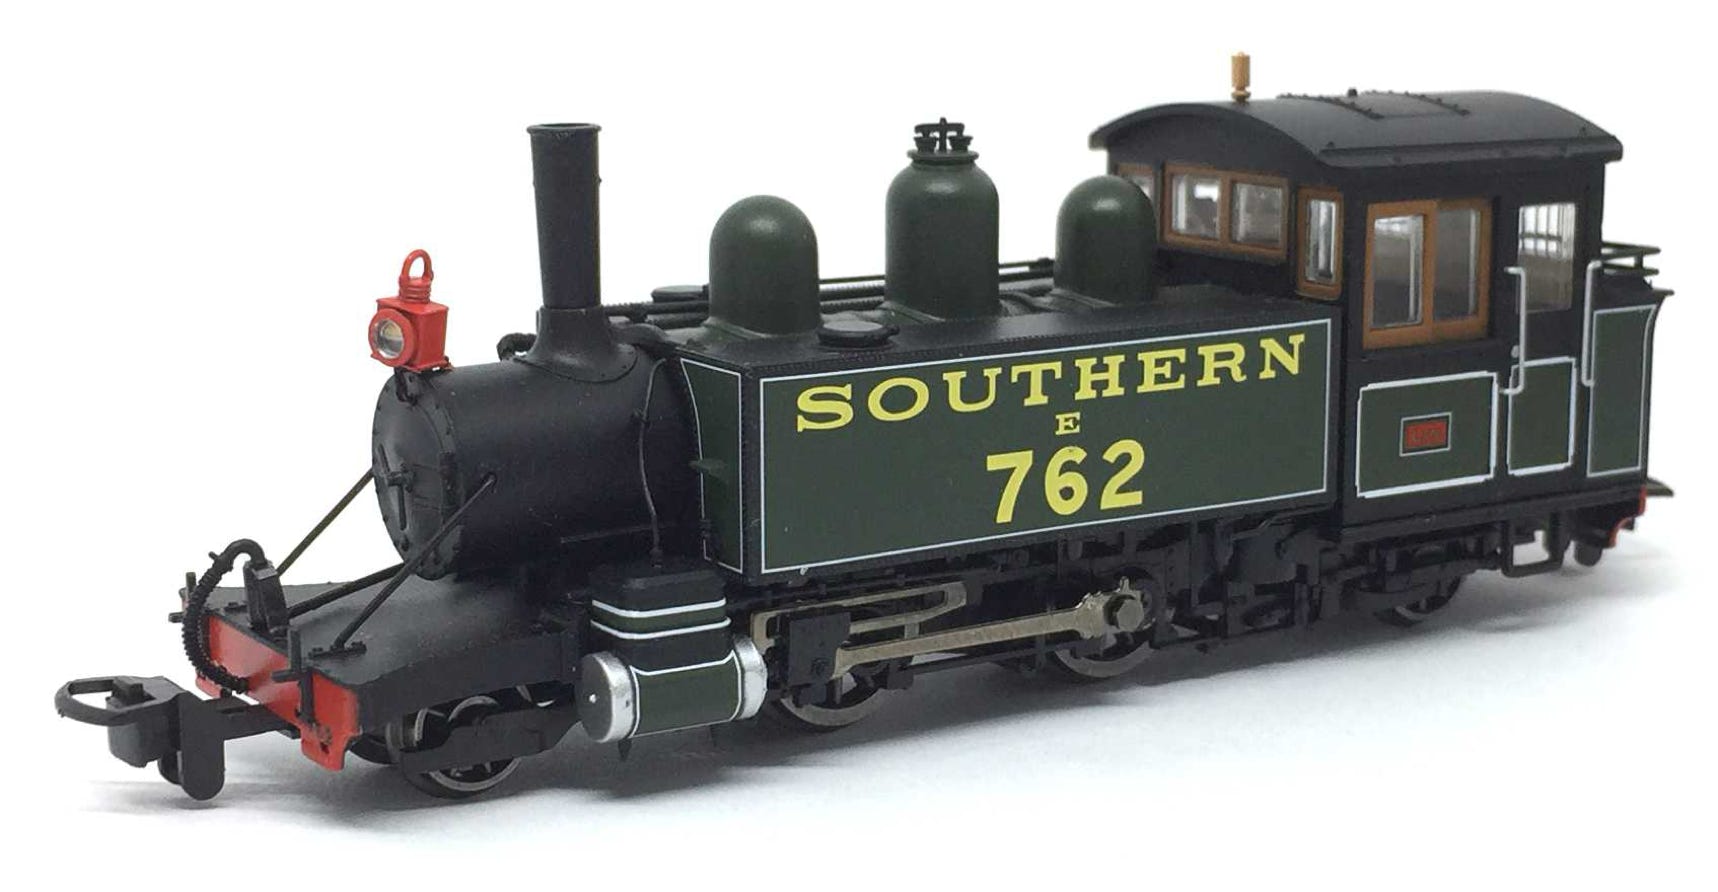
Released in August 2021, this Heljan model of the Lynton & Barnstaple Railway was highly anticipated. Luckily, it performed better than the previous released model of the Manning Wardle. Still, there were some issue, which I will address. The majority of this article focusses on how to open it and how to install a sound decoder, speaker and stayalive, while keeping complete see-through in the cabine. Which is always nice. As a bonus, to take advantage of the extra functions on the decoder, you’ll see how to add a fire box glow and a cabine light. The Tramfabriek gives away the sound file for this model with all original sounds of the real thing.
Specifications
Length (frame): 46.1 mm
Width: 23.8 mm
Weight: 60 grams
Wheelbase: 24.6-20–27 mm
Wheel diameter: 7.4 + 11.5 mm
Height in cabine for figure: 24.6 mm
Released: August 2021
For this installation is needed, available from the Tramfabriek:
- Zimo sound decoder MS500
- Train-O-Matic SPP Nano Stayalive
- 13 x 18 mm speaker
- Speaker wire
Needed for optional light flicker
and/or cab light:
- Train-O-Matic Shine Micro
Optional:
- 0.25 mm black styrene
- Black tac
- Thin double sided tape
- 0.2 mm enamel wire
For other colour single LED packs, go here.
Speaker + Lyn resonator box
Wires with 6 pin connector
Orange LED with resistor
Lamp, breaks off easily when pushed.
During the process, I keep the model on a piece of foam, to protect it from damage.

Be constantly aware of the fragile points of this model, when handling it.

Whistle, when the model is upside down in a cradle.


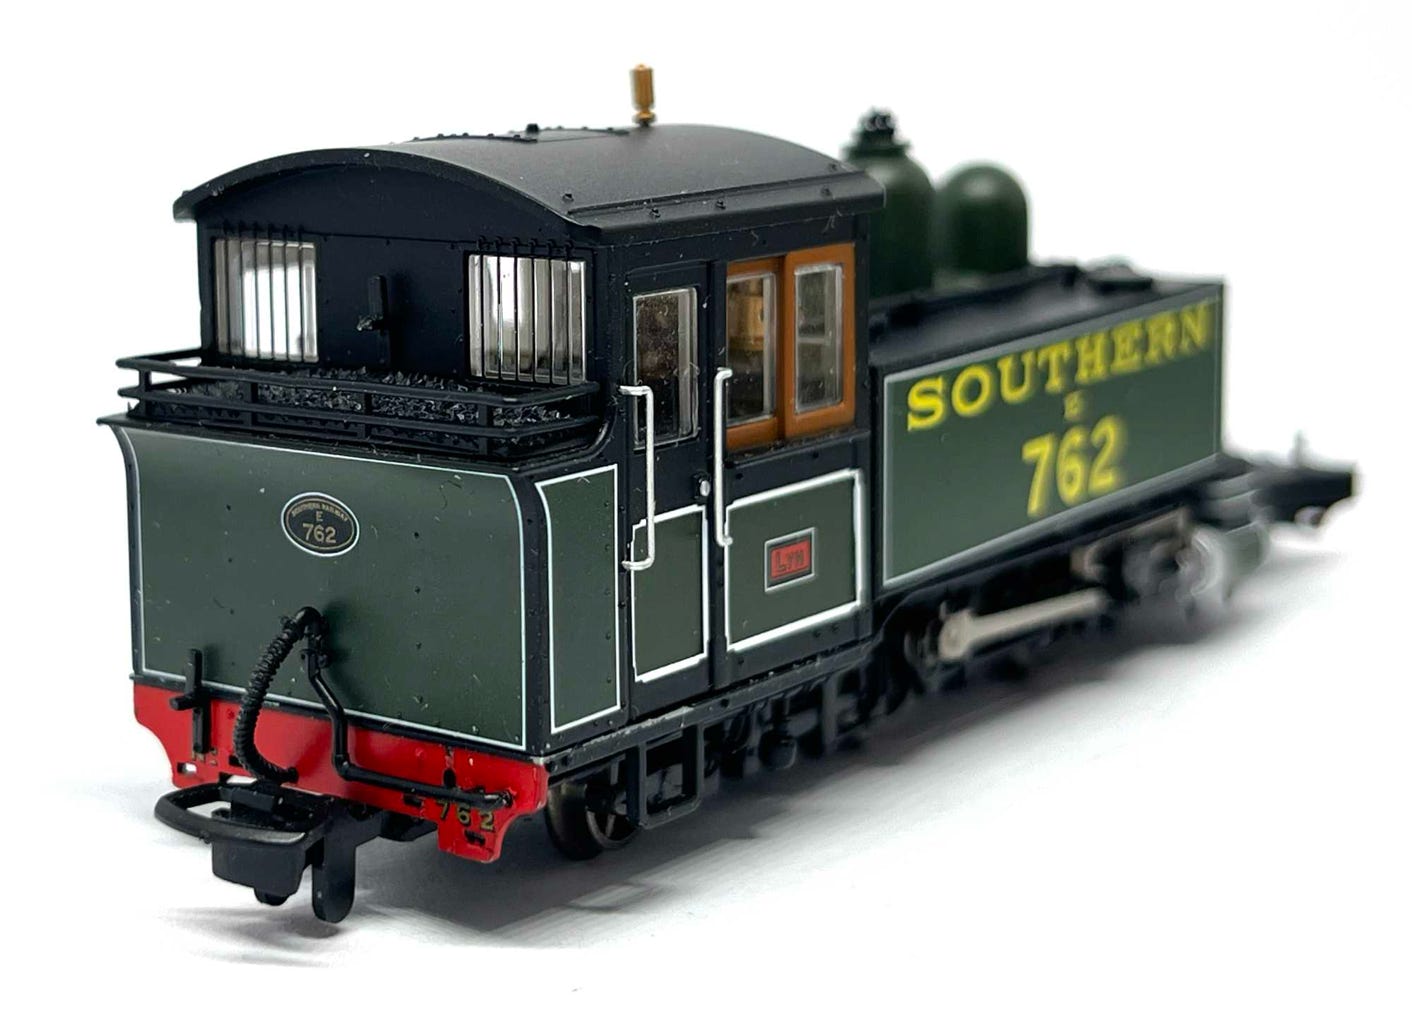
Lamp holders, on each corner of the model. These are well glued on, but I lost one somewhere on the way. So be careful there.
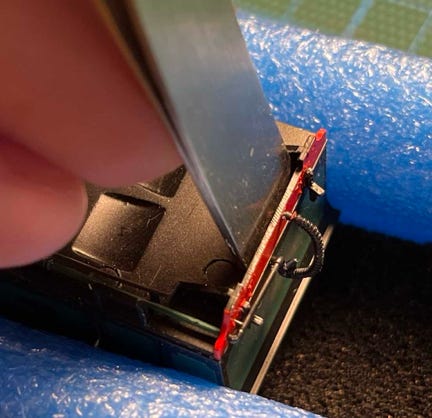
Release the bottom part of the brake pipe from red skirt. It is glued, so you have to push it out with a flat tool from the inside. I used the flat rear of tweezers. Leave it fitted to the top housing.



Railing. Don’t press on it. It will break.

Although pretty sturdy, be aware the brake pipe will stick out of under the housing when removed from the chassis.
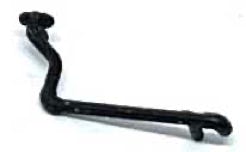
Pull this pipe out and put it aside. Looks like the feed to the vacuum brake pipe.
There are four loose parts that are very tiny and easy to lose. Some stick to the model, some just fall out when you take the smokebox assembly off. At any time, be careful not too lose them, as spare parts are, sadly, impossible to get.


(And other side)
Take apart - Disassembly
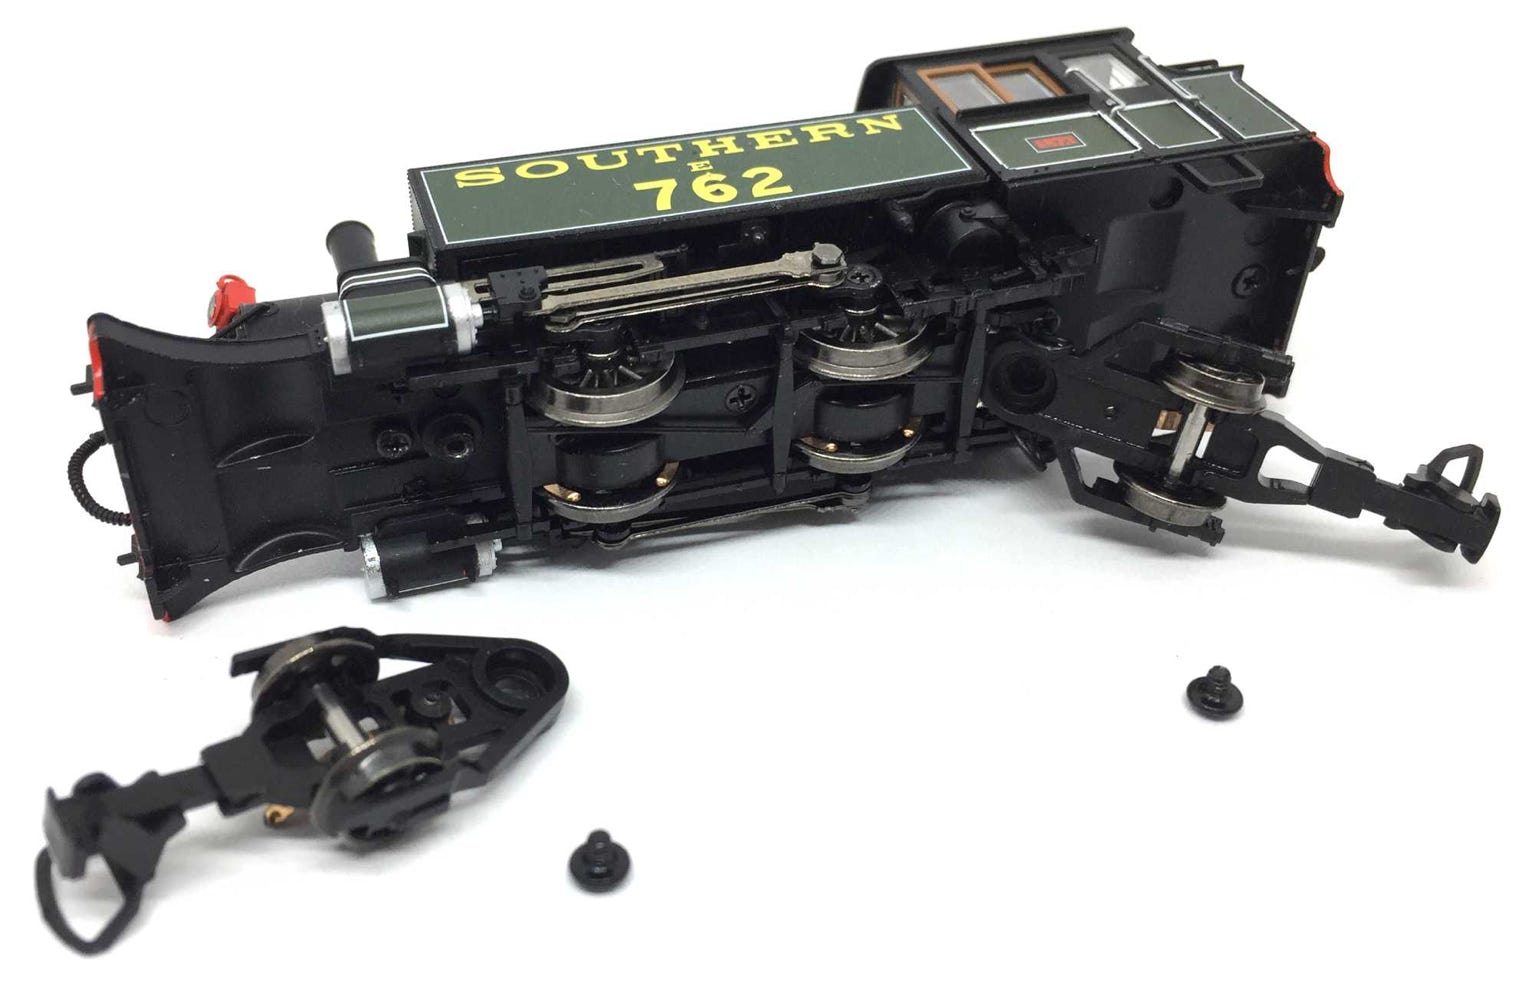
Remove the two screws that hold the pony trucks in place.
Remove the three screws from the bottom with a Phillips screw driver.
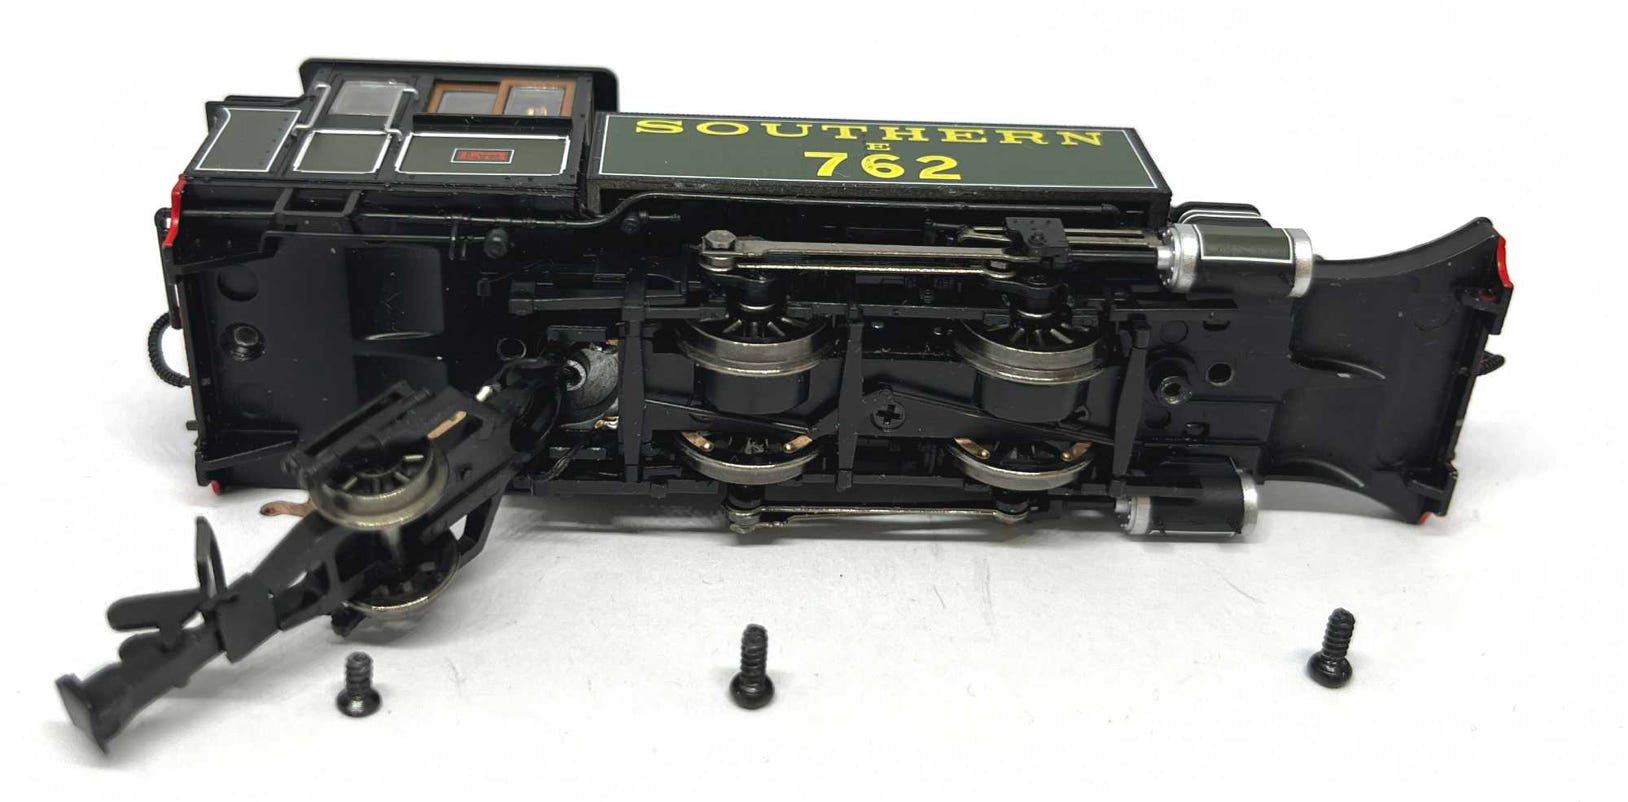


M1.6 L2
M1.6 L4
M1.6 L4
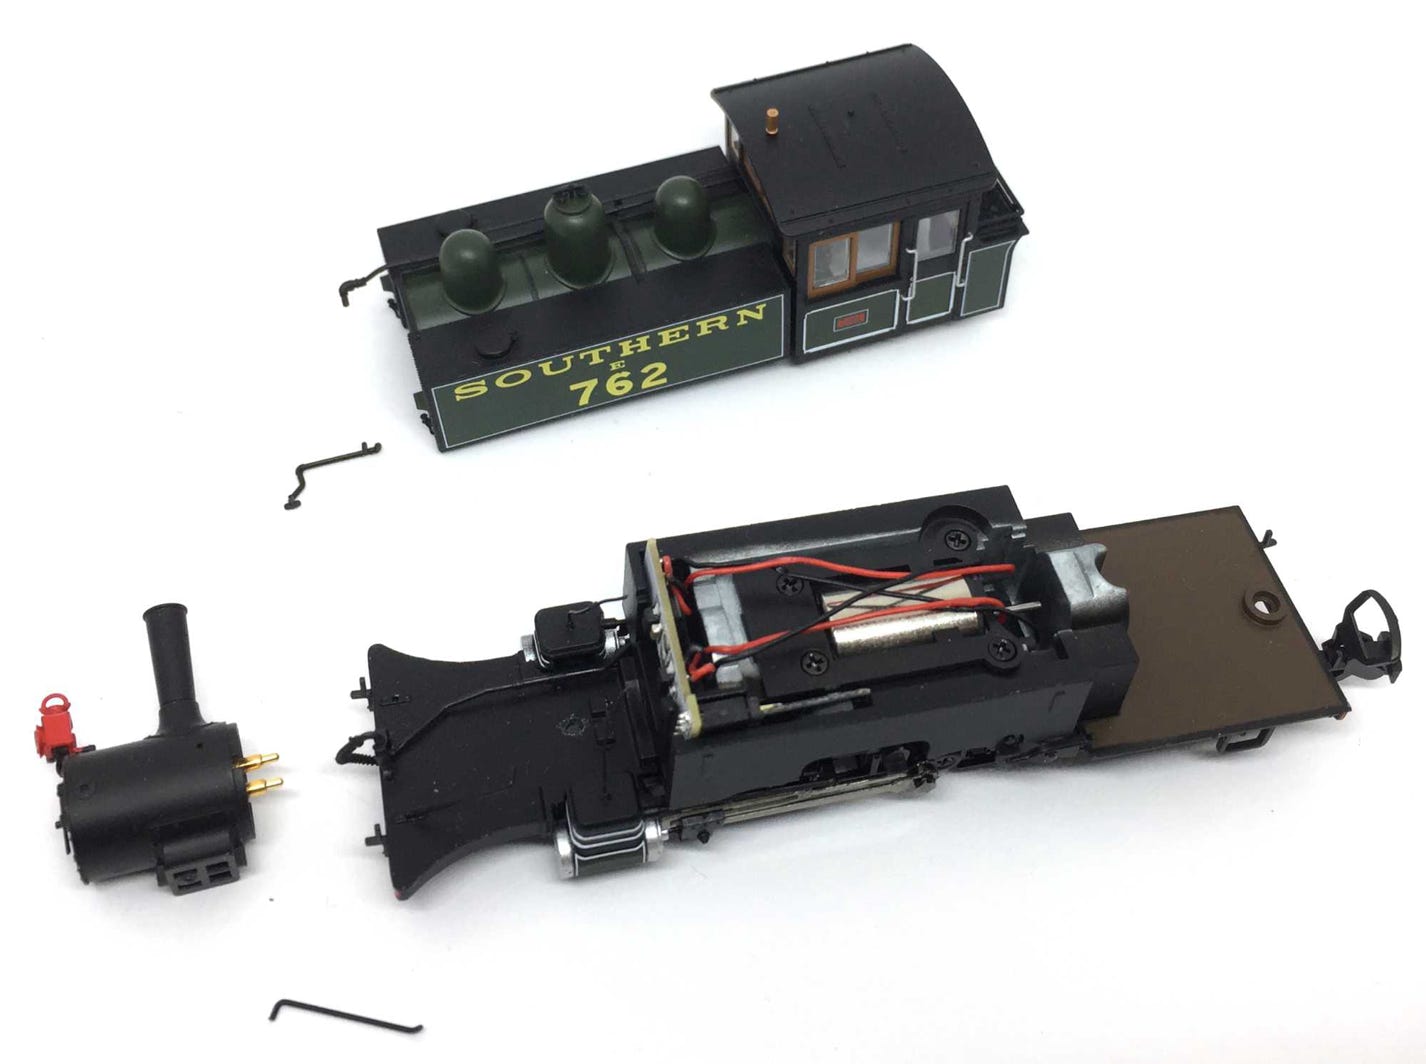
You can then lift the housing of the chassis. The smokebox will just fall out.
Here are all the parts of the sound installation.
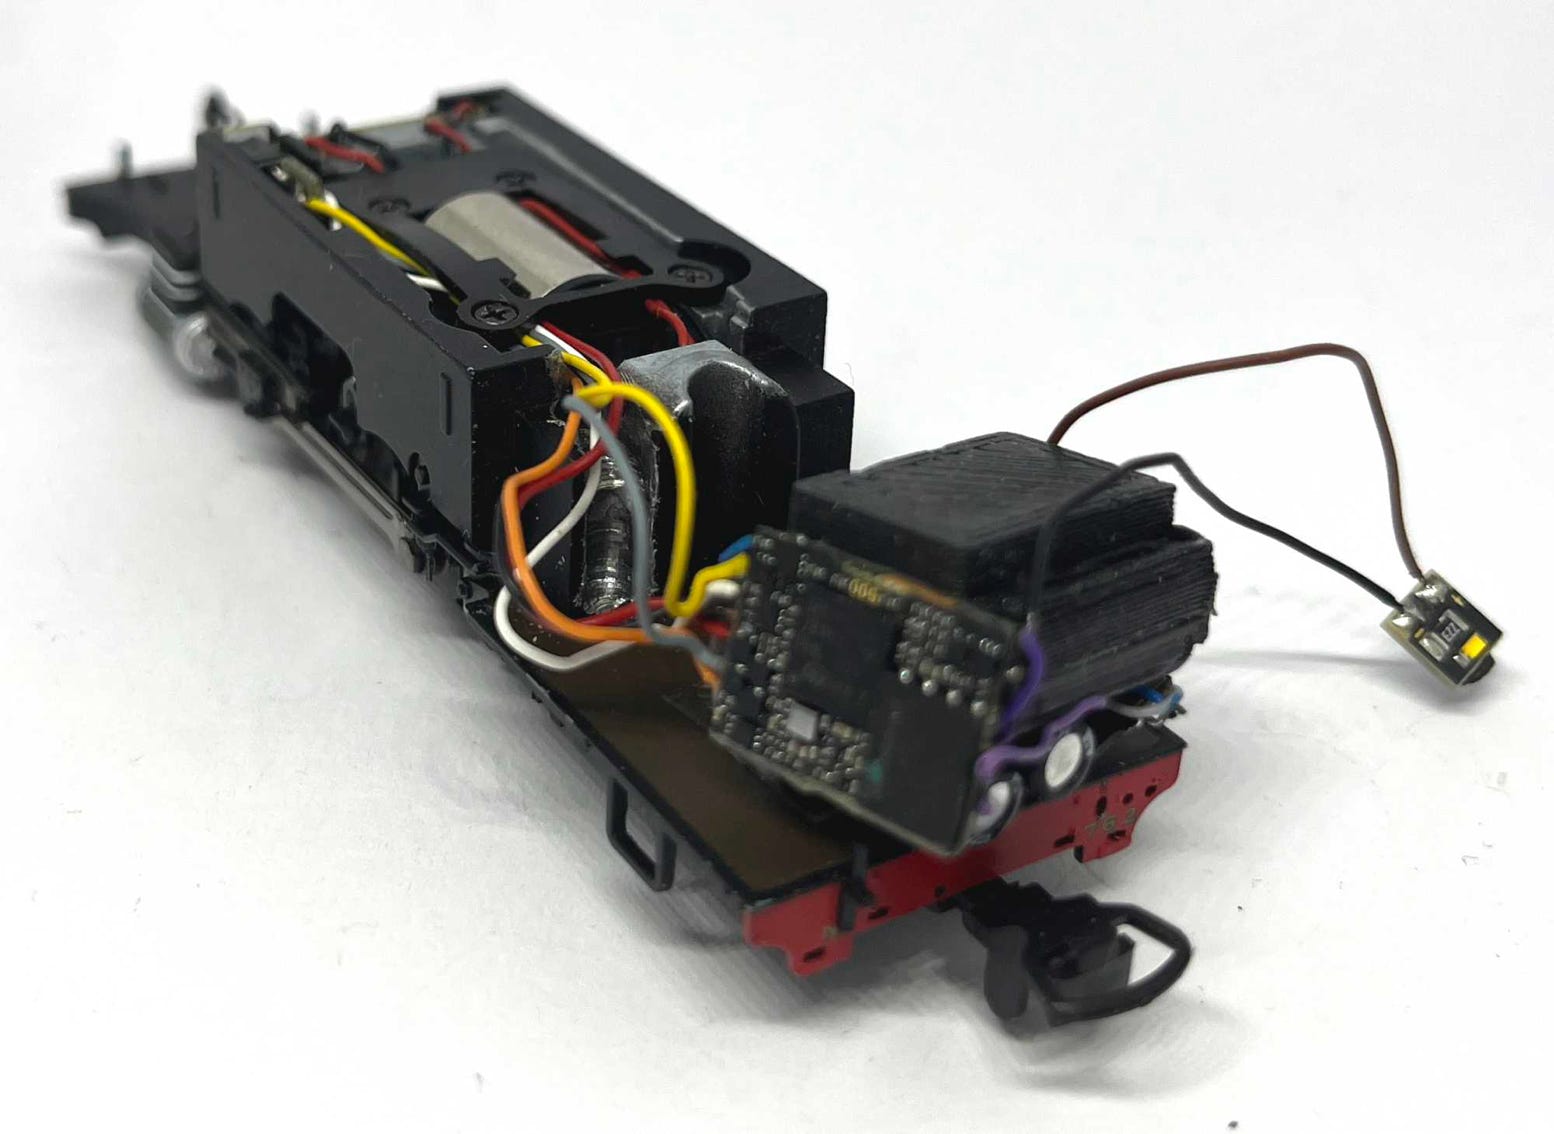
(Not visible) Train-O-Matic ‘Shine’ Single LED (Orange)


Zimo MS500


PCB of Zimo STACO3A, the Stayalive.
13x18 mm speaker
2x supercapacitors, part of STACO3A.
Train-O-Matic ‘Shine’ Single LED
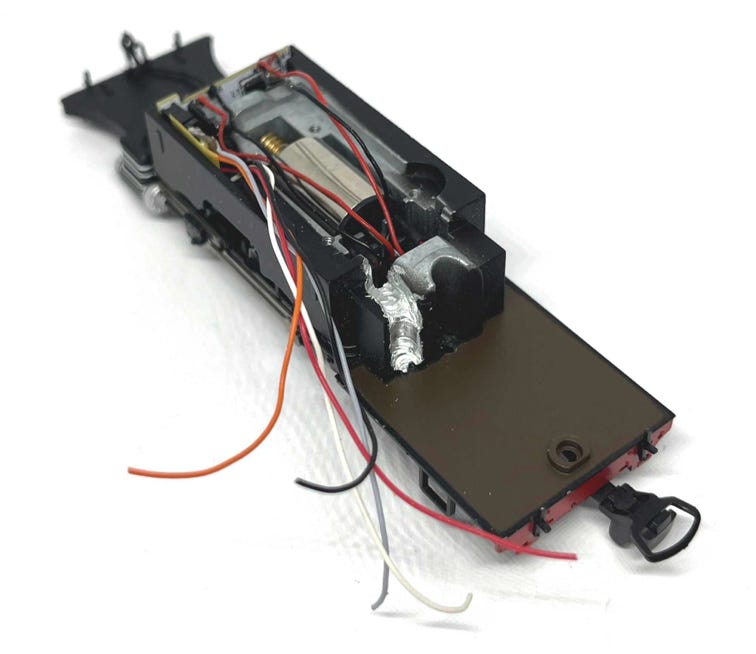
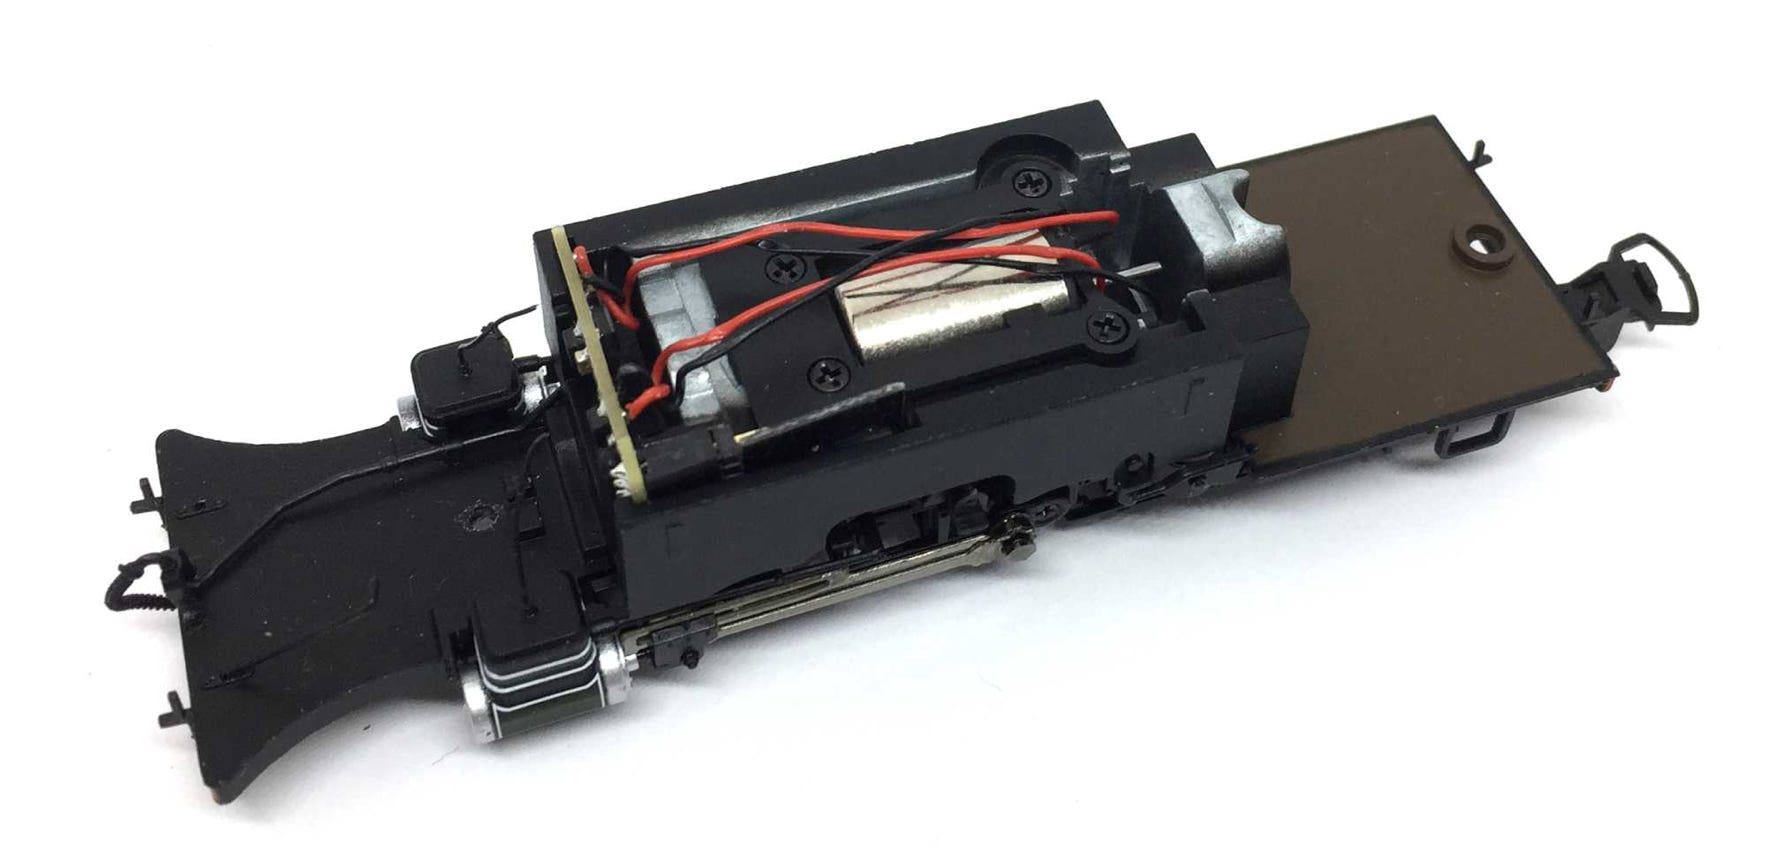
Remove the four screws to remove the motor cover and guide the wires of the decoder under it. Find the empty space.
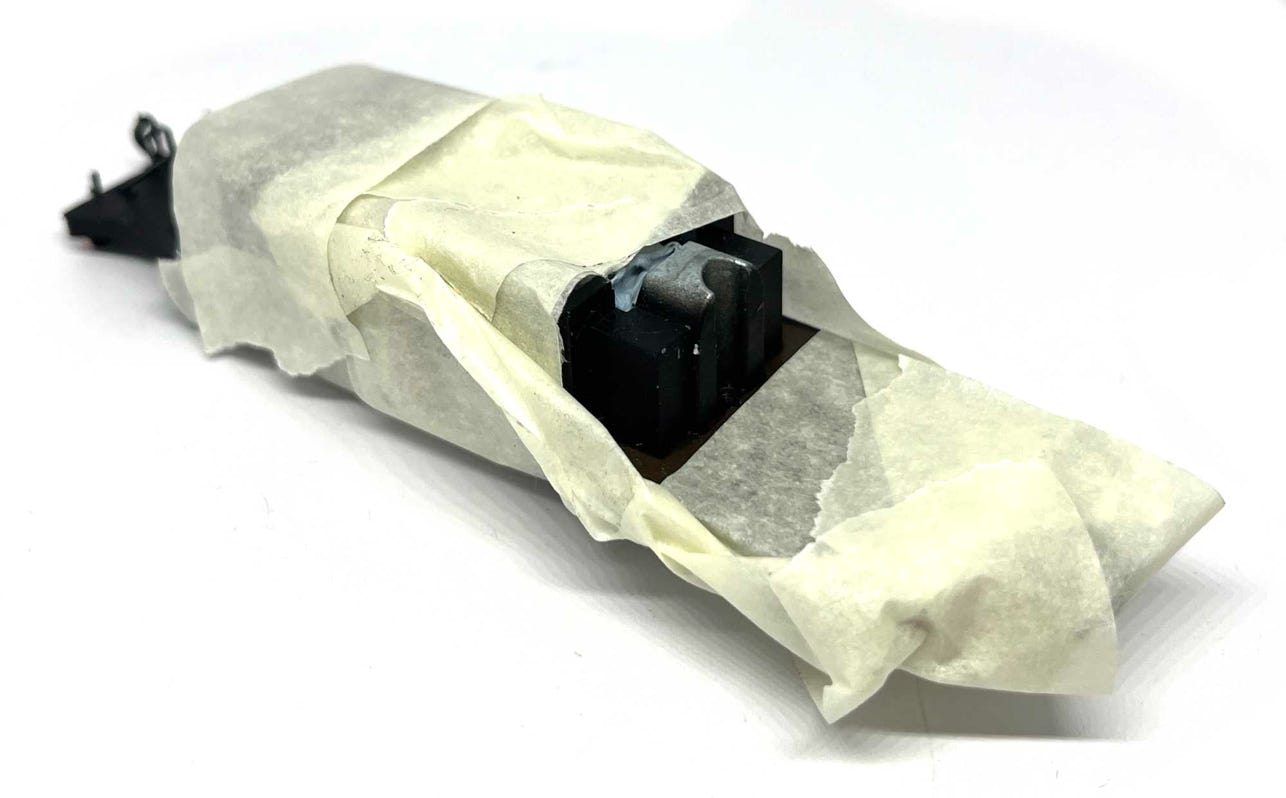
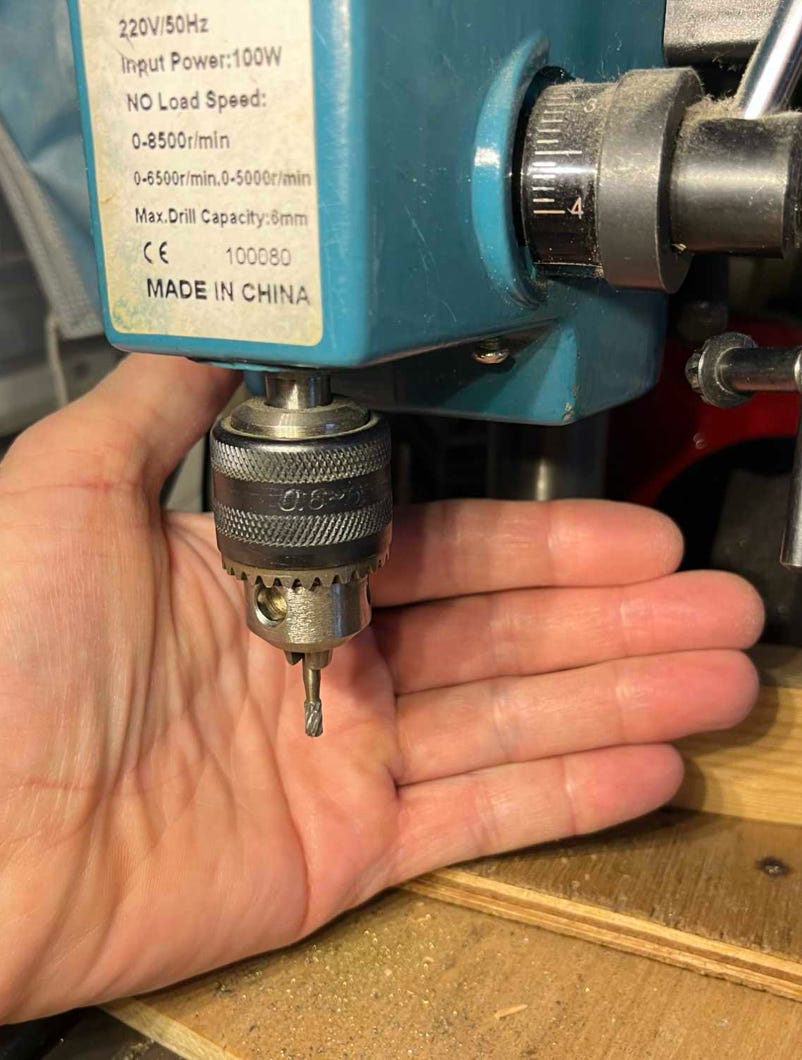
First we have to do a bit of milling. Pack the model well in masking tape, as the residue of the metal goes anywhere. Use Blue tac (not Black tac, as it sticks too much and it will be practically impossible to remove it all!) to fill up the gear box to protect it.
Hold the metal against the milling bit and create a gutter for the 6 wires of the decoder to go through.

The wires need to be at a custom length of 6 cm, so they need to be cut to size and soldered to the decoder. This can be ordered from the Tramfabriek, if you feel uncomfortable soldering on a small decoder (The connection are explained a little lower on this page).
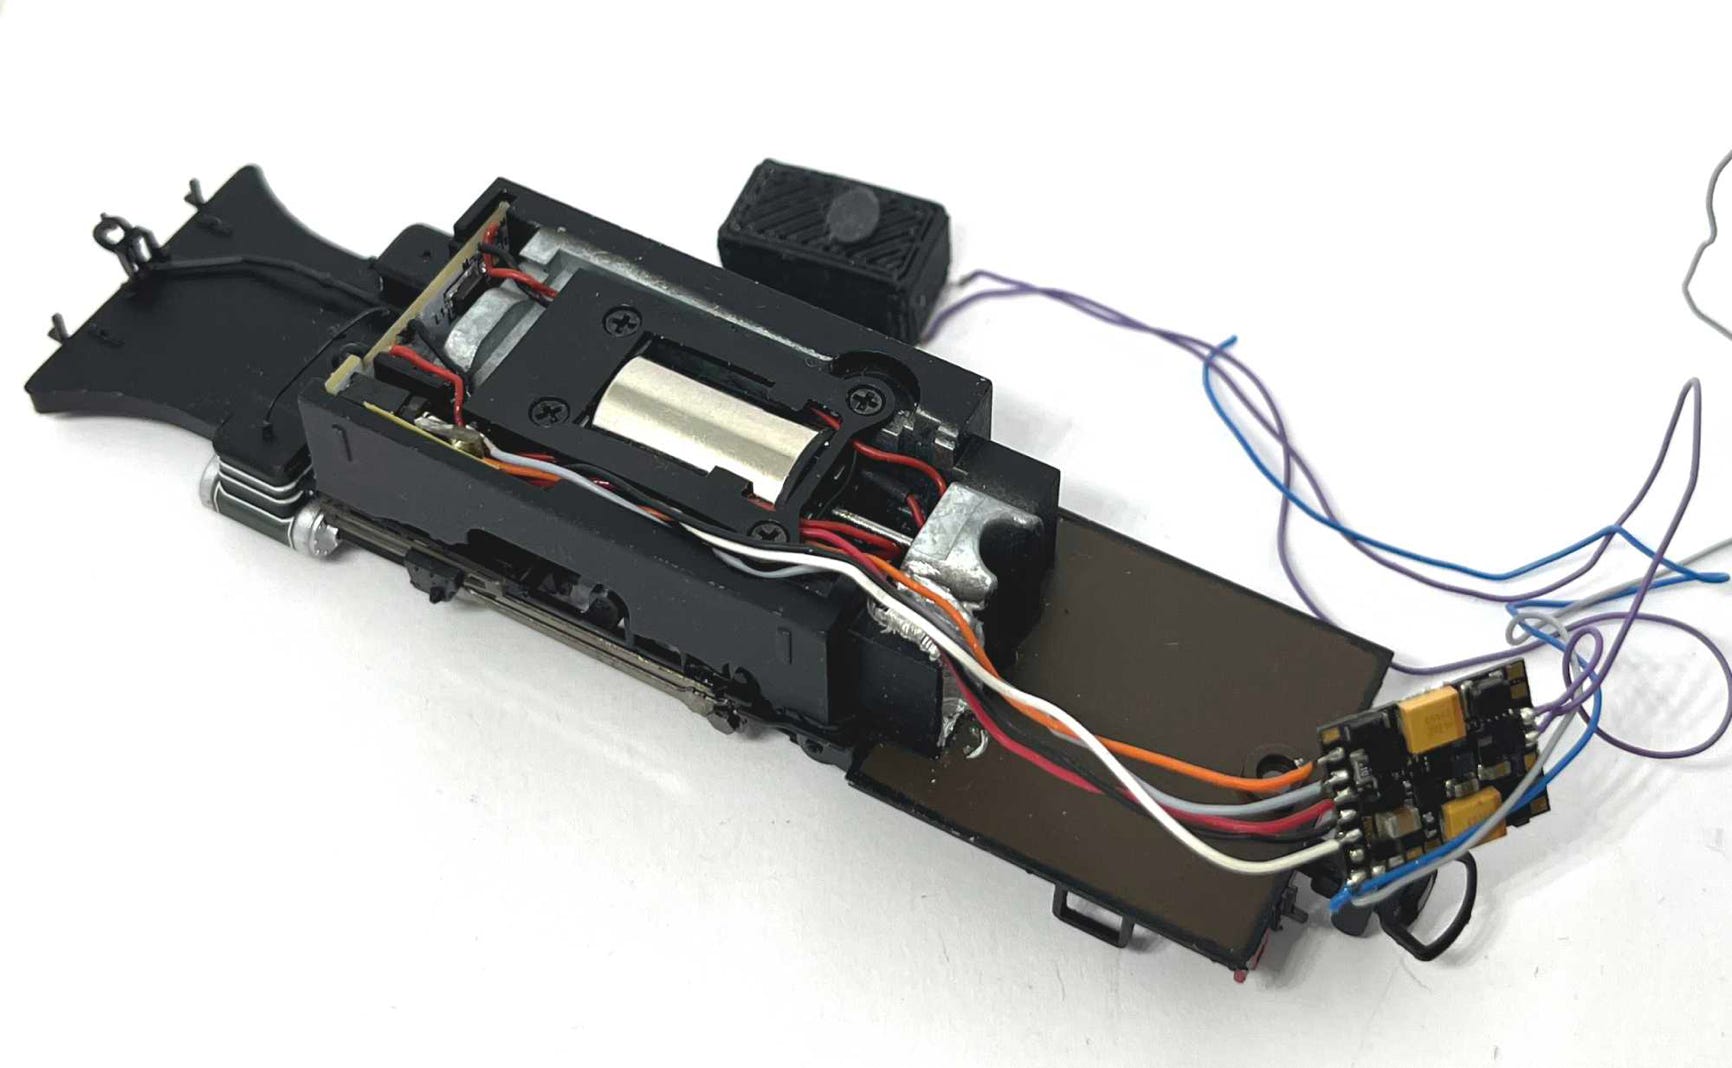


Here is how that looks like.
Connect the wires of the 6 pin wires the following way. The Train-O-Matic 6 pin cable has to be 6 cm long, end to end.
Stayalive connection
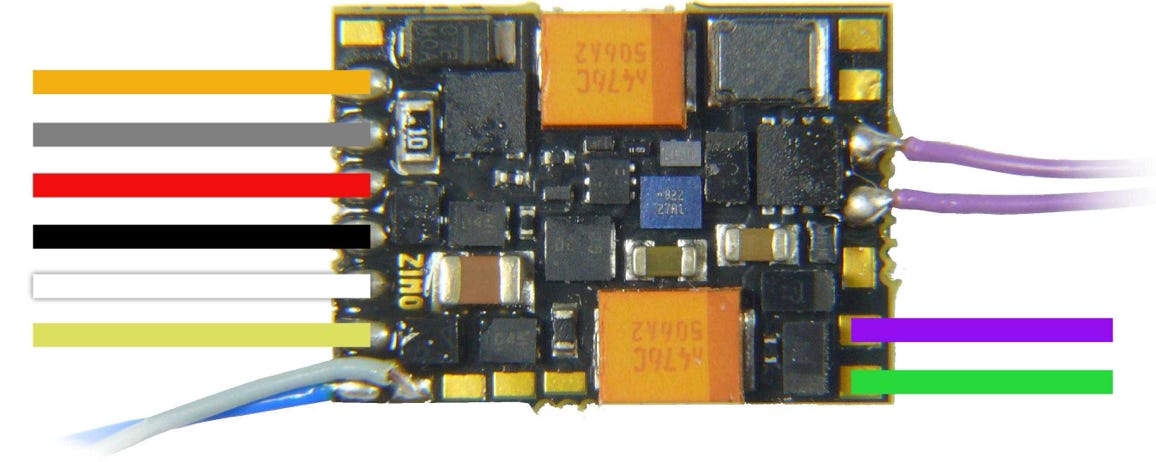
Speaker
Output 2 > Cab light
Output 1 > Fire box light
Sound assembly
Yes, that’s right. Firebox flickering and cab lights are also possible. You don’t need to build the light inside a firebox. Just placing it somewhere around it will give the impression from the outside that it comes from the firebox.
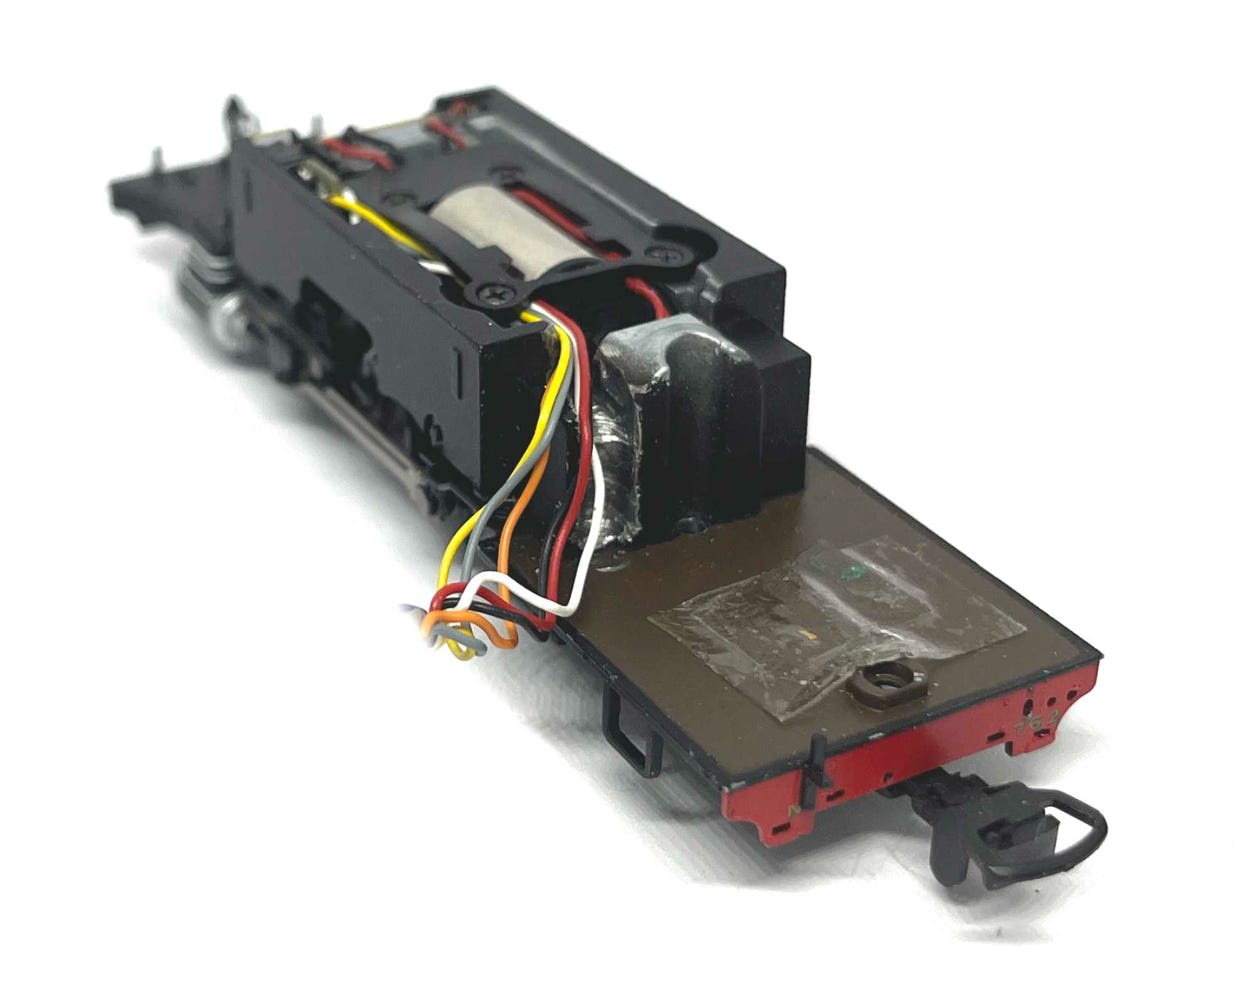
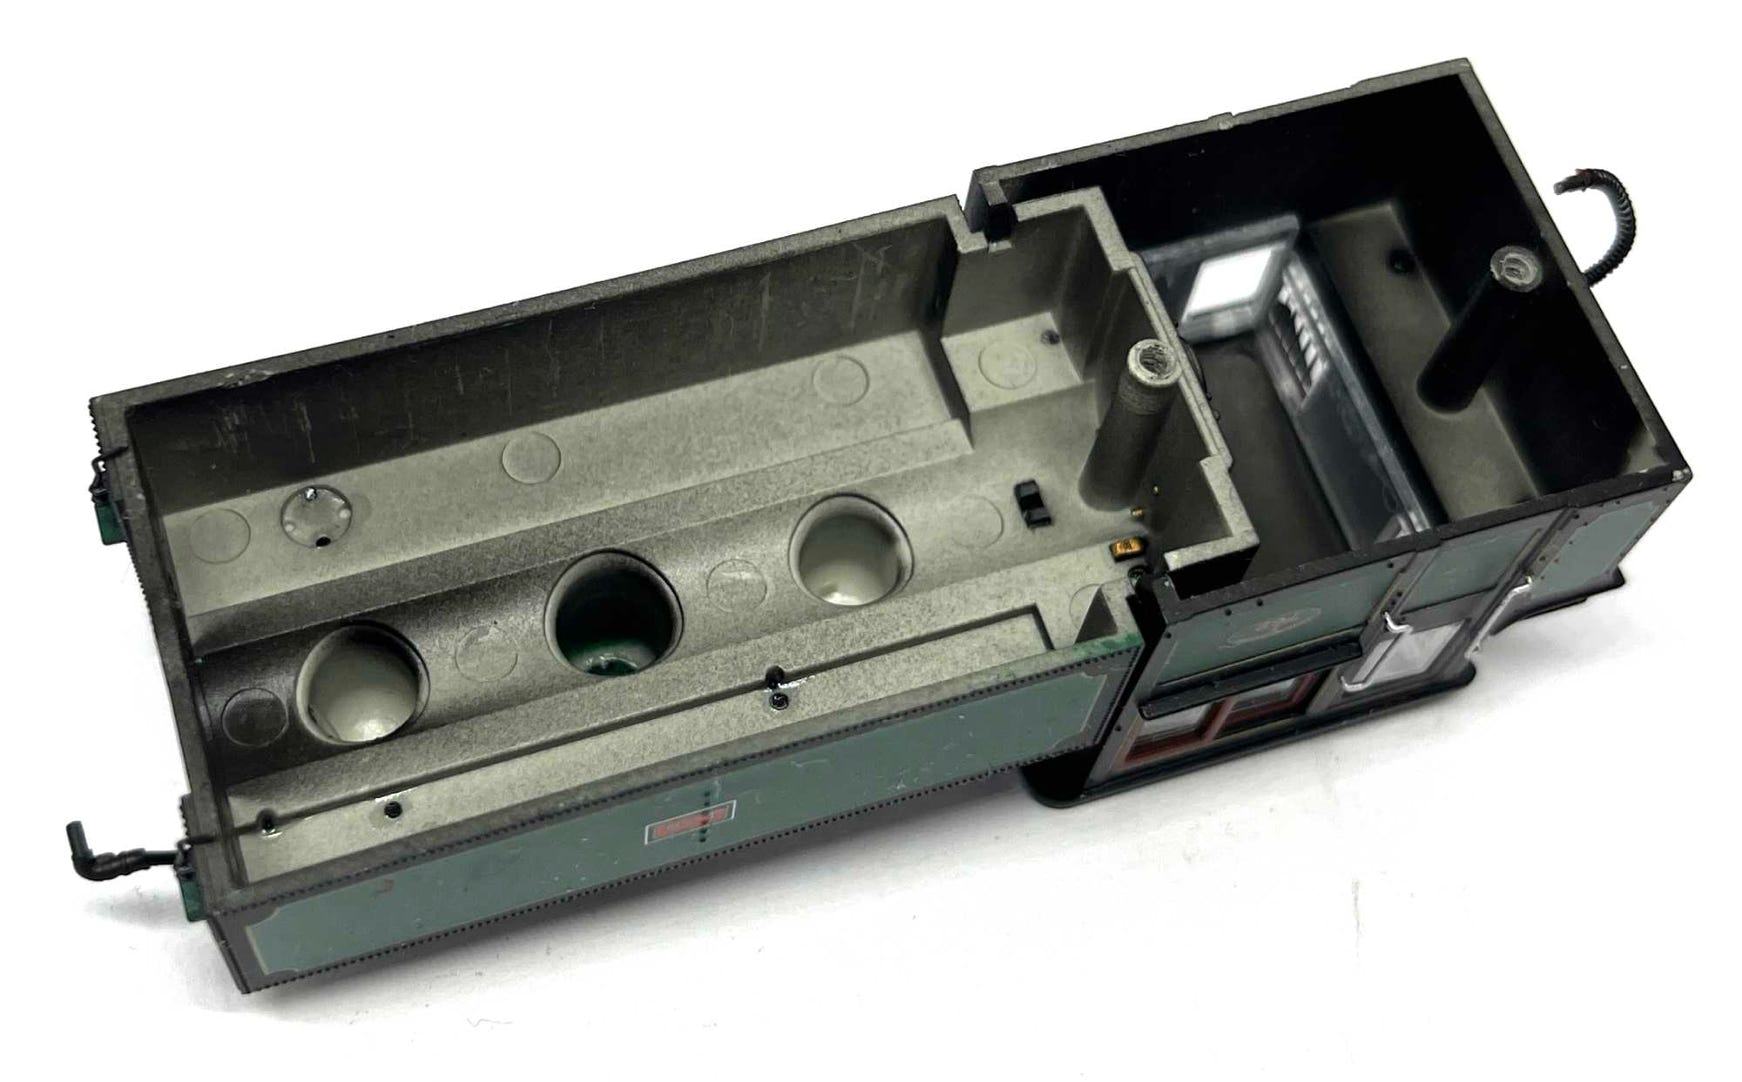
To create a hole for the wires, but also for re-assembly later, you have to separate the front from the rear housing. Push the clips outwards to lift the cab of the front part. You can best get a grip with your nail on the cab side, where the gap is.
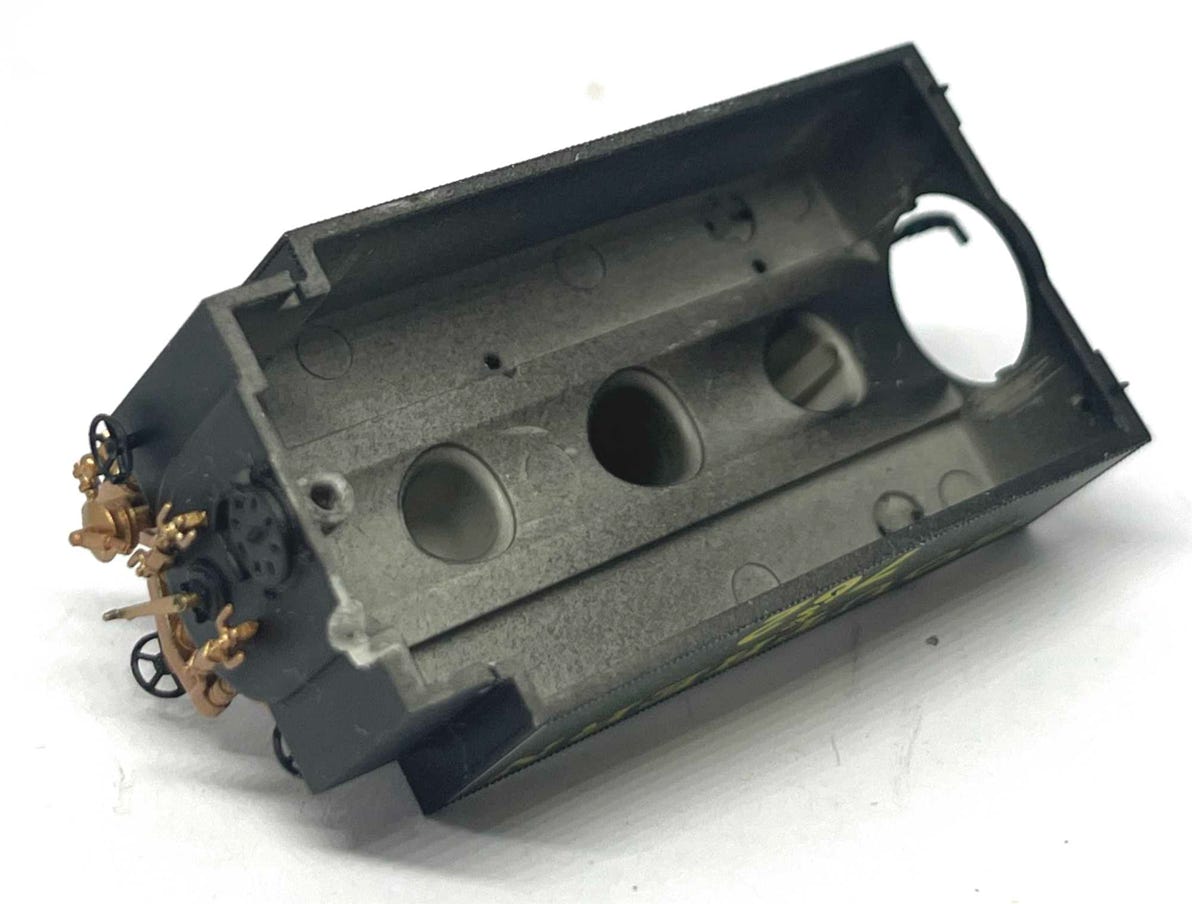
File a hole big enough for all the six wires to pass through. Make sure you do this at the correct side! It’s easy to make the mistake to file on the wrong side, as it’s upside down.


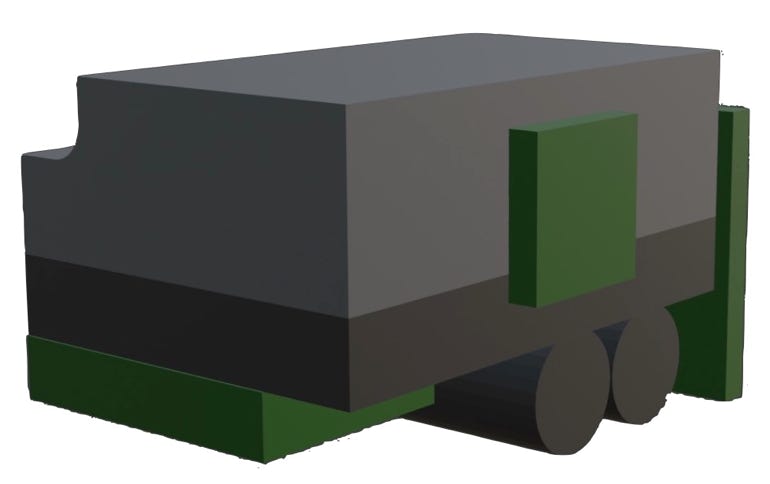
Rear
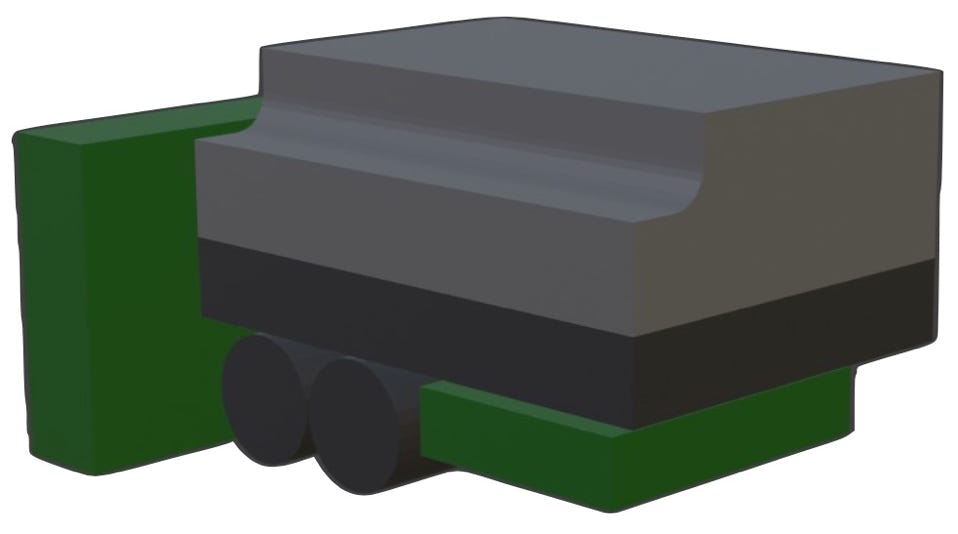
Resonator box
Front


Zimo MS500 sound decoder

2x supercapacitors, part of the stayalive.

Besides the obvious soldering, I hold all parts together with 0.25 mm double sided tape. On eBay you can find this. You can recognise it easily by it’s red backing tape colour.
Train-O-Matic SPP Nano Stayalive.


13x18 mm speaker

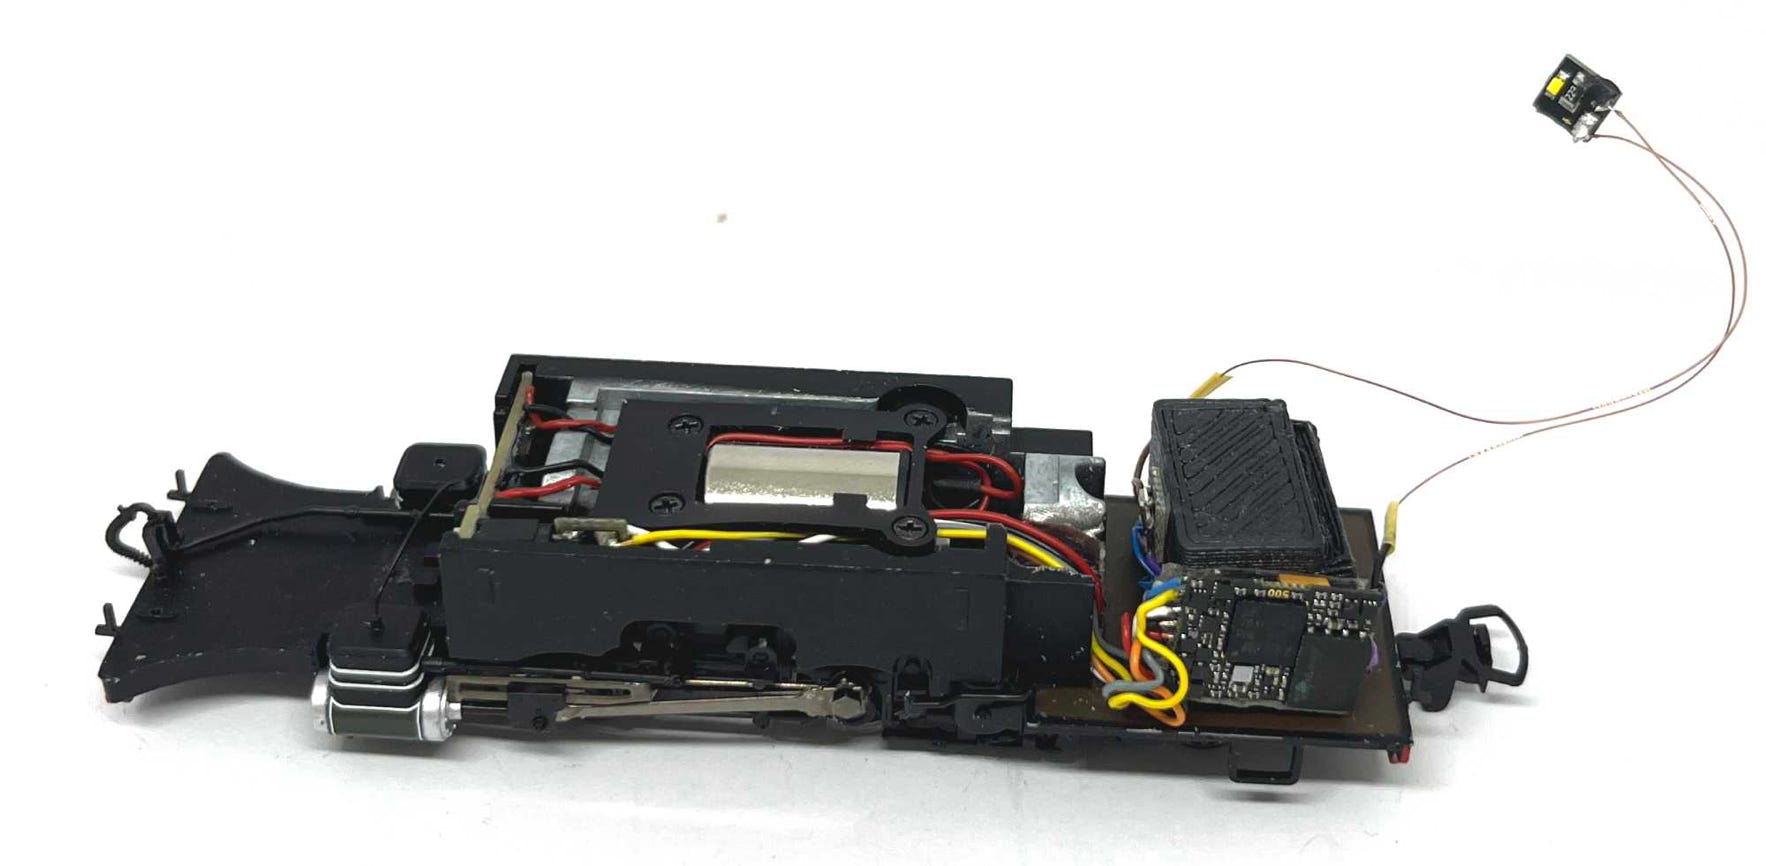

Now test if everything works. Using the Tramfabriek sound file, F5 should turn on the cab light and F8 the firebox light.
Train-O-Matic ‘Shine’ Single LED (Warm white)
for cab light. This is the only part not connected the the other parts. I use thin 0.2 mm enamel copper wire, as this is hardly visible in the cab.
The enamel copper wire and the dark wire to the sound decoder are soldered together, protected with masking tape. The reason for this connection is because the enamel wire, with its one strand, breaks easily from the connection to the decoder. Especially when you are still moving stuff around while installing. You don’t have to follow this. I might even overload you with too much information.
Train-O-Matic ‘Shine’ Single LED (Orange) for firebox light
Re-assembly
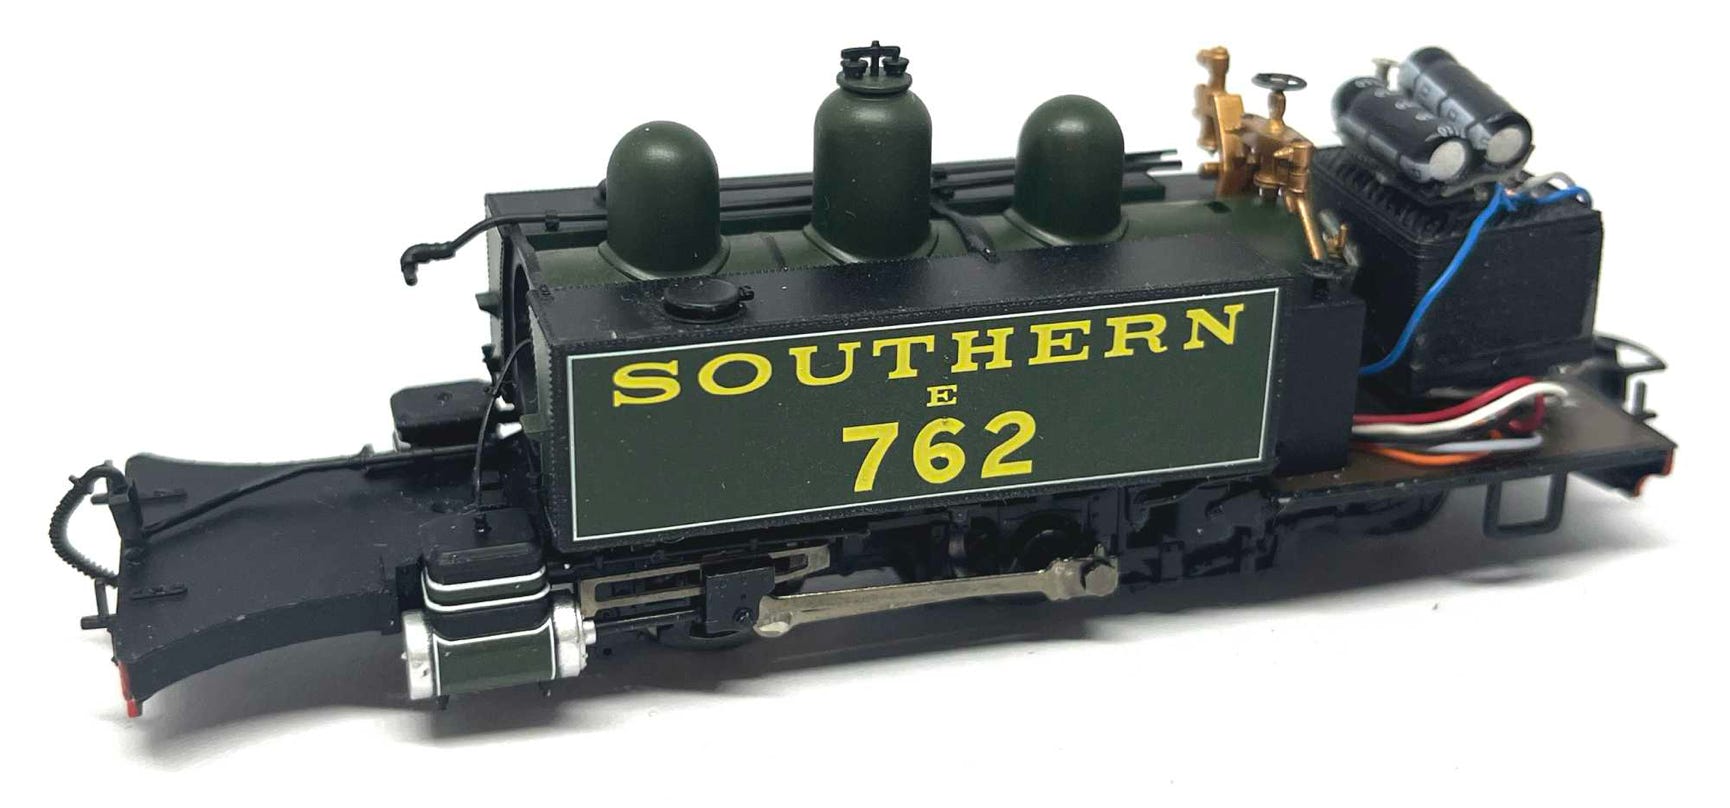
Now fit the front housing, guiding the wires through the hole. Make sure the housing sits level with the chassis, when you press on it. You can screw it in place, but not too tight, as this will make it easier to fit the smokebox assembly later.
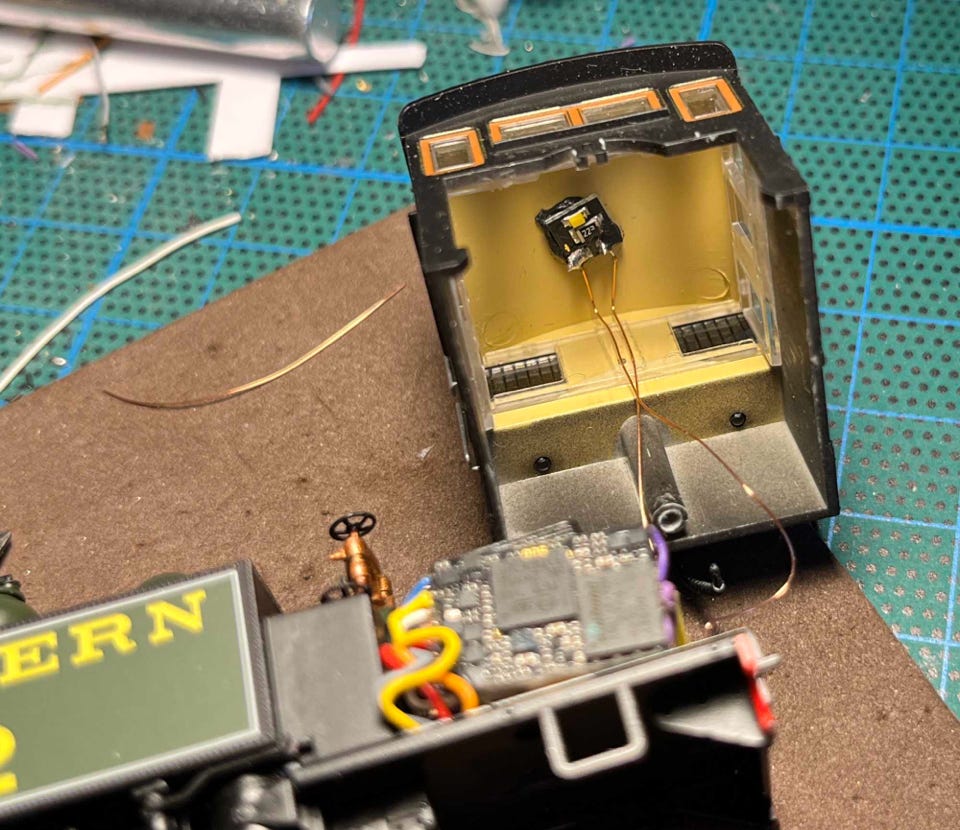
Fit the cab light. Here I used black tac, but double sided tape would work just as well. This Train-O-Matic single LED has a resistor next to it, so the MINUS can be connected directly to output 2 on the decoder. The PLUS goes to blue wire connection on the decoder. I connected it to the end of the blue wire that was soldered to the Stayalive, that is easier.
I put a little double sided tape between the rear windows and the copper wire is stuck to it, so the wires don’t float in the cab.
Test if everything still and correctly working.
Ignore the different set up. This is from an earlier test.
Next step is to fit the smokebox. There is a little change here, as from the factory, the smokebox is not straight! Oh, Heljan, does anyone actually check the quality of your models… Fortunately, this is easy to fix.
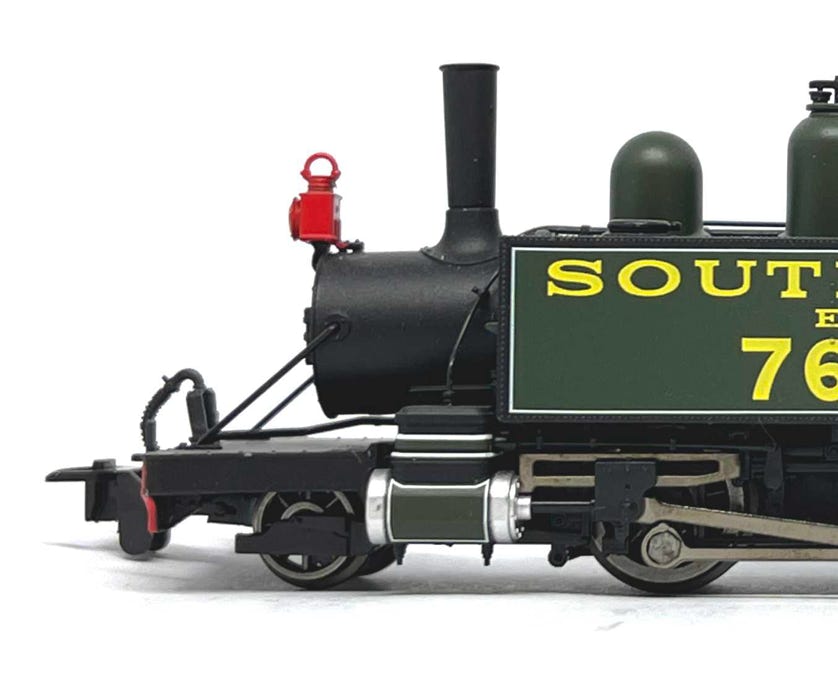
Before
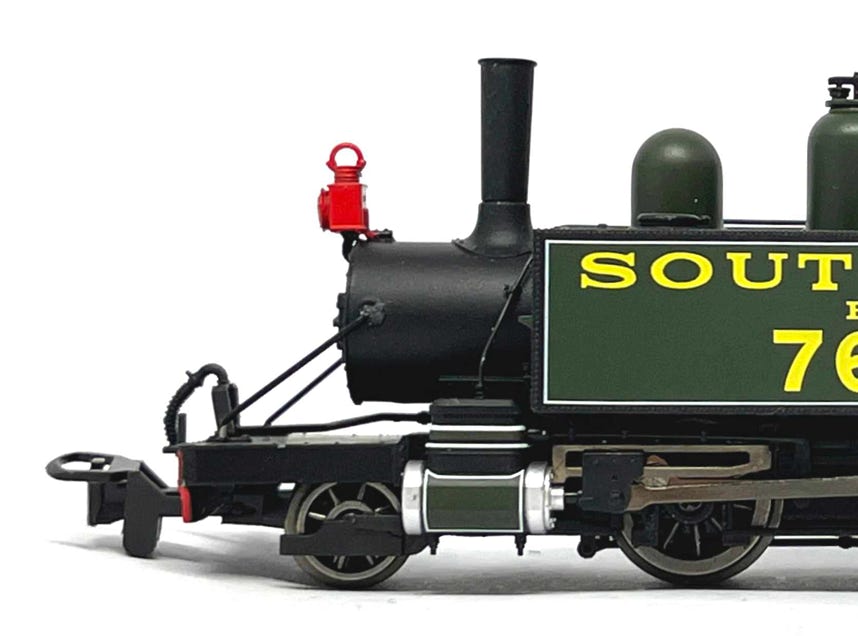
After
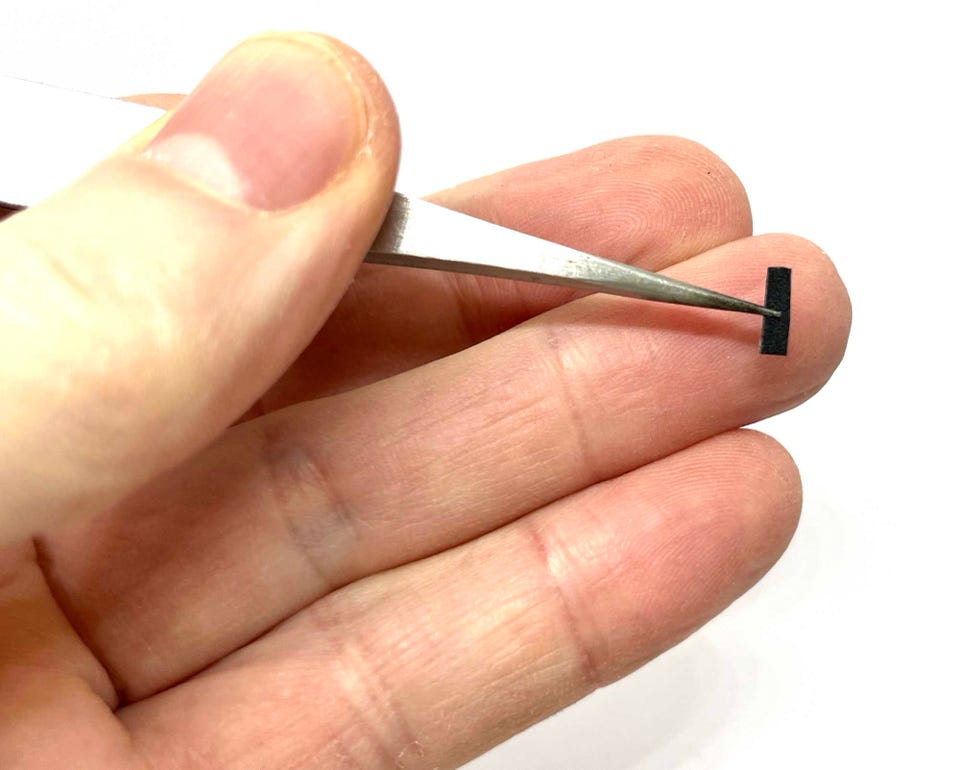
I cut a small piece of 0.25 mm black styrene and put this under the front of the smokebox, just in front of the screw. It is easiest to place the smokebox in place, fit it almost completely with the screw and then slide the piece in place.
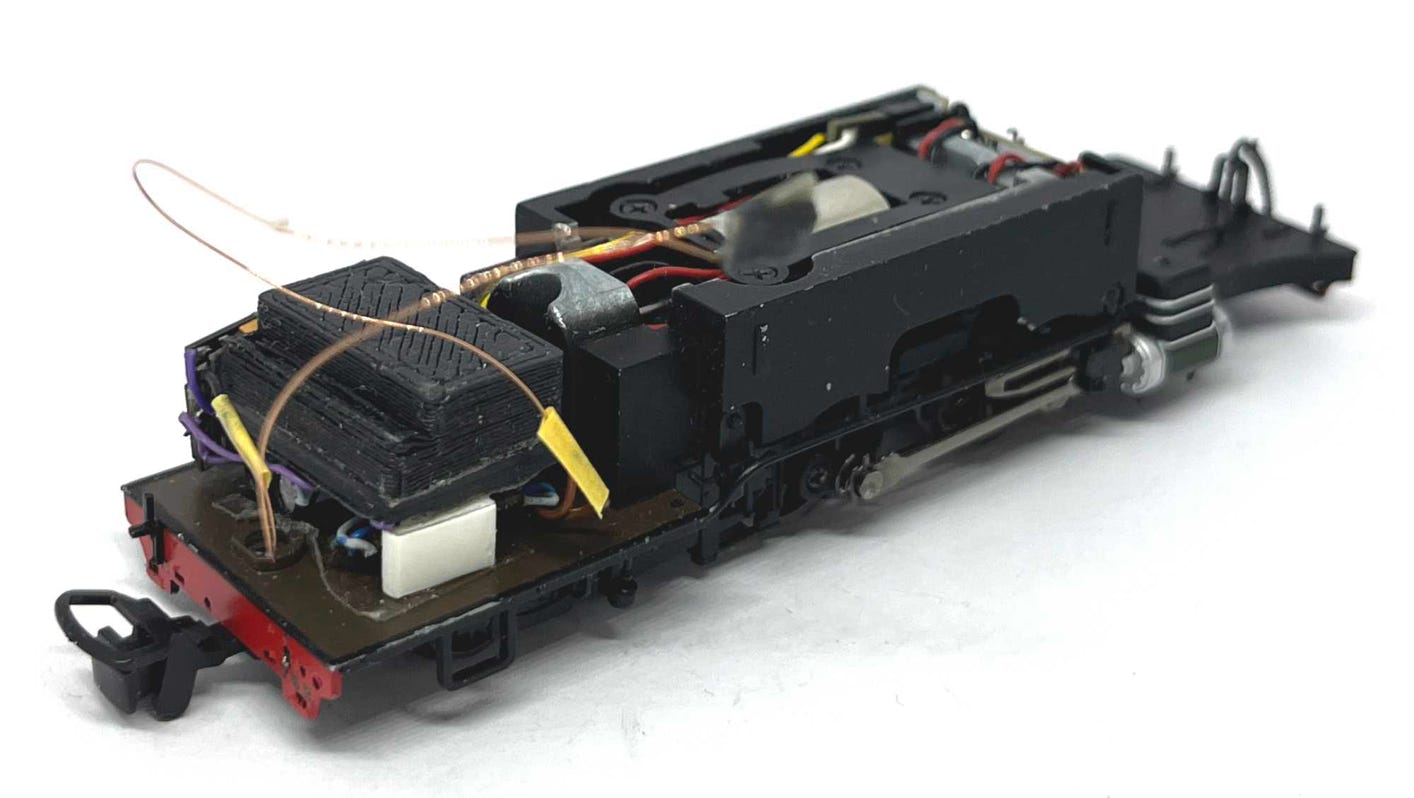
Now test! See if the light works and everything else works well.
One last thing before you put the cab back on: On the picture you see a white piece of styrene. As I want to fit people, the sound assembly has to sit straight. So his does that.

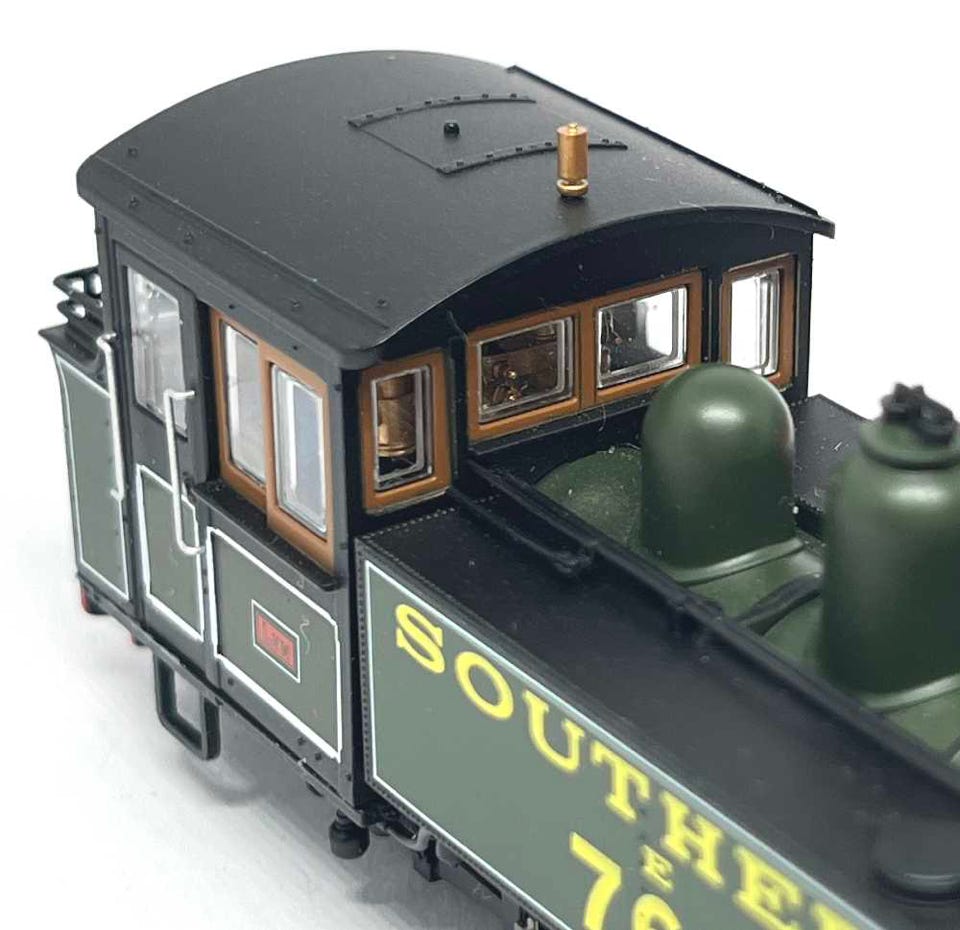

Now when it all works well, press the cab in place, making sure on all sides no wire gets trapped. Also be aware of the two wires that each go into a hole in the cab, just under the window.
I made the mistakes, so you don’t have to.

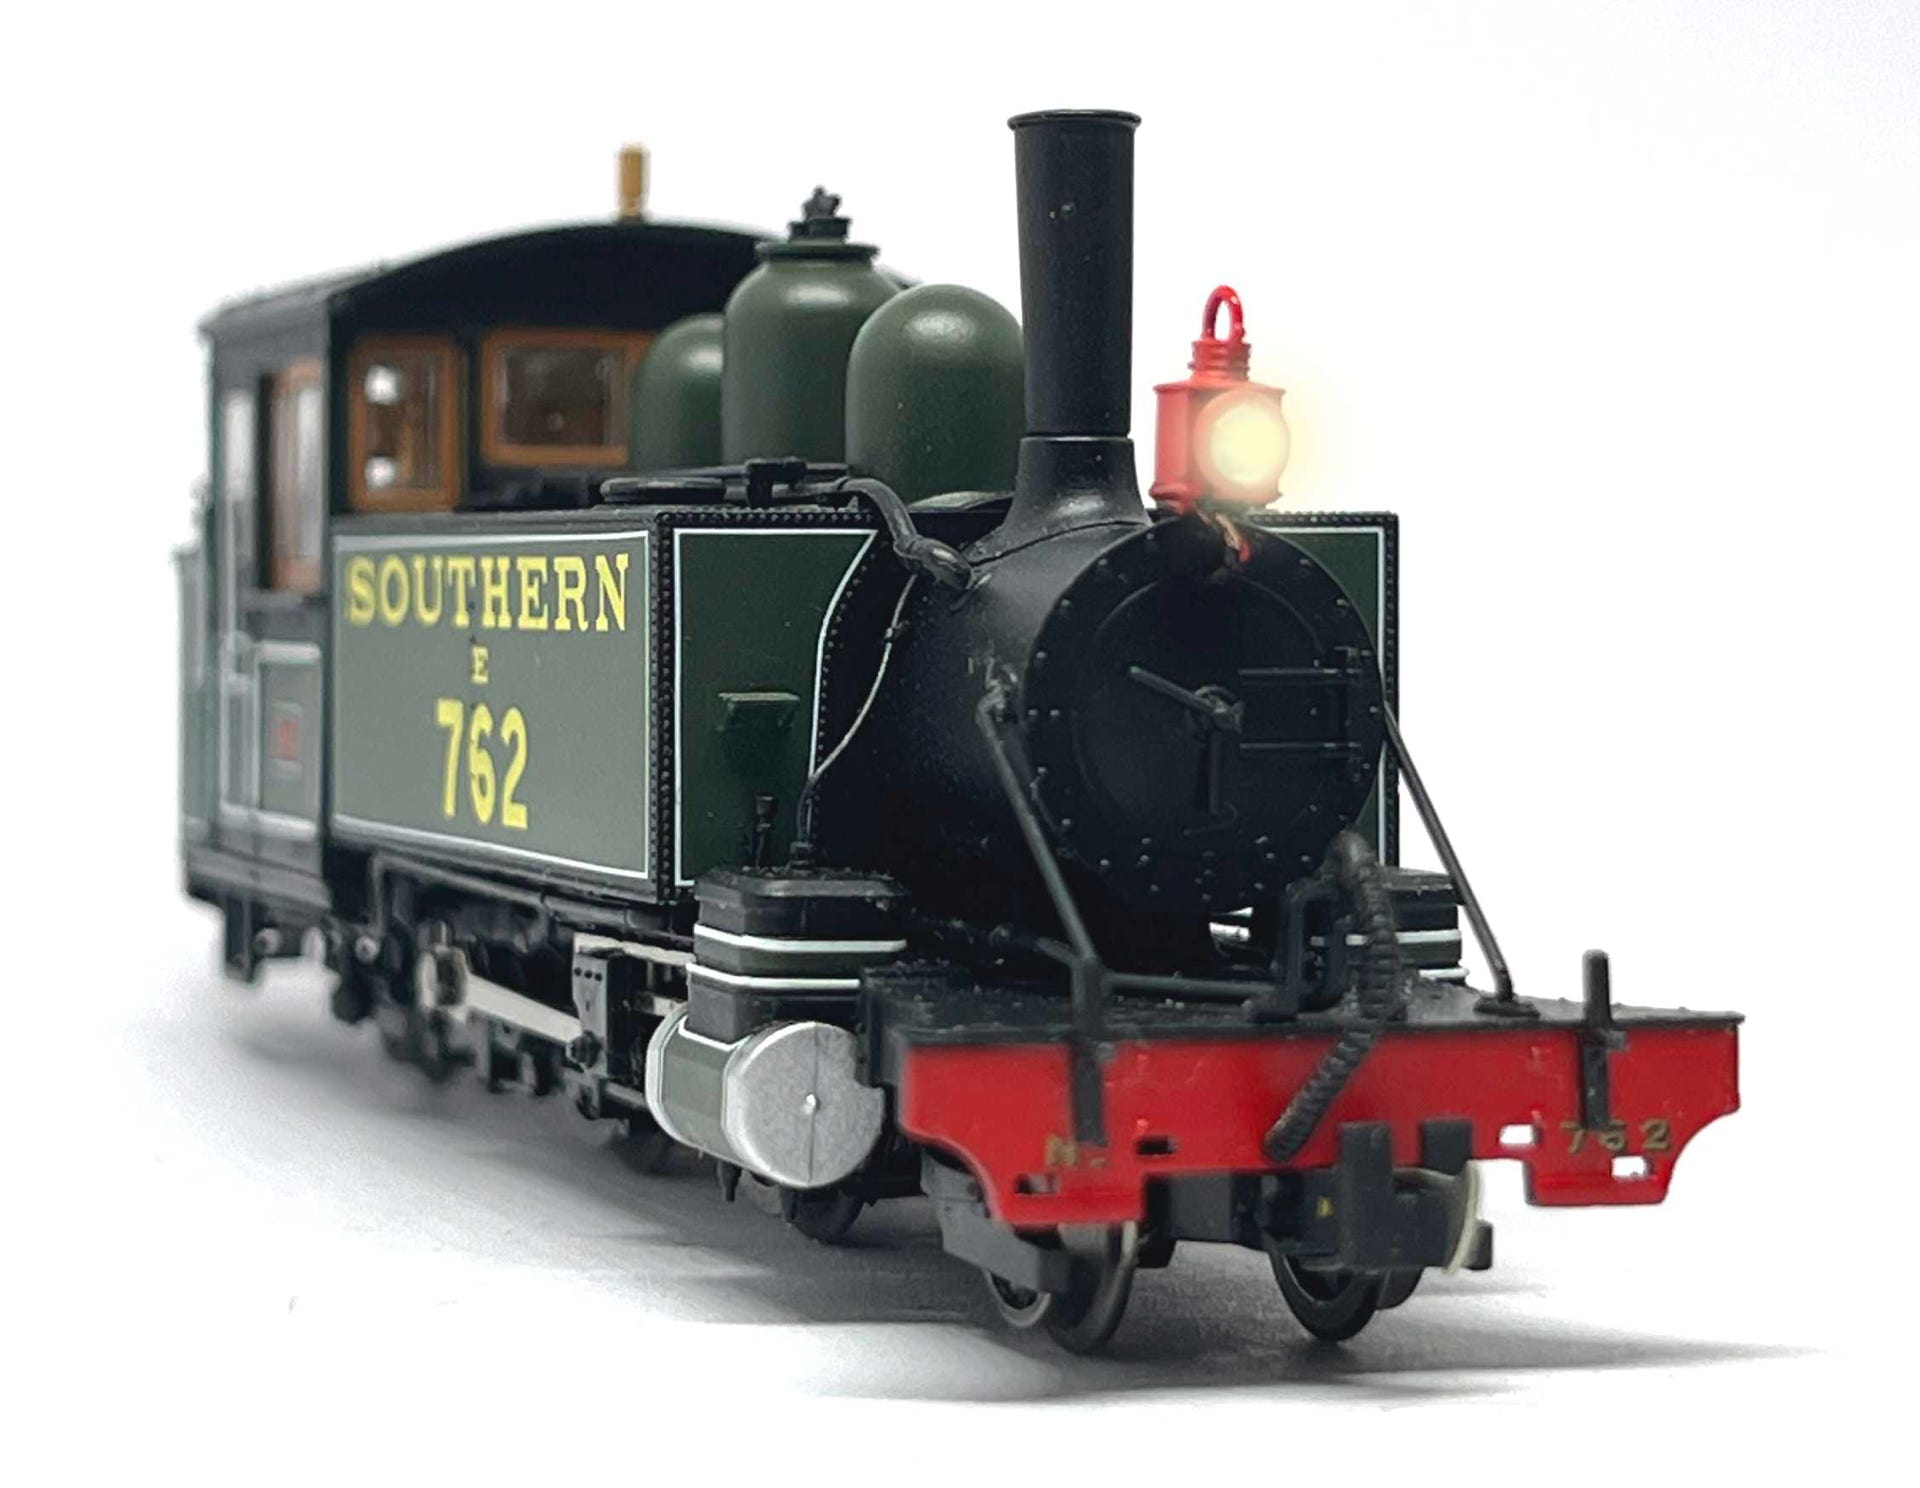
To finish it off, fit the small smokebox parts. It might be that the diagonal bars, from the footplate to the smokebox, are too loose now. I pressed a tiny, tiny piece of black tac in the hole of the smokebox and then it stayed well in place. Press the tube on top, next to the chimney in its hole.
This is why I think it’s worth while to install cab light and a coal fire. Of course you’ll need staff on the footplate then.
